Lens identification, Changing front lens, Lens identification changing front lens – ETC Source Four PARNel CE User Manual
Page 9
7
English
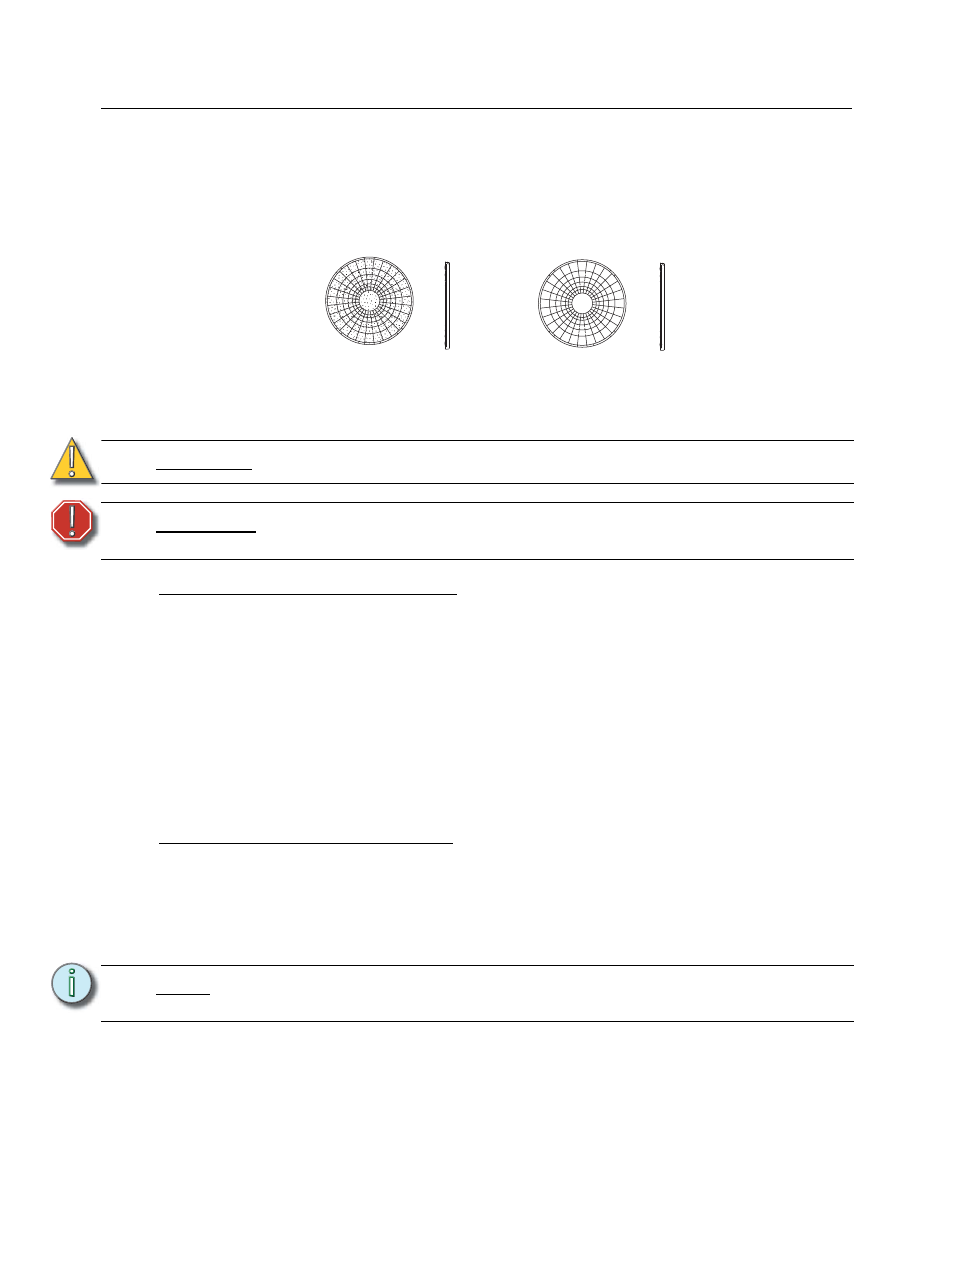
Lens identification
Lenses for the Source Four PARNel come in two versions. The wave/clear lens is in a fixed position
in the rear of the luminaire. The wave/stippled lens is in the rotating ring at the front of the luminaire.
The wave surfaces face each other.
Changing front lens
Replace lens if it becomes cracked or badly scratched.
Removing a wave/stippled front lens
Step 1:
Place the luminaire on a flat, stable work surface. Do Not remove or install lenses with
luminaire hanging.
Step 2:
Rotate the focus knob to the full spot position.
Step 3:
Tilt the front of the luminaire down at least 45°. See
Figure 6
.
Step 4:
Press the spring clip with your finger to release the lens.
Step 5:
Allow the lens to drop forward from under the clip.
Step 6:
When the lens drops, remove your finger, allowing the lens to slide forward until it rests
on the lens catchers. See
Figure 7
.
Step 7:
Carefully remove the lens.
Installing a wave/stippled front lens
Step 1:
Position the luminaire with the front of the unit (lens side) facing you, and tilted slightly
upward. See
Figure 8
.
Step 2:
Rotate the focus knob to the full spot position.
Step 3:
Hold the lens by the edge and position it so the convex side faces the rear of the
luminaire.
Step 4:
From the top of the luminaire, slide the lens behind the lens catchers and position it
behind the tabs on the bottom of the lens rotator ring.
C A U T I O N :
Never operate the luminaire without a lens in place.
W A R N I N G :
Unplug the luminaire and allow it to cool down before attempting to change
a lens.
N o t e :
Installing the front lens with the contoured side out will not impair the optics, but it
will make removing the lens difficult.
Figure 5
Wave/Stippled Lens (WS)
Wave/Clear Lens (WC)