Creating and saving a custom map – Brunton MapCreate 6 User Manual
Page 58
map border for future use. These optional steps were discussed in the pre-
vious segment on Creating Rectangle Map Borders.)
Creating and Saving a Custom Map
Once you have a Map Border, MapCreate can use it to make a Custom
Map File for your Brunton Atlas unit. Before you can proceed, however,
your MMC or SD card must be registered with MapCreate. This is a one-
time step for each of the five cards you are allowed to use with MapCreate.
This card registry is a security requirement described in greater detail on
page 8.
If a card isn't registered, when you try to create the map, MapCreate first
walks you through card registration, then creates the map. (This is de-
scribed fully in the Quick Reference, which begins on page 2.) If you wish,
you may manually register a new card ahead of time by using the Card
Registry Command, described in the Help file's Command Reference sec-
tion.
The following instructions assume you have already registered your mem-
ory card, and you have used the Estimate Map Size button (described on
page 47) to make sure the map will fit the card. Here's how to finish mak-
ing your map: (Refer as needed to the "Toolbars" section, beginning on
page 35.)
1. Create a map border or open a Map Border File by clicking the
O
PEN
M
AP
B
ORDER
F
ILE
button on
the
F
ILE
toolbar.
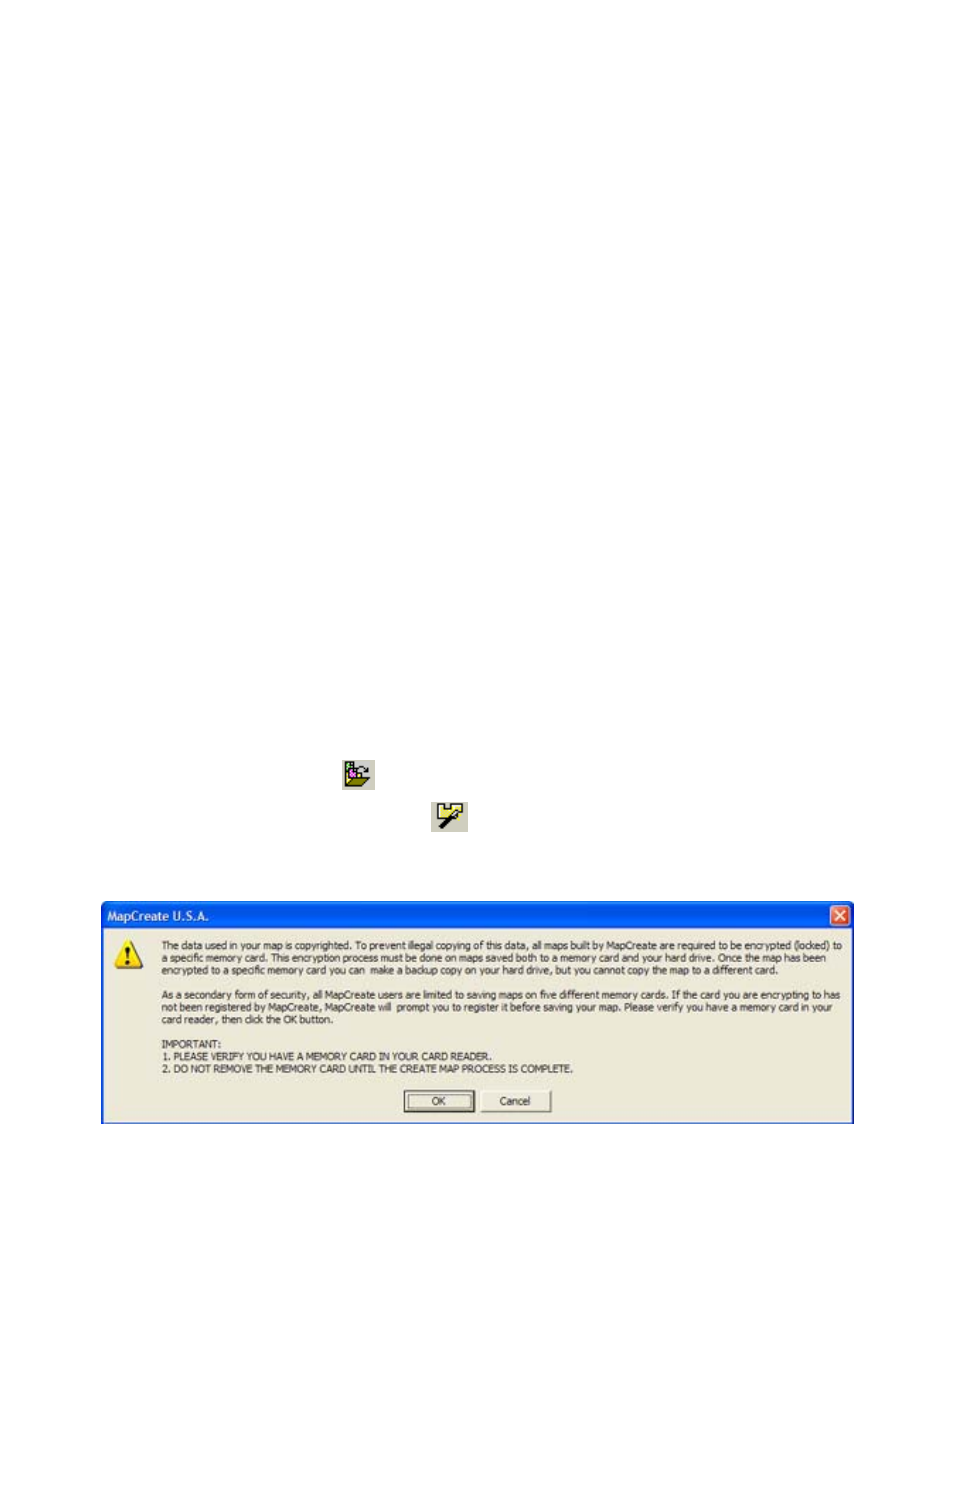
2. Click the
C
REATE
M
AP
button .
A card encryption and registration
message appears. Make sure
you have a card in the card reader
and click
O
K
.
Read the message, and then click OK to continue.
3. A progress dialog box will appear while MapCreate extracts the neces-
sary information and builds the Map File.
52