Creating corridor map borders – Brunton MapCreate 6 User Manual
Page 55
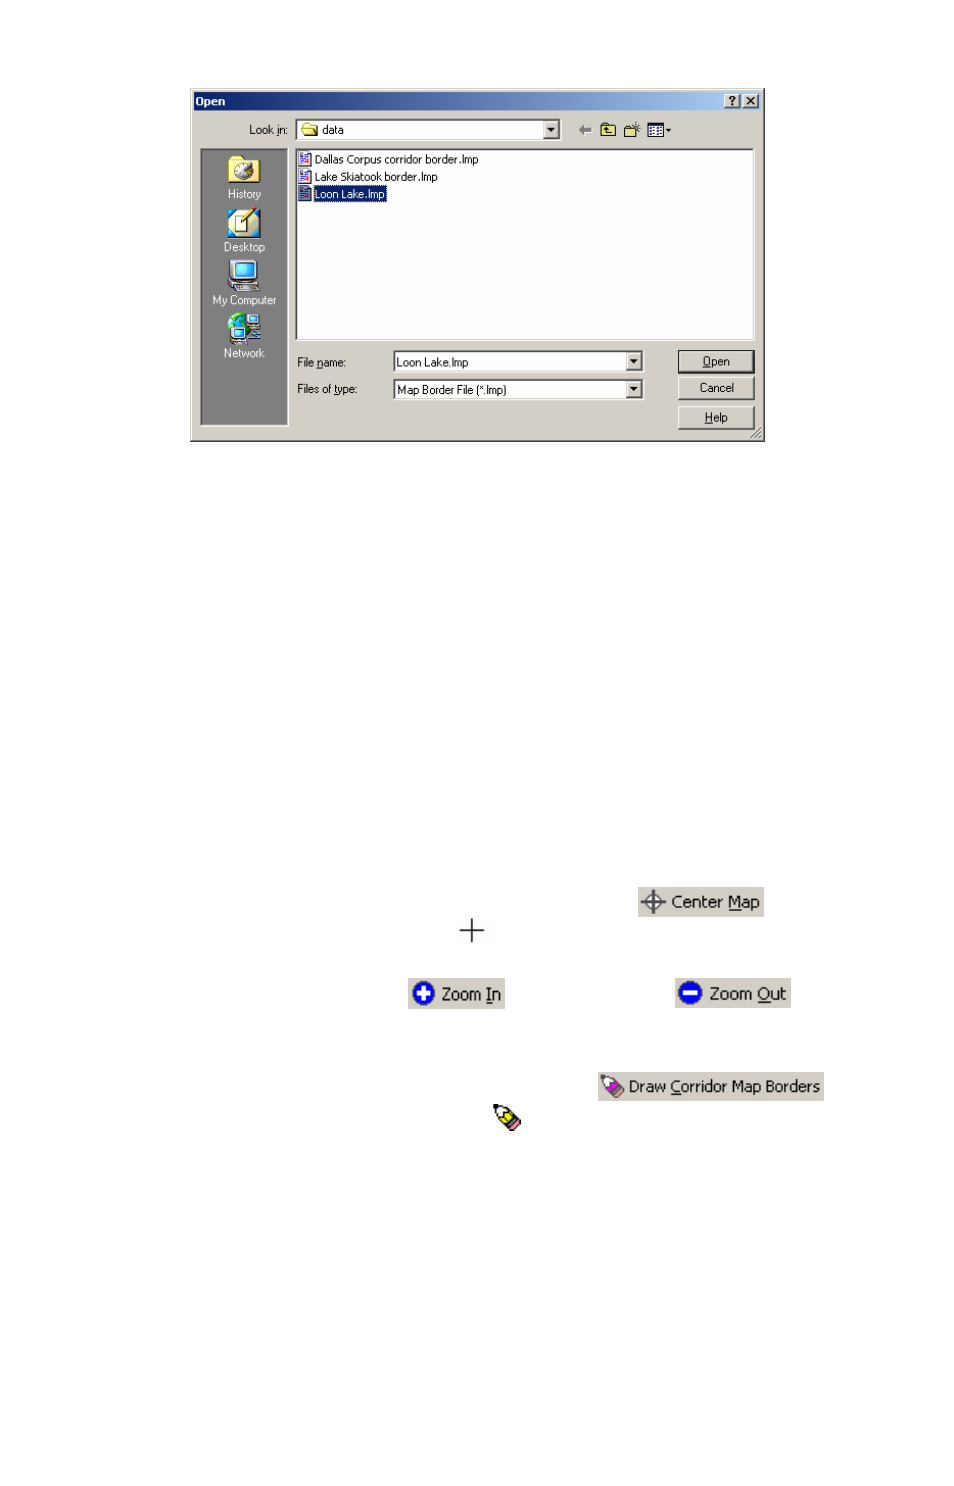
Open Map Border File dialog box.
With the border displayed on the Master Map screen, you're ready to proc-
ess it into a map your GPS unit can use. If so, you can jump ahead to
"Creating and Saving a Custom Map," on page 52.
MapCreate can also draw a polygon-shaped border useful for following an
irregularly shaped route, lake or other geographic feature. These corridor
maps are made with the Draw Corridor Map Borders command, and we tell
you how in the next lesson.
Creating Corridor Map Borders
A corridor map lets you twist and turn your borders to enclose irregularly
shaped geographic features. Here's how: (Refer as needed to the "Tool-
bars" section, beginning on page 35.)
49
1. Center the Master Map display on the area you want to include in your
map. Click the
C
ENTER
M
AP
cross-hair button , and
then click
the cross-hair mouse pointer on the area you
want
centered.
2. If needed, click the
Z
OOM
I
N
or
Z
OOM
O
UT
buttons
so you can see the entire
area that you
want to
draw a map border around.
3. Click the
D
RAW
C
ORRIDOR
M
AP
B
ORDERS
button ,
and
your mouse pointer becomes a pencil.
4. Move the mouse pointer to where you want your corridor map to begin.
5. Click and release the left mouse button to set the first anchor point. (The
anchor point is represented by a handle box, which can also be grabbed
later to relocate the border if you wish.)
6. As you move your mouse, you'll see a magenta border box appear.
Move the mouse pointer in a straight line along your corridor's path until
you need to change direction to follow the terrain. Click to set a second