Recording to a tape – ECOXGEAR T2USB200: Tape 2 USB User Manual
Page 7
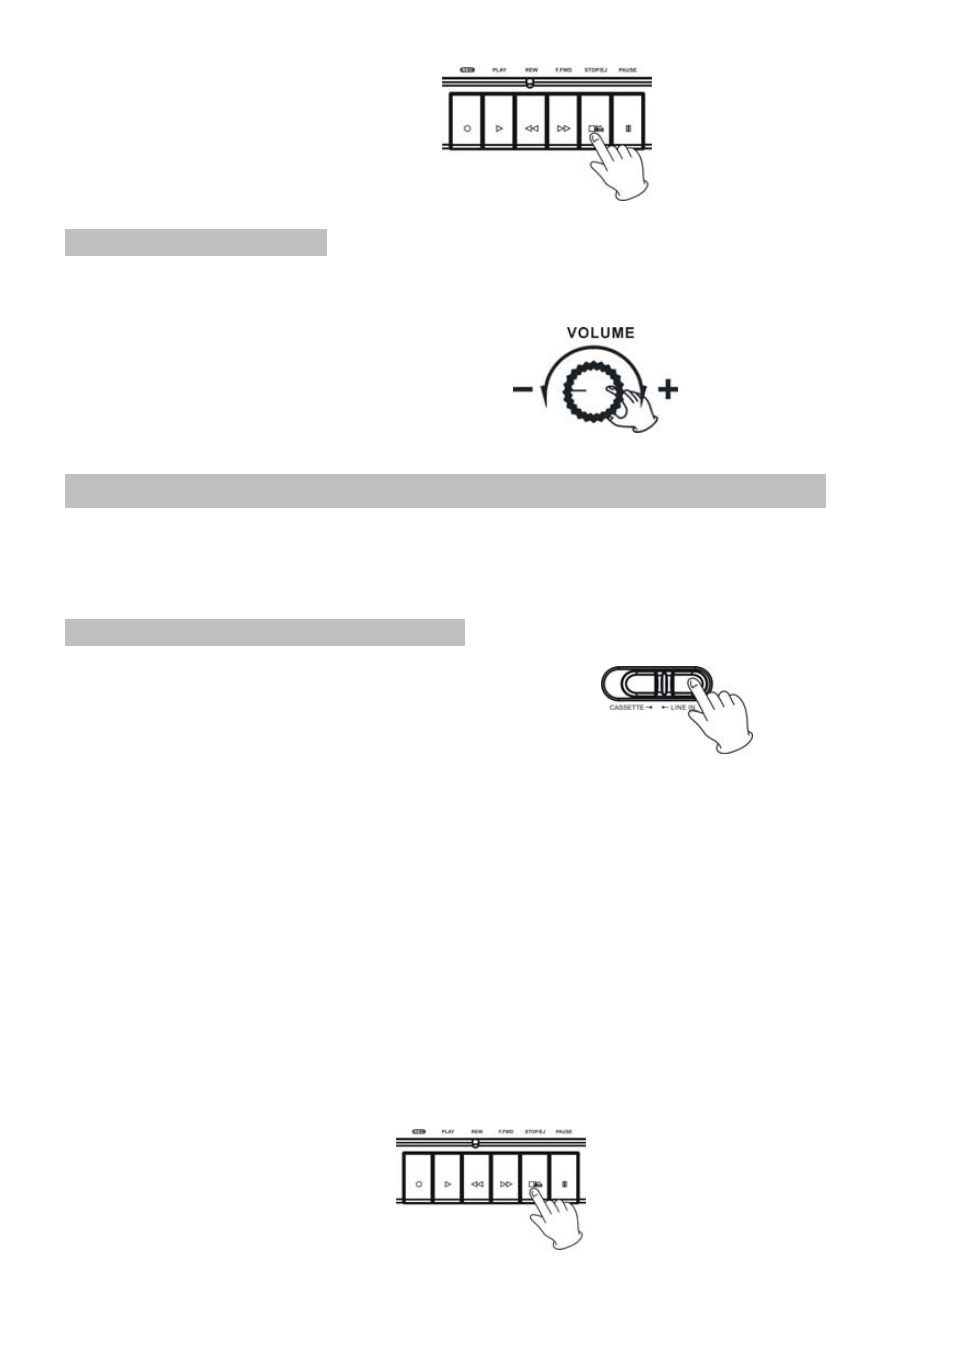
8. Stopping tape playback.
To Stop the tape completely,
Press the STOP/EJ button.
Speaker Volume Knob
Rotate the VOLUME knob on the back of the unit to adjust volume while listening to audio or monitoring
your recordings.
NOTE:
The knob controls the
Built-in Speaker volume only.
Recording to a Tape
(from audio source)
You can record directly to a blank tape using on your TAPE2USB II by connecting the RCA LINE IN
connections to an audio source at the back of the unit or using the Built-in MICROPHONE
1. RCA LINE IN (Record to a Tape)
1.
Use the CASSETTE / LINE IN switch on the top panel.
Select the LINE IN position.
2.
Plug the RCA Cable into the REC INPUT jack at the back of the unit; be sure that the red RCA
Cable is inserted into the red jack and the white RCA Cable is inserted into the white jack. Plug the
other ends of the RCA Cable into an external (auxiliary) audio source (E.g.MP3 player TV, microphone).
NOTE:
All connections to the RCA jacks must be with a powered audio source. This includes
handheld microphones connected to the RCA connections. IF you wish to use a handheld
microphone to record to tape, the microphone MUST be powered microphone
(Refer to page 8 for how to use the player’s built-in Microphone)
3. Turn on the unit you connect to your GDI-T2USB recorder and adjust the unit’s Speaker
Monitor Volume Knob on the back of the unit to control the volume of the music.
4. Press the STOP/EJ button to open the cassette door and insert a cassette tape.
Gently close the cassette door.
6