Use of cable bushings – 2N Helios IP Safety User Manual
Page 19
19
1.
2.
3.
4.
5.
6.
Select the 2N
®
Helios IP Safety
position with respect to the supply
cables. Where the cables are installed
inside a structure or wall, use the
hole at the intercom bottom.
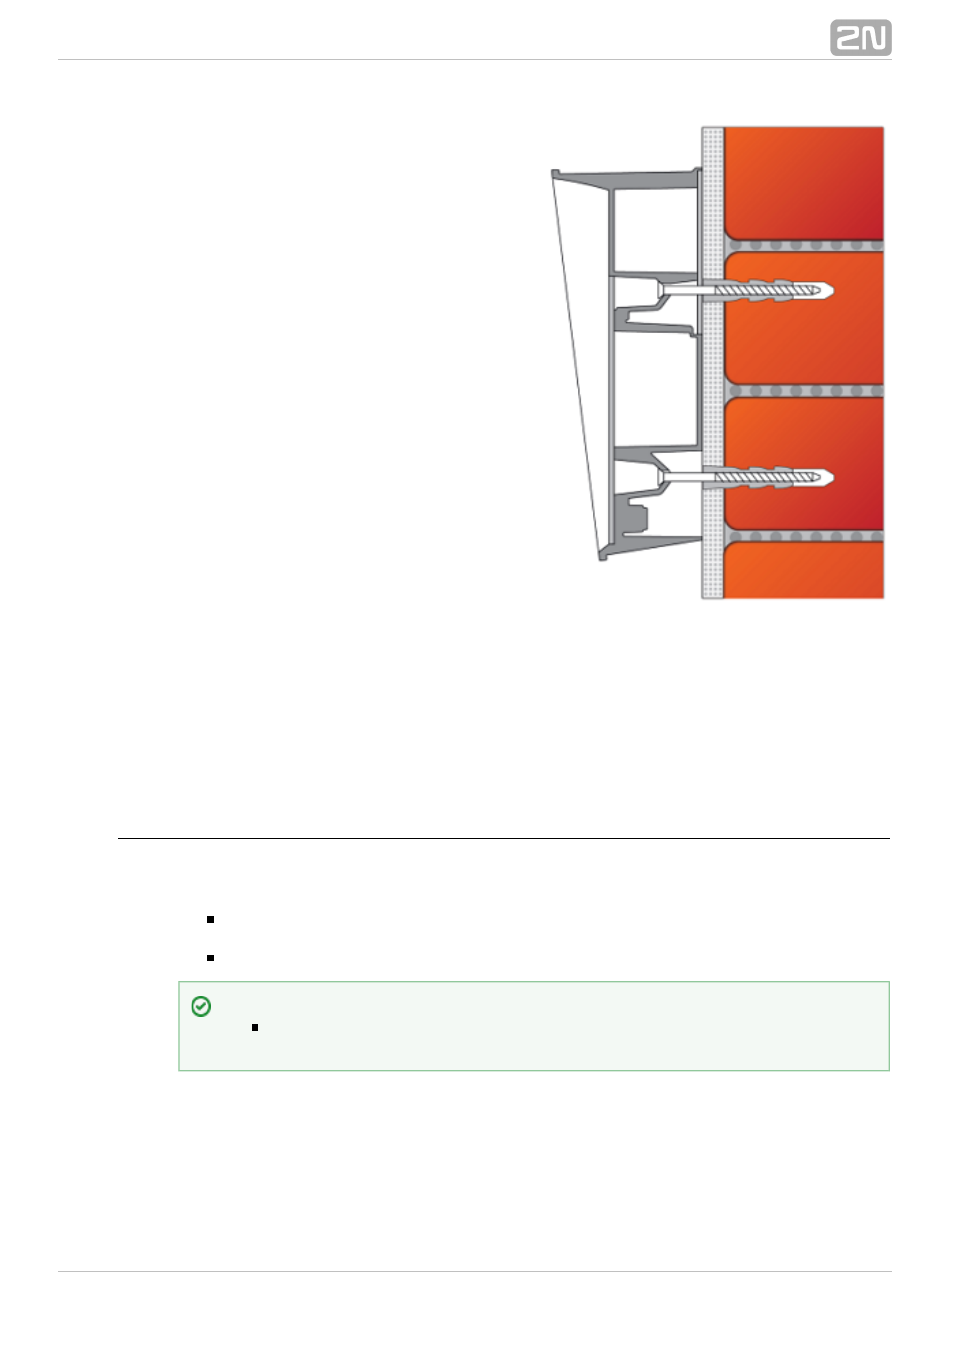
Drill holes of the depth of 70 mm for
dowels in the wall as shown in the
figure. Push or hammer the enclosed
dowels into the drilled holes. Use
some suitable building adhesive if the
dowels are too loose. Use fixing
elements of your own for steel
structure surface mounting (metric
screws + nuts, e.g.).
Remove the front panel from the
intercom.
Select the holes for cable supply.
Select and mount the bushings
depending on the cables: 2-hole
bushing or 1-hole bushing or both.
Insert the blanks in the other holes.
Put
the
intercom
on
the
wall/structure
while
introducing
cables inside. Leave some of the
cables inside the unit as a reserve.
Insert the plugs in the unused
bushings and tighten the bushing
nuts carefully.
Do not complete mounting until you
have finished electrical installation –
refer to Mounting Completion. Where
cables lead along the surface, use the
bushings included in the delivery.
Use of Cable Bushings
The cable bushings included in the
delivery are designed for
2N
®
Helios IP Safety
the following cables:
Big bushing: for two cables of the diameter of 5–6 mm (UTP cable), or, upon
insert replacement, for one thick cable/tube of the diameter of up to 14 mm.
Small bushing: for one cable of the diameter of 5–8 mm.
Tip
Even a LAN cable including the RJ-45 connector can go through the big
bushing. See below for instructions.