Danger – Snorkel S3219E-sn000017+ User Manual
Page 26
Chapter 8 – Prestart Inspection
22
S3219E/S4732E – 1500834
Battery Terminals
To inspect the battery terminals:
1. Check the top of the battery, the terminals, and cable
ends (refer to Figure 8.2). They should be clean and
free of corrosion.
2. If necessary, clean the top of the battery. Clean the
terminals and cable ends with a wire brush or terminal
cleaning tool.
3. Make sure all cable ends are securely fastened to
the terminals.
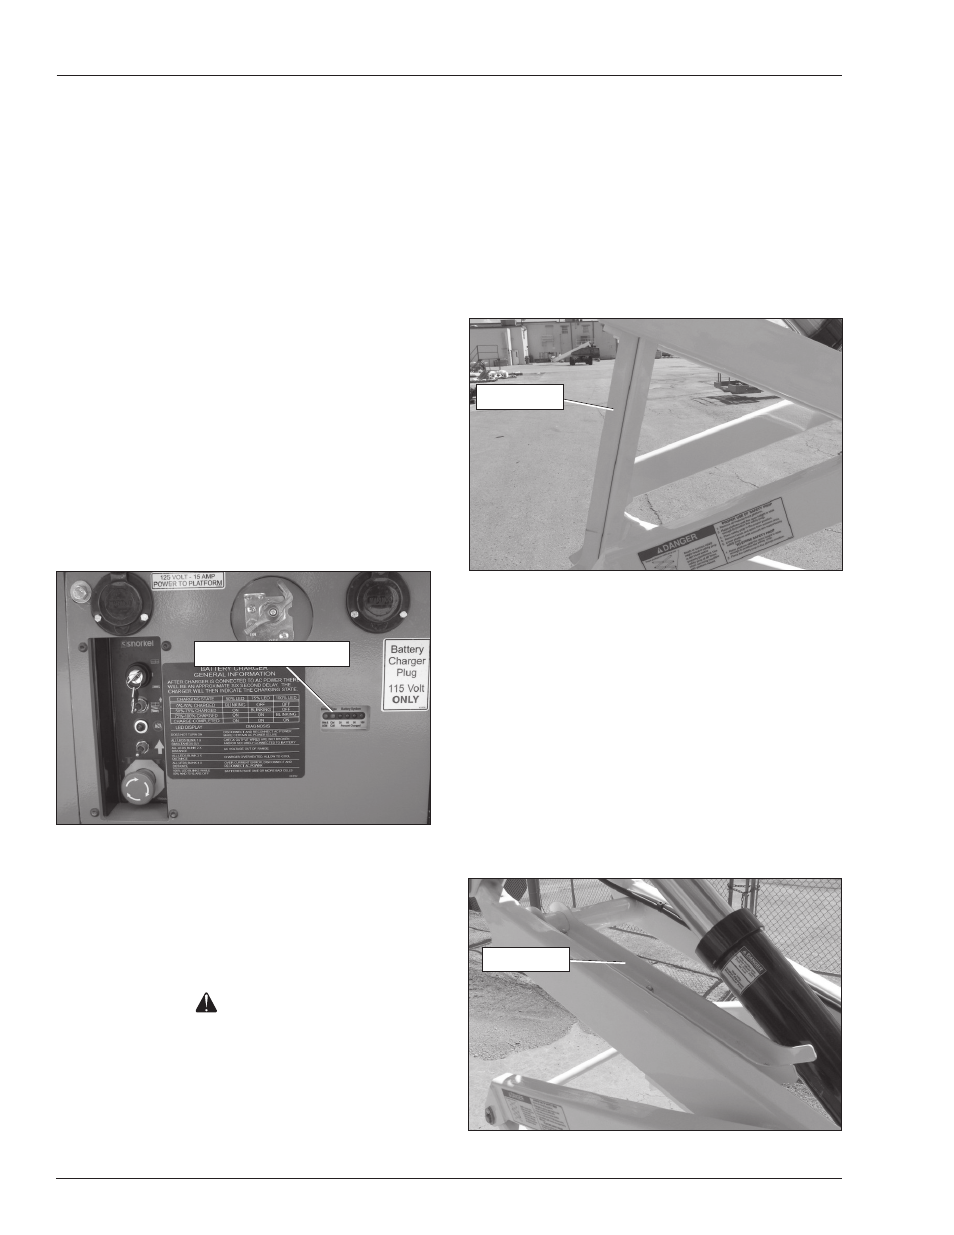
Battery Charger
Inspect the battery charger (refer to Figure 8.3) to ensure
that it is operating properly.
1. Turn the battery disconnect switch off.
2. Plug the charger into a source of power.
3. Observe the LED’s on the charger to determine the
charger status. If necessary, refer to the charger
decal or to Battery Charge Indicator in Chapter 5 to
determine when the batteries are fully charged.
Figure 8.3 – Rear of Chassis
4. Unplug the charger.
Safety Prop
Always use the safety prop when the platform is raised
before inspecting or performing service or maintenance
procedures on the machine.
Danger
Pinch points exist on the scissors structure. Death
or serious injury will result if the scissors structure
drops onto personnel working within the scissors
arms or under the raised platform. Properly position
the safety prop before reaching through the scissors
structure.
Use the following procedure to properly position the
safety prop:
1. Remove all tools and material from the platform.
2. Using the lower controls, raise the platform until the
open height between the arm pins is wide enough to
position the safety prop.
3. Rotate the safety prop downward from the storage
position to the support position (refer to Figure 8.4).
Figure 8.4 – Safety Prop in Support Position
4. Remove hands and arms from the scissors structure
area.
5. Lower the platform until the scissors are supported
by the safety prop.
Use the following procedure to stow the safety prop:
1. Using the lower controls, raise the platform until the
open height between the arm pins is wide enough to
move the safety prop.
2. Rotate the safety prop upward to the stowed position
(refer to Figure 8.5).
Figure 8.5 – Safety Prop in Stowed Position
LED Charge Indicators
Safety Prop
Safety Prop