Plumbing installation – Addictive Desert Designs 2010 - 2014 Ford F150 / Raptor Transmission Cooler User Manual
Page 4
4. Mount the circuit breaker provided in a convenient location as close as possible to
whichever power source (battery or large terminal on the starter solenoid) you are using
for the fan relay.
5. Route the red wire from the relay to one side of the circuit breaker installed in step 4. Cut
to length and install using a small yellow ring terminal. With another small yellow ring
terminal take the remaining red wire and connect the unused post on the circuit breaker to
the battery source. This wire is printed “To Battery/Constant Hot”
6. Route the gray/white wire to the ignition switch or fan switch; whichever is more
convenient. This wire must see an ignition switched 12 volts in order for the relay to
operate. If you apply battery 12 volts to this wire, the fan will run until the thermostat
senses the engine has cooled off to below 185 degrees Fahrenheit.
Plumbing Installation
1. Lightly oil the O-Rings of the -10 AN Port Plug with O-Ring to -8 AN Fittings and install into the -
10 port on the Cooler unit. Do not over tighten.
2. Attach the -8 AN Push lock fittings to the fitting installed in step 2.
3. Cut the Hose into 2 - 7 1/2' pieces. Push the Hose over the barb of the Push lock fitting and slide
all the way until it is seated flat. Repeat this for the other section of hose.
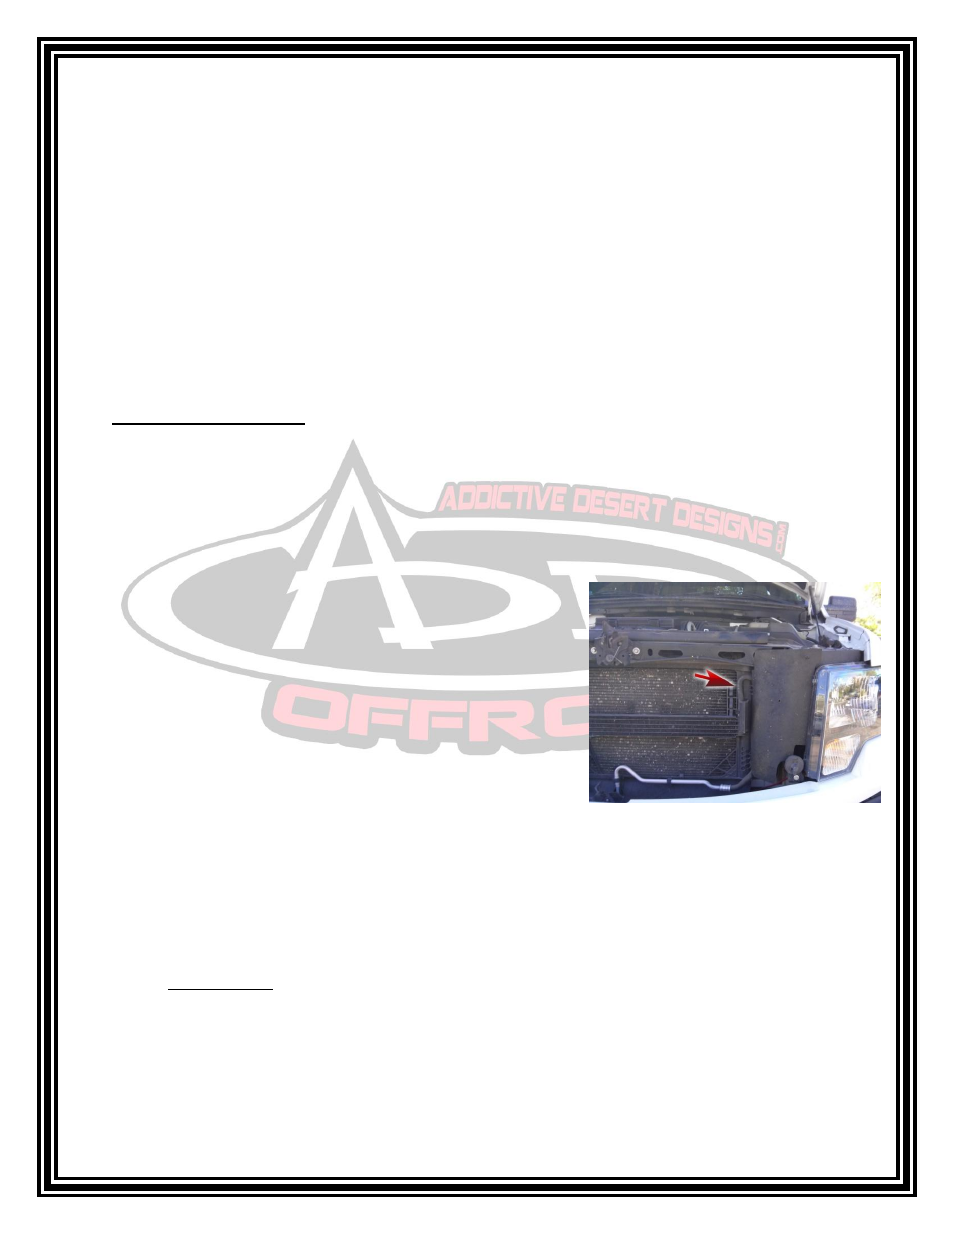
4. Locate the Factory Cooler Hose that runs between the
small factory transmission cooler and the radiator.
Remove the hose clamps and take out this hose.
5. Safely route the hoses from the cooler unit to the fittings exposed in step 5 on the factory cooler
and the radiator. Cut the hoses to length leaving some play for flex.
IMPORTANT: Before attaching the second hose, carefully fill the cooler unit with the
Recommended Transmission Fluid. This can be achieved by placing a funnel in the unattached
hose and slowly adding until the unit is completely full. Failure to properly full the unit will
may result in insufficient cooling and/or low fluid error.
6. Connect the last hose and secure all of the hose connections using the supplied hose clamps.
7. Clean up and have a cold beverage. That was a good install!