Connect cables to the server – Apple Xserve (Original) User Manual
Page 40
40
Chapter 3
Connect Cables to the Server
Once the server is secured in the rack, you can connect the cables and power cord to its back
and front panels.
Follow these steps to connect cables for network connections and peripheral devices.
1
Assemble the cables and devices you will connect to the server’s back panel. Make certain
that each cable has the proper connector and that it is designed for use in a high-capacity
server. (Check the documentation for each peripheral device or cable to determine that it
can be used with the server.)
2
Attach an identifying label to each cable you are connecting.
The labels allow you to locate a specific cable quickly and avoid errors when disconnecting
cables.
3
Beginning at one side of the server’s back panel, connect each cable to its respective port.
Do not attach the power cord yet.
Important
If you use the cable-management arm, your cables must be approximately 3 feet
longer than the distance between the server and its peripheral devices. This extra length may
not be feasible for some cables, such as SCSI cables. In this instance, you can bypass the
cable-management arm with a shorter cable. But you must disconnect that cable when you
open the server.
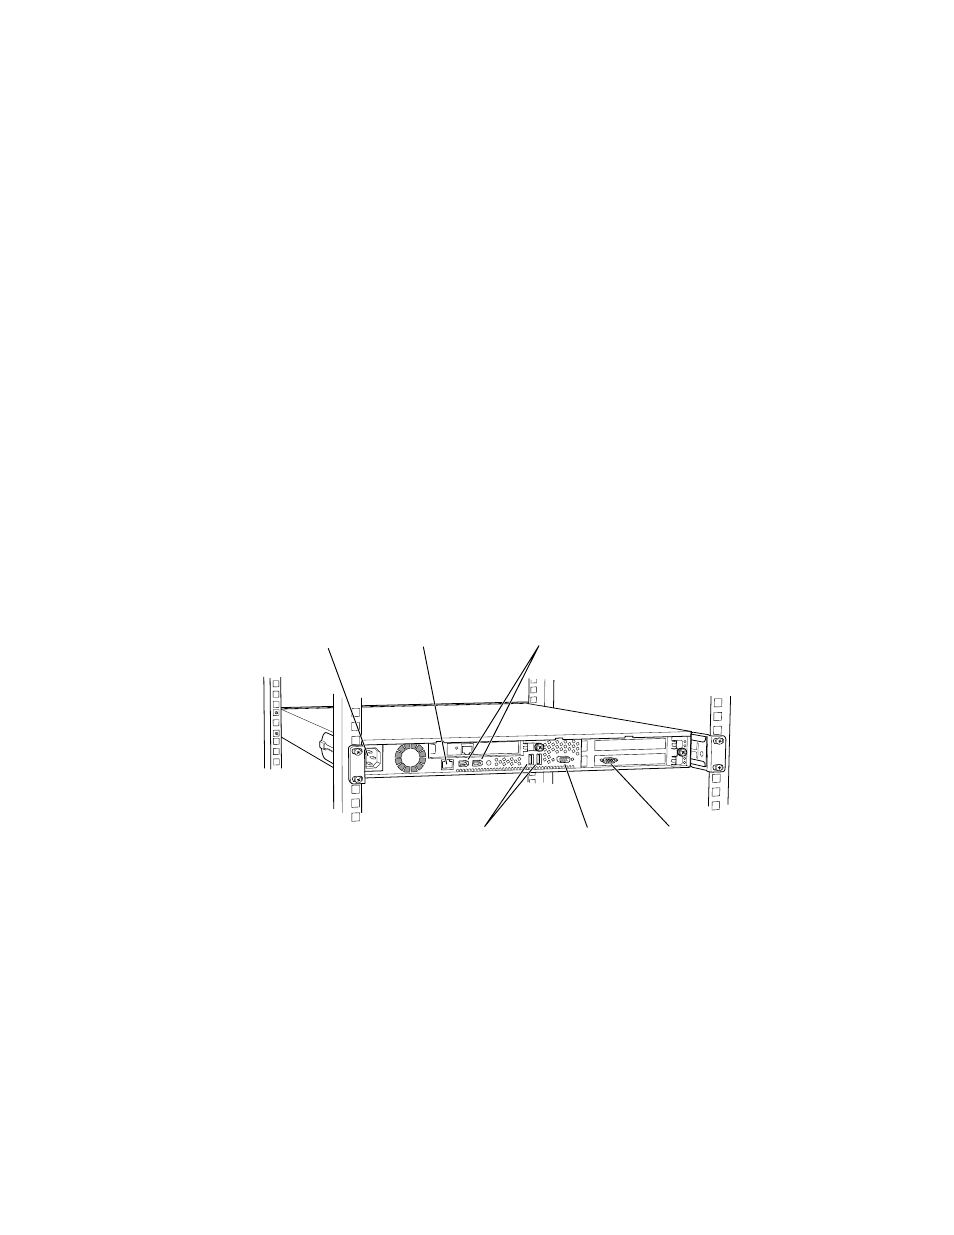
USB ports (2)
FireWire ports (2)
Power socket
Gigabit Ethernet port
VGA monitor port
Serial console port