6 maintenance 13 – Fast & Fluid BT-Tintmaster User Manual
Page 15
6 Maintenance
13
6.3
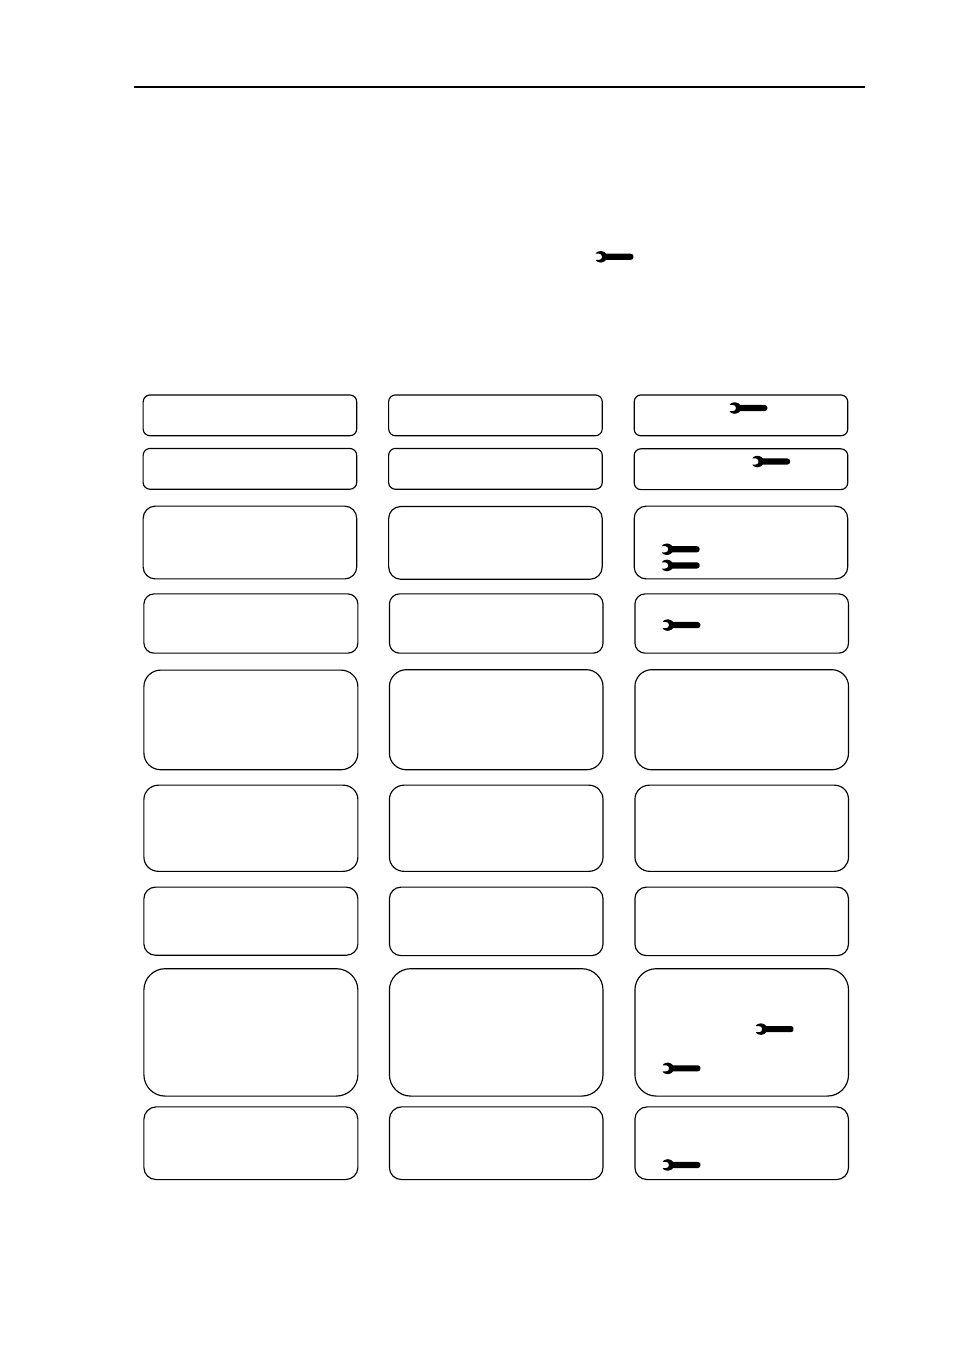
Troubleshooting
Before calling in the Service Department, check whether you can solve the problem yourself. If you
cannot, call the Service Department for advice (see 6.4). Have the model number and serial number
to hand. They can be found on the nameplate on the machine (see 7.1).
Use the chart of Problem, Cause and Action below to judge whether you can solve a problem yourself
or whether you will need to call in the Service Department. The
symbol means that the Service
Department must be called.
This chart does not include any of the malfunctions which are reported in an error message by the
software. In the event of a malfunction, these messages and possible solutions are displayed on the
monitor.
Problem
Cause
Action
р
р
р
р
р
р
р
р
р
р
р
р
р
р
р
р
р
р
Valve is defective
Worn O-ring(s)
6. Air in the pump
7. Canister is empty
8. Piston is defective
9. Valve handle spring broken
1. Diskette is damaged
2. Wrong data
3. Program not loaded correctly
5. Main switch is off
6. Cables to power unit are loose
7. No mains power
8. Fuse has blown
1. Main switch is off
2. Cables to power unit are loose
3. Fuse has blown
1. Mechanisms are dirty
2. Quality fluctuations in paste supplied
3. One or more pastes have thickened
4. Leaks around piston(s)
5. Turntable in wrong position
6. Valve handle spring is broken
6. Monitor is switched off
7. Loose cable(s)
8. Picture set too dark
9. Monitor malfunctioning
Valve leaks through the outlet
opening
Canister connection leaks around
the suction point
Air is being fed together with the
paste
(New) software is not working
Sensors are not working
No power from power unit
Colours are difficult to reproduce
Poor monitor picture, or no picture
Replace valve
Replace O-ring(s)
1. Bleed the pump
2. Add paste
3.
4.
1. Request new diskette
2.
3. Reload programm
1. Turn main switch to position
2. Remove plugs from socket, check
cables
3. Check if there is mains power
4. Remove plug from socket,
replace fuse
1. Turn main switch to position
2. Remove plugs from socket, check
cables
3. Remove plug from socket,
replace fuse
1. Clean and oil
2. Contact paste supplier
3. Replace paste(s)
4. Replace piston(s)
5. Press reset and test (see fig. 11)
6.
1. Switch monitor on
2. Check cables
3. Adjust picture correctly
4.
There is no 230 V
5. Main switch is off
6. No power to (internal) socket
7. Fuse has blown
1. Turn main switch to position
2. Check electrical wiring
3. Remove plug from socket,
replace fuse