Analog output 57, Helpful hint – Philips DVDR985A99 User Manual
Page 57
Analog Output 57
MONITOR
ON/OFF
REC/OTR
NEXT
PREVIOUS
REVERSE
PAUSE
SLOW
FORWARD
STOP
FSS
PLAY
CLEAR
CH
SELECT
TIMER
T/C
ZOOM
ANGLE
SUBTITLE
AUDIO
DIM
REPEAT
REPEAT
SCAN
A/CH
MUTE
VOL
2-4
4
1,5
• You also can set analog sound
in the Menu Bar. Details are
on page 31.
Helpful Hint
TruSurround and the symbol are trademarks of SRS Labs, Inc.
TruSurround technology is incorporated under license from SRS Labs, Inc.
If you connected the DVD Recorder’s red and white AUDIO OUT jacks
to a Stereo (or Stereo TV) as shown on pages 10-13, choose a setting for
Analog Output.
You do not need to adjust this setting if you used the DIGITAL AUDIO
OUT (OPTICAL or COAX) jacks on the DVD Recorder.
Check your Stereo and see if it is compatible with Dolby Surround or
TruSurround. Then follow the steps below to choose the Analog Output
setting that is most compatible with your audio equipment (or TV).
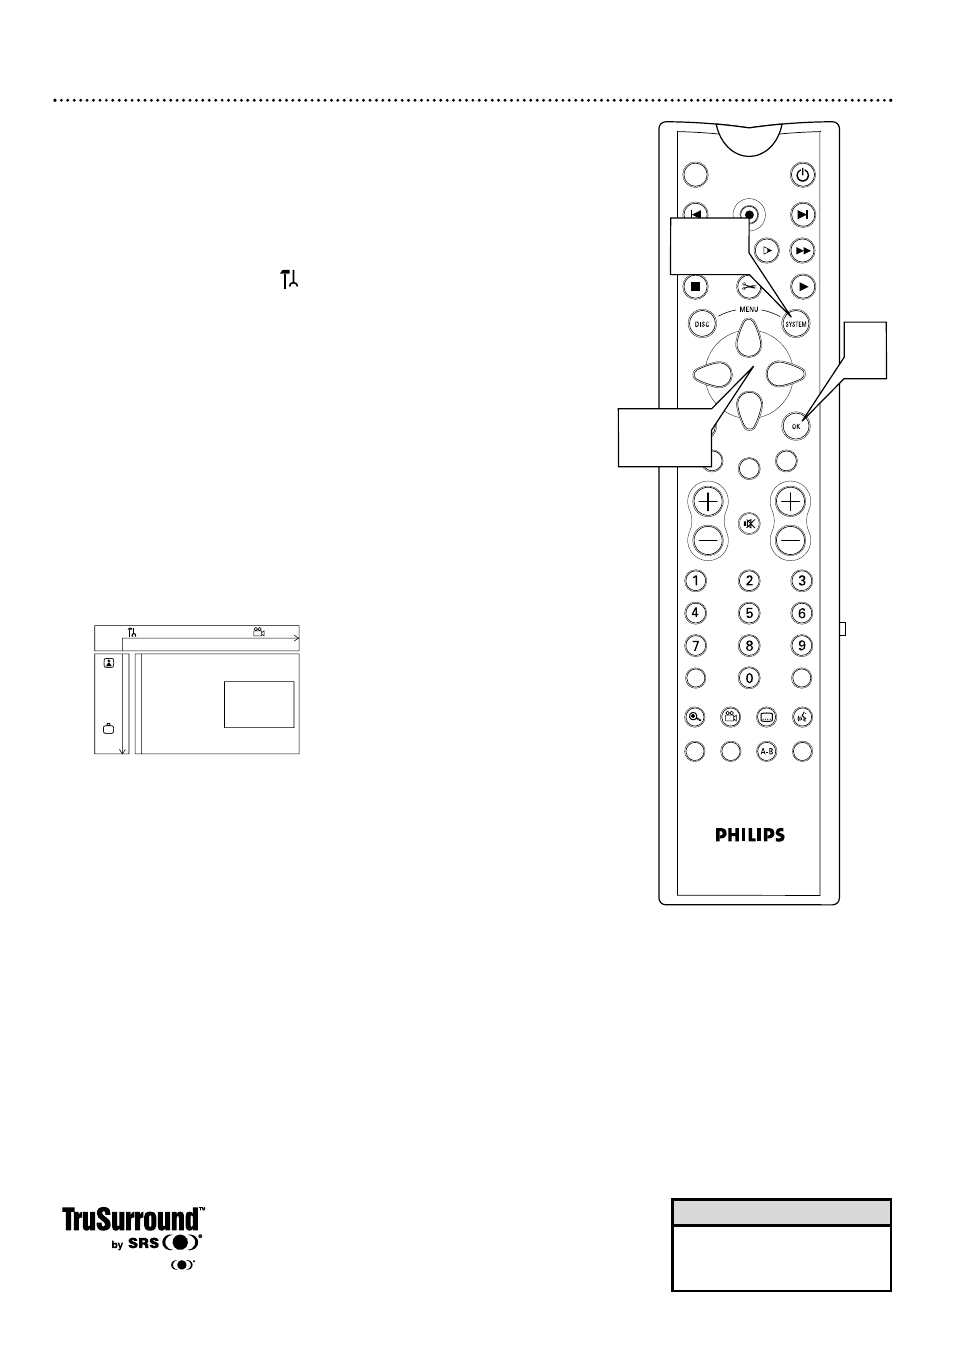
1
Press SYSTEM MENU.
may be selected. If it is not, press ;
to select it.
2
Press 9 repeatedly to select
G
, then press :.
3
Press 9 to select Analog output, then press :. Analog output
may be selected already. If so, just press : to continue.
4
Press 8 or 9 to select Stereo, Surround, or 3D sound, then
press OK.
●
Select Stereo to hear stereo sound. This will work with any type
of equipment that has right and left audio jacks (usually red and
white).
●
Select Surround if your audio equipment is compatible with Dolby
Surround. If it is, usually a Dolby Pro Logic logo will appear on the
equipment.
●
Select 3D sound if you want to enjoy surround sound but your
equipment is not Dolby Pro Logic compatible.
5
Press SYSTEM MENU to remove the menus.
W
X
Y
Z
a
1
2
1en
off
no
off
Sound
Digital output
G
Analog output
s
Stereo
L
Night mode
Surround
r
3D sound
~