Un)finalizing, erasing, Finalizing cdr(w) discs, Unfinalizing cdrw discs – Philips FWR33 User Manual
Page 26: Erasing from a cdrw disc
Finalizing CDR(W) discs
Finalizing a CDR(W) disc is a simple procedure, necessary to:
– play a recorded CDR on a standard CD player,
– play a recorded CDRW on a CDRW compatible
CD player and CD recorder,
– avoid further unwanted recordings on a disc, or
– avoid accidental erasure of tracks on a CDRW.
Notes:
Finalizing will take about 2 minutes.
During finalization, no other operating commands can be
executed.
After finalization of the CDR(W),
CDRW
changes to
CD
on
the display.
Auto finalizing
When using either COPY CD or COMPILE CD, your
recordings will be finalized automatically (see “High speed
recording and automatic finalizing”).
Manual finalizing when recording is in progress
1
Press FINALIZE CD on the unit during recording.
➜
AUTO FINAL? is displayed.
2
Press YES to confirm.
➜ FINALIZE
is shown.The finalization will start after
recording and the actual finalizing time remaining will
start to count down.
Manual finalizing when recording is stopped
1
Insert the CDR(W) you want to finalize in the
CD recorder tray.
2
Press CDR to select the CD recorder.
3
Press FINALIZE CD on the unit.
➜
FINALIZE? is displayed.
4
Press YES to start finalizing.
➜ FINALIZE
is shown.
FINAL is displayed and the actual
finalizing time remaining starts to count down.
Unfinalizing CDRW discs
If you want to record on or erase from a finalized CDRW,
you have to unfinalize it first.
Notes:
Unfinalizing will take approximately 2 minutes.
After unfinalizing of the CDRW,
CD
changes to
CDRW
on
the display.
1
Insert the CDRW you want to unfinalize in the
CD recorder tray.
2
Press CDR to select the CD recorder.
3
Press FINALIZE CD on the unit.
➜
UNFINALIZE? is displayed.
4
Press YES to start unfinalizing.
➜
UNFINAL is displayed and the operation time remaining
starts to count down.
Erasing from a CDRW disc
It is possible to erase one or more tracks (starting from the
end of the last track) or the entire CDRW.
Erasing an entire CDRW
1
Insert the CDRW you want to erase in the CD recorder tray.
2
Press CDR to select the CD recorder.
3
Press ERASE CD to enter the erasing menu.
4
Rotate í JOG CONTROL ë to select:
➜
ERASE DISC?: for erasing the entire disc
5
Press YES to confirm your selection.
➜
ERASE? is displayed.
6
Press YES to start erasing.
➜
ERASE is displayed and the operation time left starts to
count down.
Erasing one or more tracks
1
Follow steps 1–3 of “Erasing an entire CDRW”.
2
Rotate í JOG CONTROL ë to select the track
number(s) you wish to erase.
➜
ERASE and the track number (e.g. 10+)? are displayed.
0
0
To select more tracks, to be erased repeat step 2.
Note: When erasing several tracks, the tracks to be erased
must be selected in sequence, starting from the last recorded
track. Example:The CDRW has 5 tracks recorded on it. Now,
you can erase tracks 5 and 4.You can also erase tracks 5, 4
and 3, but you cannot erase tracks 5 and 3!
3
Press YES to confirm your selection.
➜
ERASE? is displayed.
4
Press YES to start erasing.
➜
ERASE is displayed and the operation time left starts to
count down.
(Un)finalizing, erasing
23
English
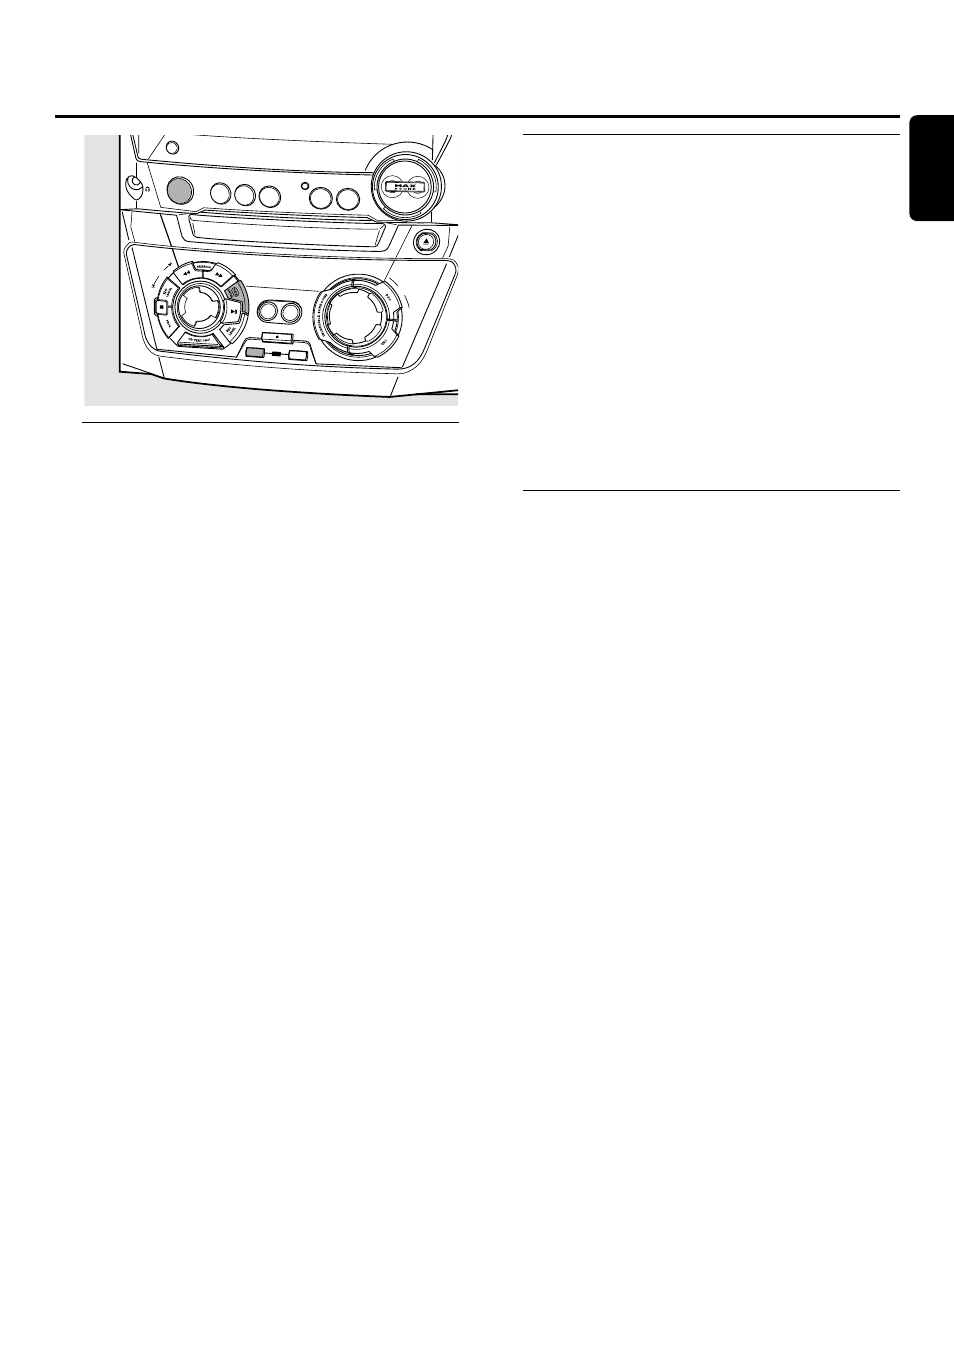
DISPLAY
CLOCK•TIMER
CD RECORDER
CDR OPEN•CLOSE
MASTER
VOLUME
COPY
CD
COMPILE
CD
RECORD
FINALIZE
ERASE
JOG
CONTROL
CD
SOURCE
AUX
TUNER
CDR
CD1
CD2
CD3