Creating stamps with clip art images, Creating stamps with pictures, Desigining a stamp (stampcreator p-touch editor) – Brother SC-2000 User Manual
Page 32
30
DESIGINING A STAMP (Stampcreator P-touch Editor)
Creating stamps with clip art images
Using clip art images
1 Type in the text (refer to the section “Typing text” on page 23).
☞ NOTE: Text can be inserted before or after selecting
a clip art image.
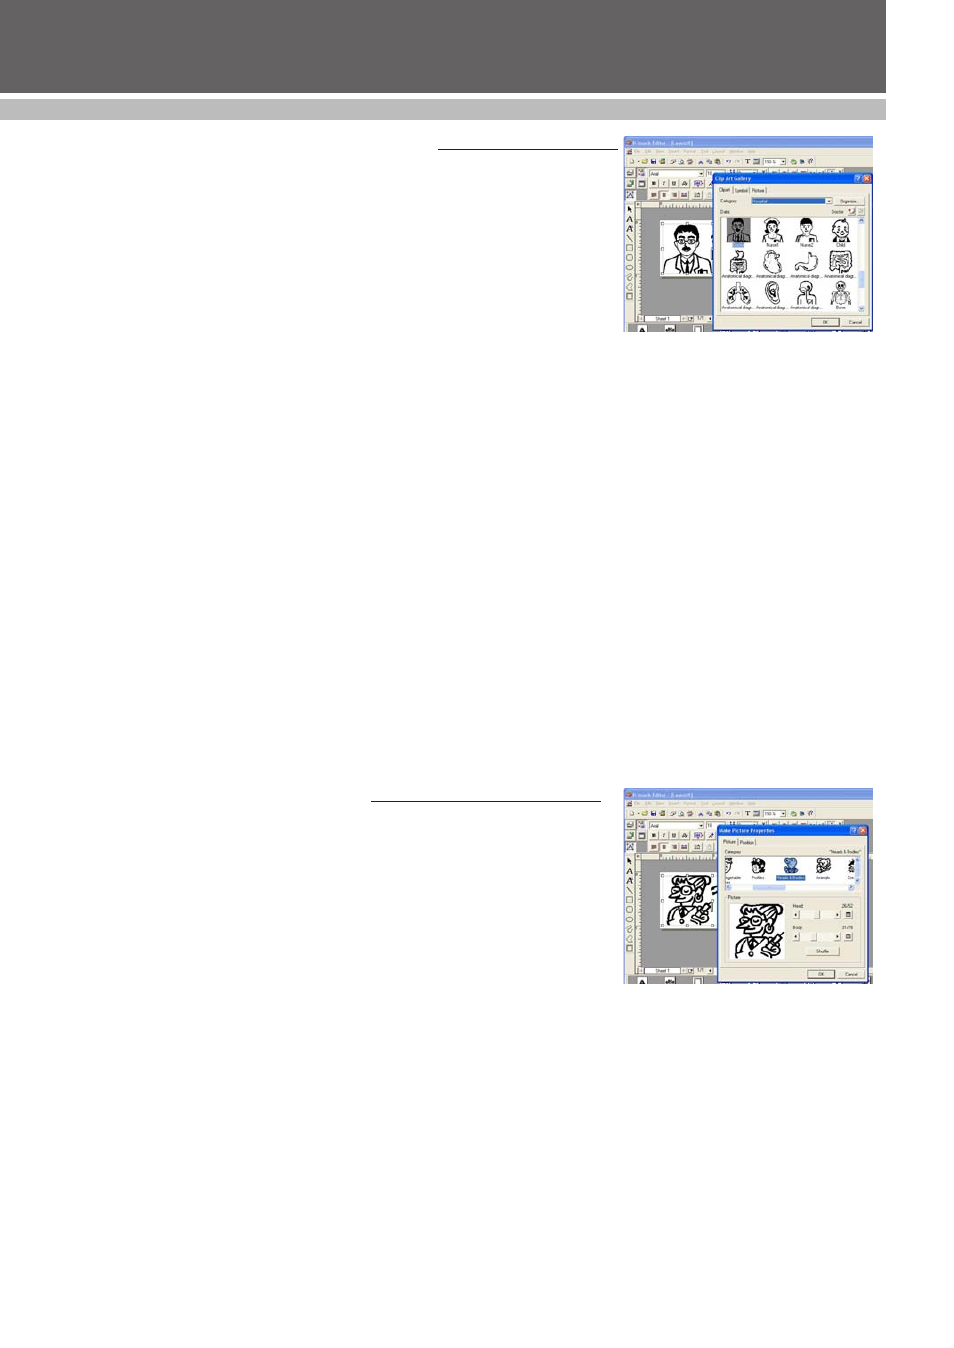
2 Click the Clip Art icon. There are 500 clip art images included on the
CD ROM.
3 Select a category, choose a clip art image, and then click the OK button.
• The selected clip art appears in the layout area (see figure 21).
Moving clip art images
1 With the Select tool, click the clip art image.
2 Drag the image to the desired location.
Enlarging/shrinking clip art images
1 With the Select tool, click the clip art image.
• To maintain proportions, hold down the Shift key while dragging a corner
handle to adjust the size of the image.
☞ NOTE: Clip art images are not distorted when
enlarged or shrunk. Excessive shrinking will
reduce the image quality.
Deleting clip art images
1 With the Select tool, click the clip art image.
2 Press the Delete key on the keyboard.
Creating stamps with pictures
Using a picture
1 Type in the text (refer to the section “Typing text” on page 23).
☞ NOTE: Text can be inserted before or after selecting
a picture.
2 Click the Make Picture icon.
3 Select the desired category and picture to create a humorous character,
and then click the OK button (see figure 22).
• The selected picture appears in the layout area.
Enlarging/shrinking a picture
1 With the Select tool, click the picture.
• To maintain proportions, hold down the Shift key while dragging a corner
handle to adjust the size of the image.
☞ NOTE: Pictures are not distorted when enlarged or
shrunk. Excessive shrinking will reduce the
image quality.
Deleting a picture
1 With the Select tool, click the picture.
2 Press the Delete key on the keyboard.
figure 21
figure 22