System reset communication setup, Communication setup, Selecting the connection method – Pioneer BDP-LX53 User Manual
Page 45: Changing the communications settings, System reset
Settings
Communication Setup
By connecting to the Internet, you can enjoy BD-LIVE
functions, YouTube videos and text information using
the RSS reader function, as well as update this player’s
software. This section describes the procedure for
making network settings. You can connect to the
Internet either by using a LAN cable or by connecting
a USB Wireless LAN Adaptor to one of the USB ports.
NOTE
Check that LAN cable or USB Wireless LAN Adaptor is
properly connected (page 20).
BDP-LX53/BDP-330 only: When USB Wireless LAN
Adaptors are connected to both the USB ports on the
player’s front and rear panels, the USB Wireless LAN
Adaptor last connected is used.
Check the following information about the wireless LAN
access point beforehand:
Type of encryption and encryption key
SSID (network name)
For manually performing the setting, the following
information of the connected router or modem is required.
Confirm the information prior to the setting.
IP address, netmask, gateway, DNS IP address
If specified by the provider, check the IP address and proxy
server settings beforehand.
•
•
•
−
−
•
−
•
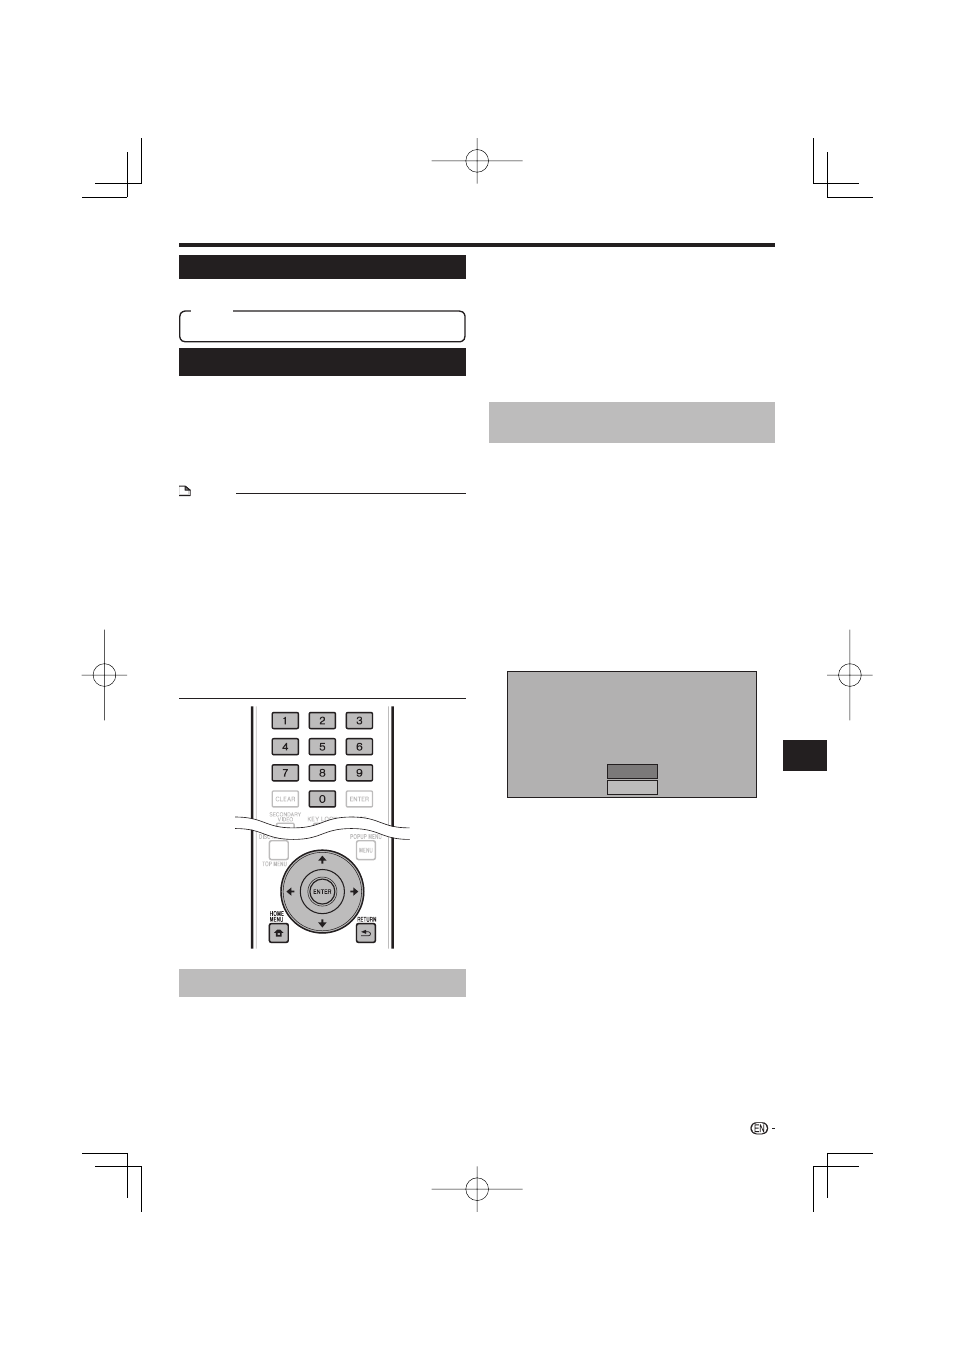
Selecting the connection method
Press HOME MENU to display the HOME
MENU screen.
Press
to select “Settings”, then
press ENTER.
1
2
Press
to select “Communication Setup”,
then press ENTER.
Press
to select “Cable/Wireless Select”,
then press ENTER.
Press
to select the connection type, then
press ENTER.
Cable: Select this to connect to the network using a
LAN cable.
Wireless: Select this to connect to the network using a
USB Wireless LAN Adaptor.
Changing the communications
settings
Press HOME MENU to display the HOME
MENU screen.
Press
to select “Settings”, then
press ENTER.
Press
to select “Communication Setup”,
then press ENTER.
Press
to select the connection method you
want to set, then press ENTER.
Ethernet Setup(Cable): Change the settings for
connecting to the network using a LAN cable.
Ethernet Setup(Wireless): Change the settings for
connecting to the network using a USB Wireless LAN
Adaptor.
Press
to select “Change”, then press
ENTER.
Setting the info. of the Ethernet
[Current Setup]
IP Address : Auto Setup
Netmask :
Auto
Setup
Gateway
: Auto Setup
DNS
: Auto Setup
Proxy
: Not Use
Change
Initialize
For initializing the current setting, select “Initialize”,
then press ENTER.
When “Ethernet Setup(Cable)” was selected at step 4,
proceed to step 10.
Press
to select the access point, then
press ENTER.
Press
to set the type of encryption, then
press ENTER.
When “OPEN” is selected, proceed to step 9.
When “WEP”, “WPA” or “WPA2” is selected, input
the encryption key. Select “security key”, then press
ENTER. For instructions on inputting characters, see
page 47.
Press
to select “Next”, then press
ENTER.
Press ENTER to test the connection.
3
4
5
•
•
1
2
3
4
•
•
5
•
•
6
7
•
•
8
9
45
Settings
Reset, Not Reset
Item
System Reset
You can reset all settings to the factory presets.