Automatically recording an md, 7 using the tape deck, Automatically recording a cd – Pioneer CT-L77 User Manual
Page 35: 9press cd to start the cd playing, 1follow steps 1–4 of, Above
7 Using the Tape Deck
35
5
Press CD to switch to the CD player.
6
Load the CD you want to record.
See page 17 for detailed instructions on loading discs.
If the disc has started playing, press
&.
7
If you want to record just one track, select
the track using the
$ and › buttons.
8
Press TAPE REC.
The tape deck goes into record-pause mode, waiting for you to start the CD
player.
9
Press CD to start the CD playing.
Recording starts automatically with the CD.
Once the track or disc has finished, the tape deck goes back into record-pause
mode—press
& to fully stop recording.
Should you want to stop recording before the track/disc has finished playing,
simply press
& any time during the recording.
Note: If the recorder has to switch the side of the tape half way through a track,
recording will start again on the other side from the beginning of the same track. This
means you don't get a single track spread over two sides of a tape.
Automatically Recording an MD
If you have the optional MD recorder, you can make synchro-recordings from MDs in
the same way as from CDs. Setting up the tape deck to record (setting the record
direction, reverse mode and Dolby NR) is exactly the same. The only difference comes
in selecting the source to record.
1
Follow steps 1–4 of
Automatically
Recording a CD
above.
❖
Load a cassette
❖
Set the record direction
❖
Set the reverse mode
❖
Switch Dolby NR on/off.
Continues
AUX/CD-R
SOUND
DISPLAY
SET
MD
TAPE
TIMER/
CHARACTER
&
CANCEL
REC
$
!
—
›
+
⁄
VOL
STANDBY/ ON
MD
TAPE REC
4
¢
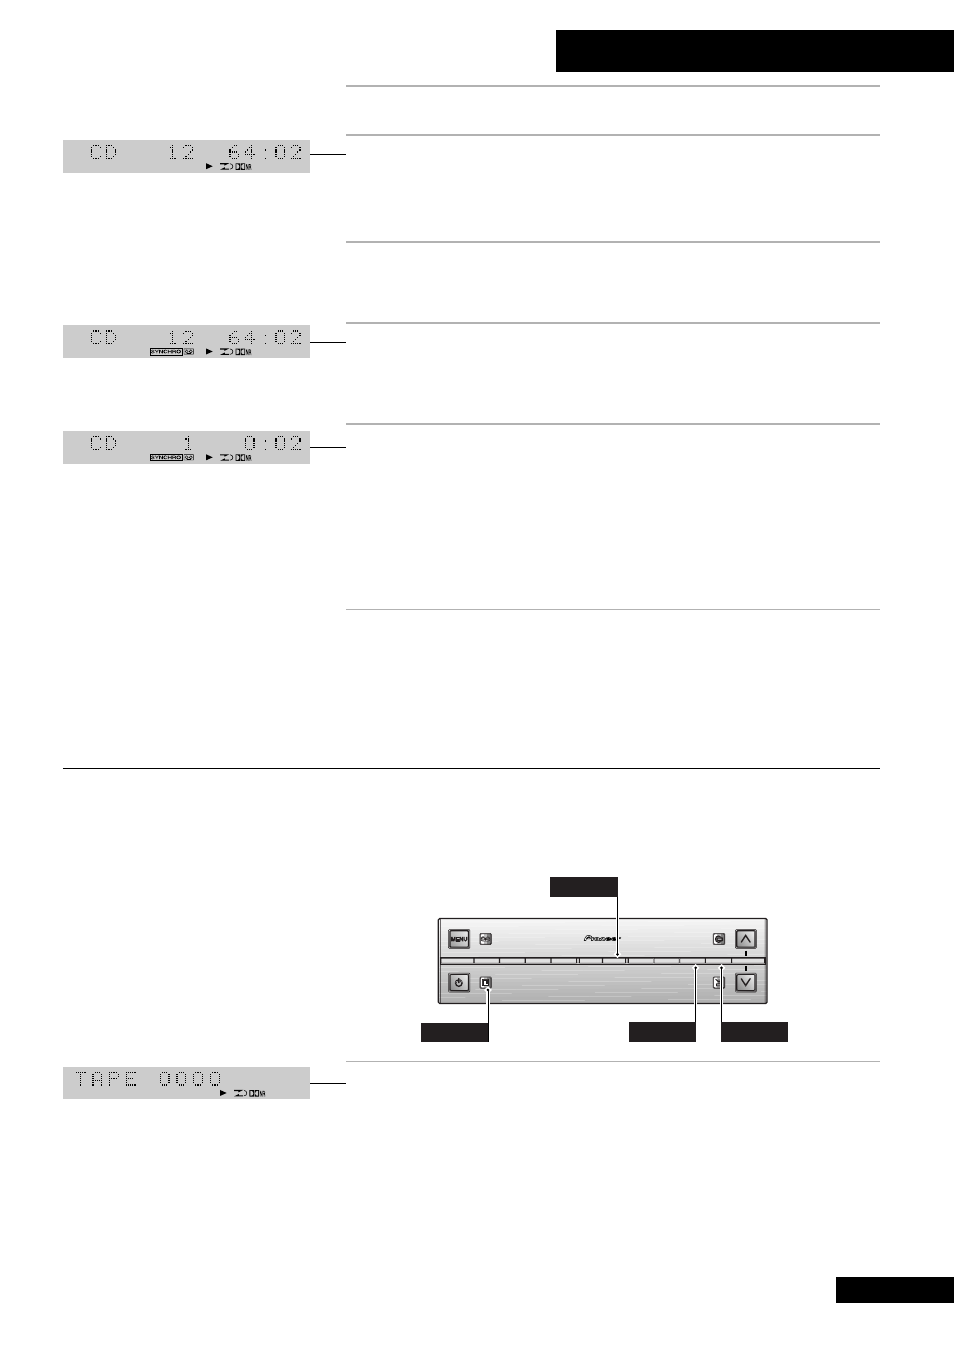
With the CD stopped, the
display shows the number of
tracks and the playing time
The synchro indicator lights
and the recording indicator
flashes
After starting CD playback, the
recording indicator lights
steadily
Cassette loaded and direction,
reverse mode and Dolby NR all
set up