Displaying the customised pois 28, Customising the map screen settings, Displaying the customised pois – Pioneer AVIC-F10BT User Manual
Page 28
# Touch [OK].
Returns previous screen.
6
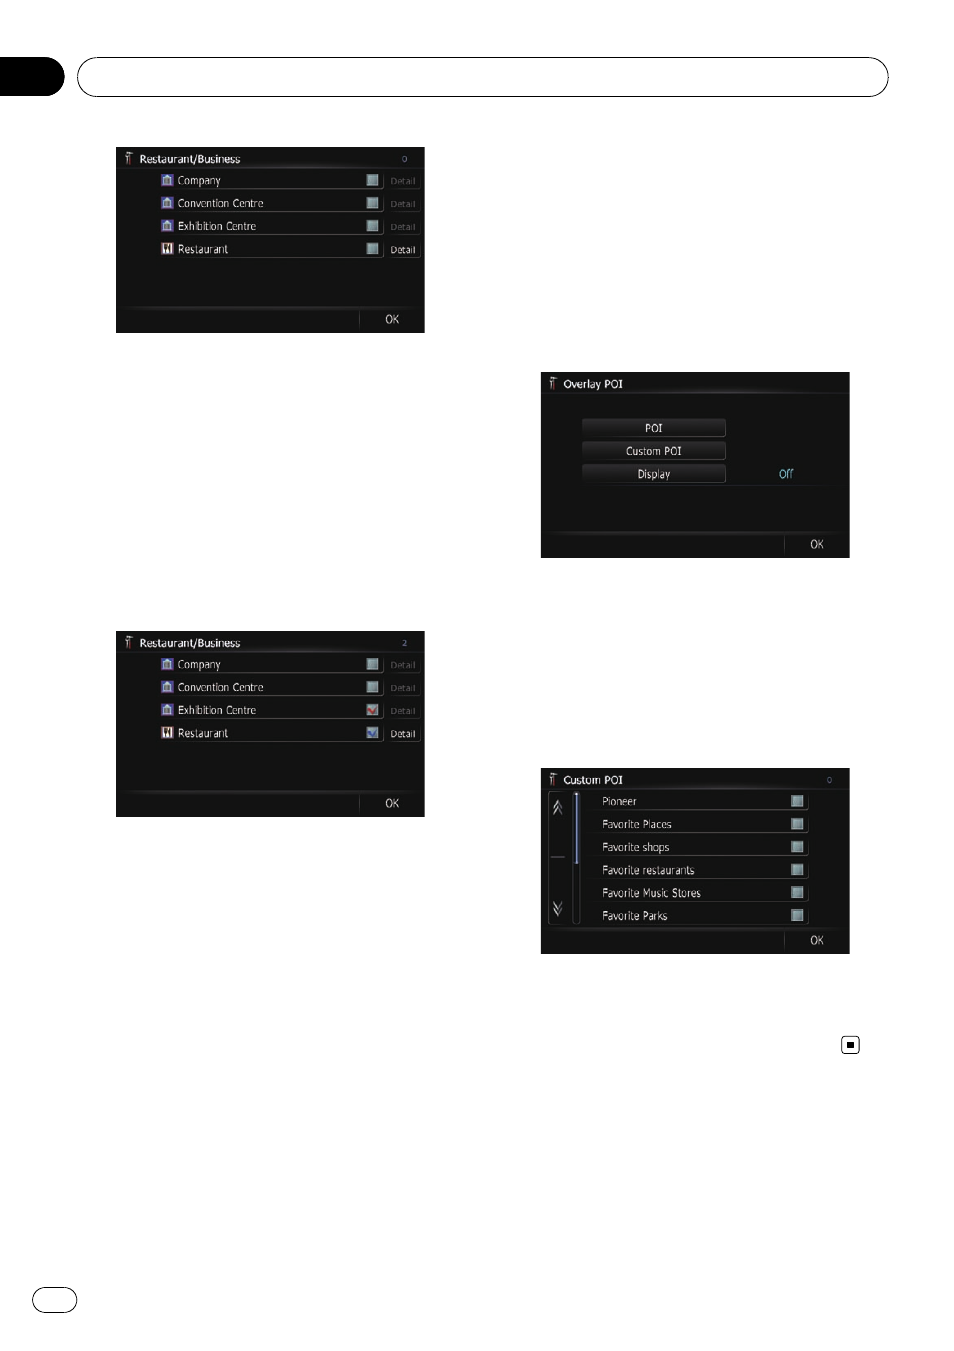
Touch the subcategory.
A red tick mark appears next to the selected
category. To cancel the selection, touch the
entry again.
# If you want to search with more detailed cate-
gories, touch [
Detail].
Touch the item and touch [
OK]. When only a few
types of the detailed categories are selected, blue
tick marks will appear.
p When subcategory is selected, [Detail] is
not available.
7
Touch [OK].
Returns previous screen.
8
To finish the selection, touch [OK].
Displaying the customised POIs
Creating a customised POI is possible by
using the utility programme
“NavGate Feeds”
which is available separately, on your PC.
(
“NavGate Feeds” will be available on our web-
site.) Storing the customised POI properly and
inserting the SD memory card enables the sys-
tem to display the icons on the map screen.
p You can select up to 10 items from the de-
tailed category.
1
Insert an SD memory card into the SD
card slot.
= For more details of the operation, refer to In-
serting and ejecting an SD memory card on
page 13.
2
Display the
“Map Settings” screen.
3
Touch [Overlay POI].
The
“Overlay POI” screen appears.
4
Touch [Display] to turn it [On].
p If you do not want to display the POI icon
on the map, touch [
Display] to turn it [Off].
(Even if [
Display] is turned [Off], the POI
selection setting is retained.)
5
Touch [Custom POI].
The list of POI categories appears.
6
Touch the category you want to dis-
play.
7
To finish the selection, touch [OK].
Customising the map screen settings
Engb
28
Chapter
05