The speaker system setting (vsx-826 only), The video parameter setting (vsx-826 only), Video converter – Pioneer VSX-821 User Manual
Page 41: Resolution, The system setup menu
The System Setup menu
41
En
06
06
• If you assign a component input to a certain function, any
component inputs previously assigned to that function
will automatically be switched off.
• Make sure you have connected the audio from the
component to the corresponding inputs on the rear of the
receiver.
5
When you’re finished, press RETURN.
You return to the Input Assign menu.
• For the assignment of the digital signal inputs, see
Selecting the audio input signal on page 26.
The Speaker System setting (VSX-826 only)
Specify either using the surround back speaker (or the
speaker B), or the front height speaker connection with the B-
speaker terminals.
• Default setting:
Surr. Back
1
Select ‘Speaker System’ from the System Setup menu.
2
Select the speaker system setting using
/.
•
Surr. Back – Sound is output from the surround back
speaker or the speaker B.
•
Height – Sound is output from front height speaker.
3
When you’re finished, press RETURN.
You return to the System Setup menu.
The Video Parameter setting (VSX-826 only)
This receiver can up-convert the video signal input from the
composite/component video terminals; the output is from
the HDMI OUT terminal. The following shows the various
settings for this function.
Video Converter
This setting specifies valid/invalid for the function that
converts the input video signal from each composite/
component video terminal. When
OFF is selected, Resolution
and Aspect can not be set.
1
Select ‘Video Parameter’ from the System Setup menu.
2
Select ‘Video Converter’ from the Video Parameter
menu.
3
Select the setting for converting each type of video
input.
•
ON – The signal is output also to the HDMI OUT terminal.
•
OFF – The signal input from the HDMI terminal of the
selected input function will be output from the HDMI OUT
terminal. The signal input from the analog composite
video and the component video will not be output from
the HDMI OUT terminal.
4
When you’re finished, press RETURN.
You return to the Video Parameter menu.
Resolution
Specifies the output resolution of the video signal (when
video input signals are output at the HDMI OUT terminal,
select this according to the resolution of your monitor and
the images you wish to watch).
1
Select ‘Video Parameter’ from the System Setup menu.
2
Select ‘Resolution’ from the Video Parameter menu.
3
Select output resolution.
•
AUTO – The resolution is selected automatically
according to the capacity of the TV (monitor) connected
by HDMI.
•
PURE – The signals are output with the same resolution
as when input.
•
480p/720p/1080i/1080p – The signal is output with the
resolution specified here (
480p means the resolution of
480p/576p).
4
When you’re finished, press RETURN.
You return to the Video Parameter menu.
Note
• When set to a resolution with which the TV (monitor) is
not compatible, no picture is output. Also, in some cases
no picture will be output due to copyright protection
signals. In this case, change the setting.
• When a display is connected by HDMI, if this is set to
something other than
PURE and 480i/576i analog signals
are input, 480p/576p signals are output from the
component output terminals.
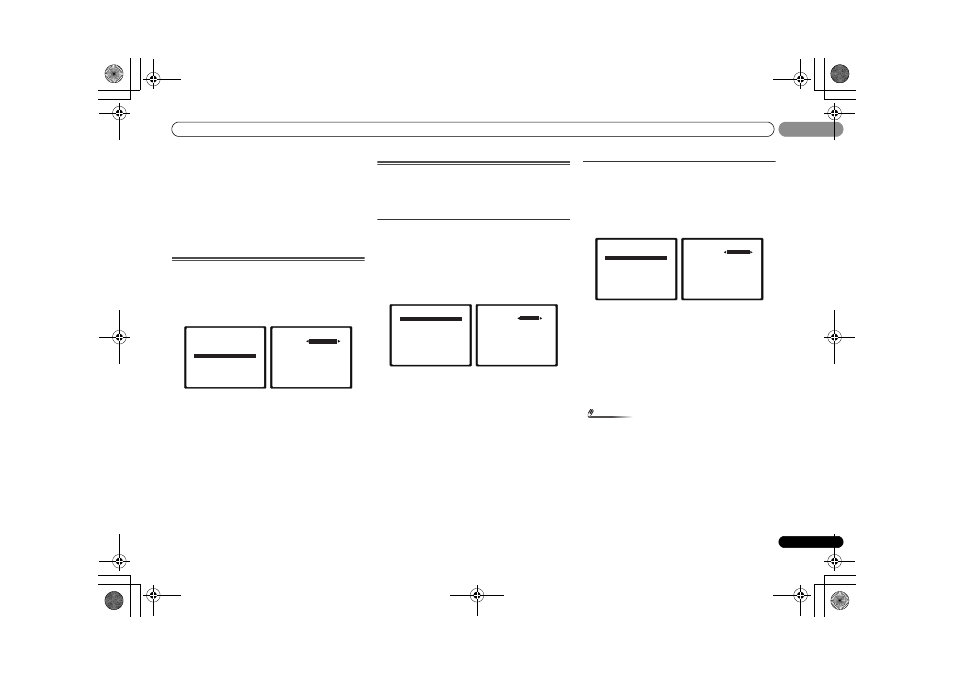
System Setup
1.Auto MCACC
2.Manual SP Setup
3.Input Assign
4.Speaker System
5.Video Parameter
6.HDMI Setup
7.Auto Power Down
8.FL Demo Mode
Return
4.Speaker System
Return
SP System
Surr. Back
5.Video Parameter
Return
a.Video Converter
b.Resolution
c.Aspect
5a.Video Converter
BD
DVD
DVR/BDR
VIDEO1
Return
[ O F F ]
[ O F F ]
[ O F F ]
ON
5.Video Parameter
Return
a.Video Converter
b.Resolution
c.Aspect
5b.Resolution
Resolution
Return
AUTO
VSX-821_826_SYXCN_En.book 41 ページ 2011年2月9日 水曜日 午後3時48分