Installing a drive for bay 2 or bay 3, Installing, Optical – Lenovo THINKSTATION D10 User Manual
Page 27: Drive
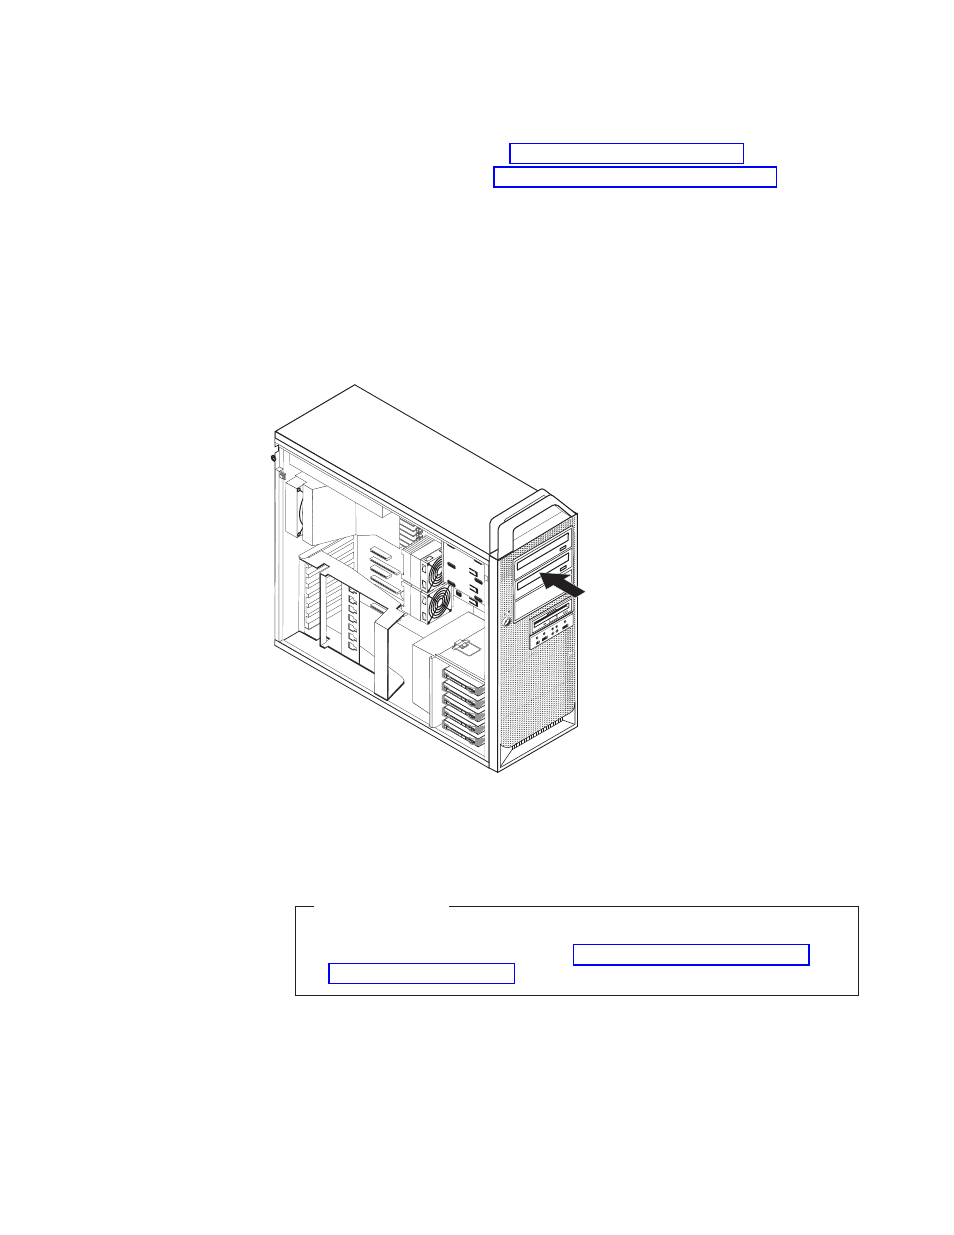
Installing
a
drive
for
bay
2
or
bay
3
To
install
the
optical
drive
for
bay
2
or
bay
3:
1.
Open
the
computer
cover.
See
2.
Remove
the
front
bezel.
See
Note:
On
the
inside
of
the
front
bezel
where
the
drive
is
to
be
located
there
is
a
drive
adapter
plate.
Remove
the
drive
adapter
plate
and
use
it
to
install
the
drive.
3.
Remove
the
plastic
drive
cover
form
the
bezel.
4.
Remove
the
static
shield
(just
pulls
out).
5.
Install
the
adapter
plate
on
the
left
side
of
the
drive
to
be
installed.
6.
Slide
the
drive
into
the
bay
until
it
locks
into
position.
7.
Connect
the
drive
cables.
8.
Install
the
front
bezel.
What
to
do
next:
v
To
work
with
another
option,
go
to
the
appropriate
section.
v
To
complete
the
installation,
go
to
.
Figure
10.
Installing
an
optical
drive
Chapter
3.
Installing
options
and
replacing
hardware
19