Installing the front panel button caps and labels, Figure 10: placing the button cap (left, Eu version, right – us version) – Kramer Electronics RC-63DLN User Manual
Page 20
RC-63DLN
–
Front Panel Button Caps and Labels
17
6.1
Installing the Front Panel Button Caps and Labels
To install the button caps and labels:
1. Remove the required labels from the supplied button label sheet.
2. Hold the button cap so that it is oriented as shown in
“wings” on the left and right sides for the USA version.
Figure 9: Button Cap Orientation without/with Label for USA version
Note that the button caps for the European version on the front panel
should be oriented with the “wings” at the top and lower sides as shown
below (without / with label):
3. Insert the label inside the cap horizontally for the USA version and vertically
for the European version, as illustrated in
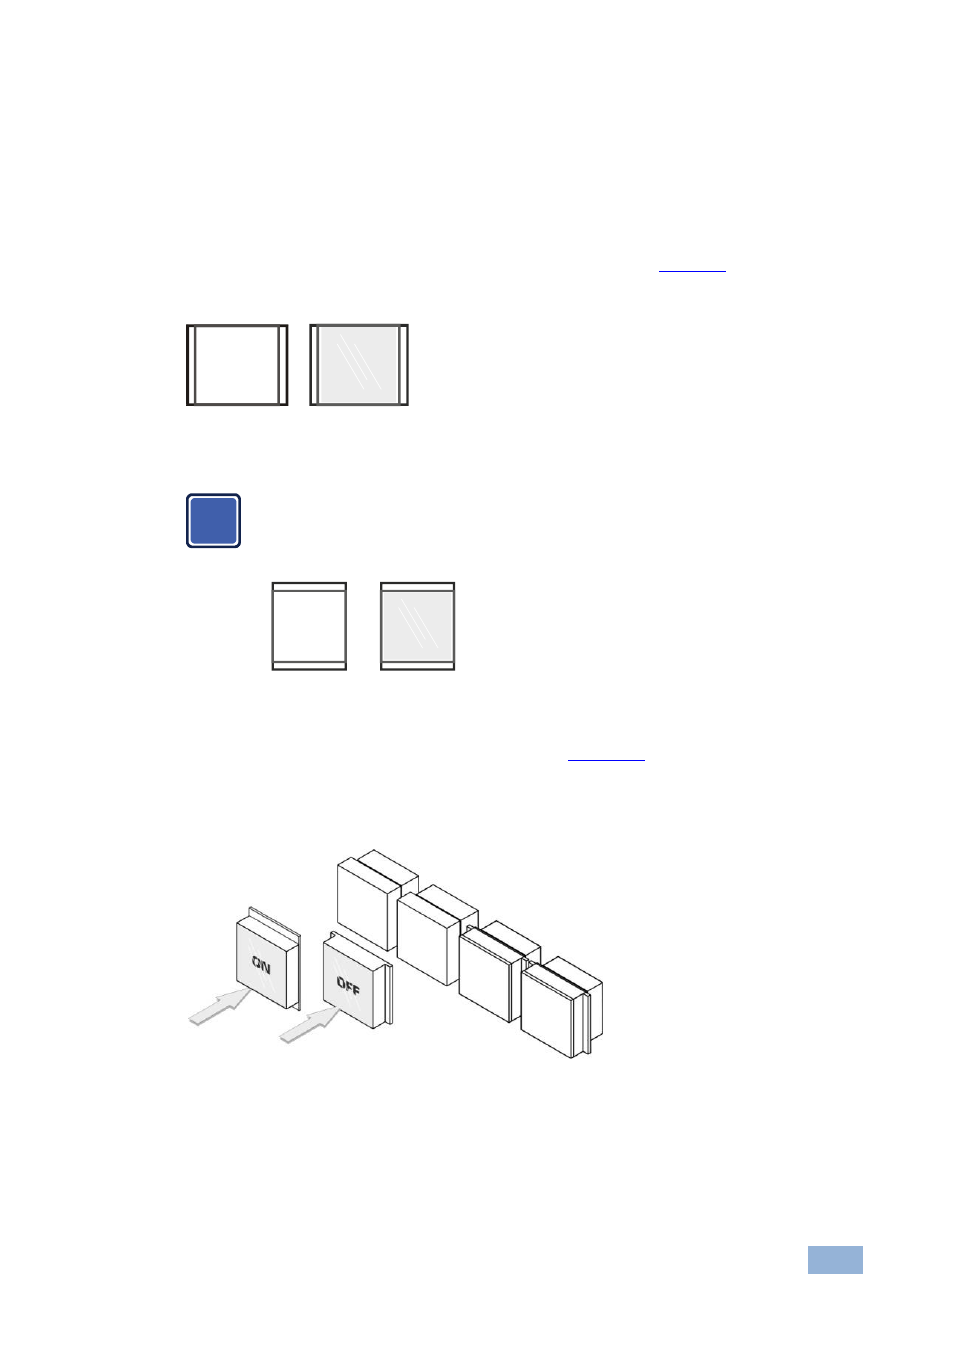
4. Retaining the orientation, place the button cap over the buttons of the
RC-63DLN.
Figure 10: Placing the Button Cap (Left
– EU version, Right – US version)
5. Repeat for all caps (
“OFF” horizontally oriented for USA, “ON” vertically
oriented for Europe).
6. Remove the protective foils from both sides of the Perspex (acrylic glass)
windows.
OFF
i
O N