Installation instructions – ConTech Lighting CAF16 User Manual
Page 2
INSTALLATION INSTRUCTIONS
For Ceramic Metal Halide and Compact Fluorescent Stemlight Pendant Series:
CM12, CA12, CA16, CAF12 and CAF16
www.con-techlighting.com
1-847-559-5500
CMHSTMLT INST
All specifications subject to change without notice.
WIRING INSTRUCTIONS
Track Mount: Connect the socket leads (Blue-to-Blue, Red-to-Red) to the ballast
compartment socket leads; cap the green lead. Push the wire connec-
tors into the ballast housing. Tighten all Allen Screws to the maximum.
Line up the mounting slots, turn the bicycle cable connector clockwise
until it locks into place. A turning tool is supplied with the fixture.
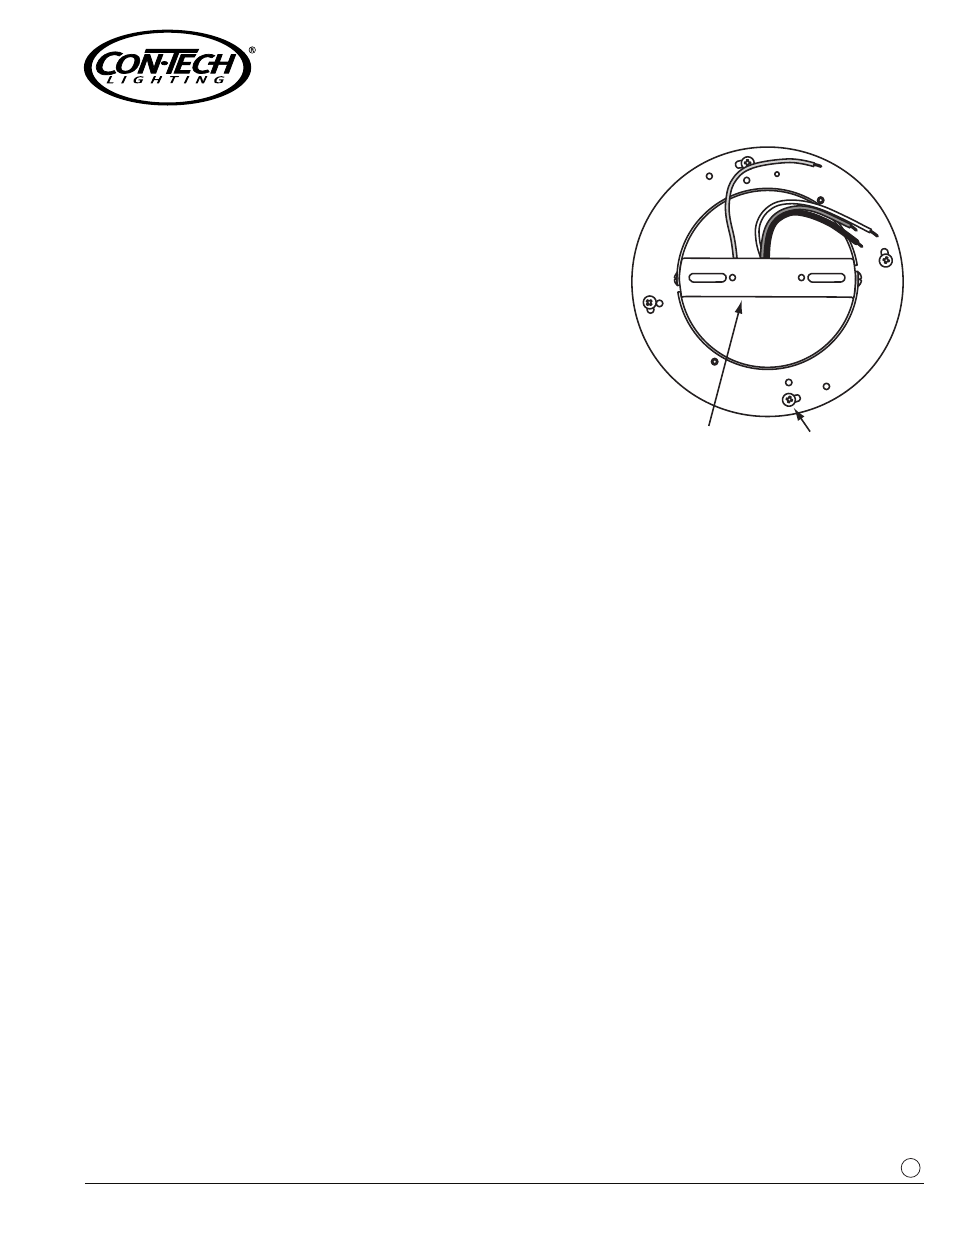
Mono-Point Mount: Connect the socket leads (Blue-to-Blue, Red-to-Red) and the Green
Ground Lead. Connect the primary leads (Black-to-Black, White-
to-White, Green-to-Green). Take the ballast plate and attach the
(4) Brass Screws through the slots into the threaded brackets.
Connect the primary leads from the junction box to the primary
leads of the fixture (Black-to-Black, White-to-White, Green-to-
Green). Attach the top round wiring compartment to the junction
box and tighten the (2) Philips/Straight Blade screws.
SHADE ASSEMBLY INSTRUCTIONS
Metal Shade: Open the bottom lens assembly by loosening the (3) thumb screws.
Insert the proper wattage lamp into the E26 Medium Base Socket.
Close the bottom lens assembly and tighten the (3) thumb screws.
Acrylic Shade: Remove the reflector assembly from the shade/hood/socket assem-
bly by removing the (3) brass screws attached to the metal housing
plate. Place the acrylic shade onto the housing so it sits on the
metal housing plate. From the inside of the acrylic shade, place the
white shade retaining plate onto the metal housing plate. Align the
(3) three holes in the white shade retaining plate with the metal
housing plate, and tighten the plates together with the (3) three
screws. When tightened, this will secure the acrylic shade to the
fixture housing. Insert the proper wattage lamp into the E26 Medium
Base socket. The socket is adjustable vertically, however, the lamp
position from the factory is in the proper wide distribution setting.
2
Top of Canopy
Brass Screws
on Ballast Plate
Mounting Plate