Pulsafeeder Pulsar ECA NEMA4X User Manual
Page 16
1. Disconnect power at the source (follow your local Lock-out-Tag-out procedures).
2. Verify that the mating surface of the lower half of the ECA is clean.
3. Inspect the mating surface for any indication of damage or dirt.
4. Position the cover and set in place.
5. Insert and tighten the 4 phillips head screws.
6. Return the ECA to the desired operating condition.
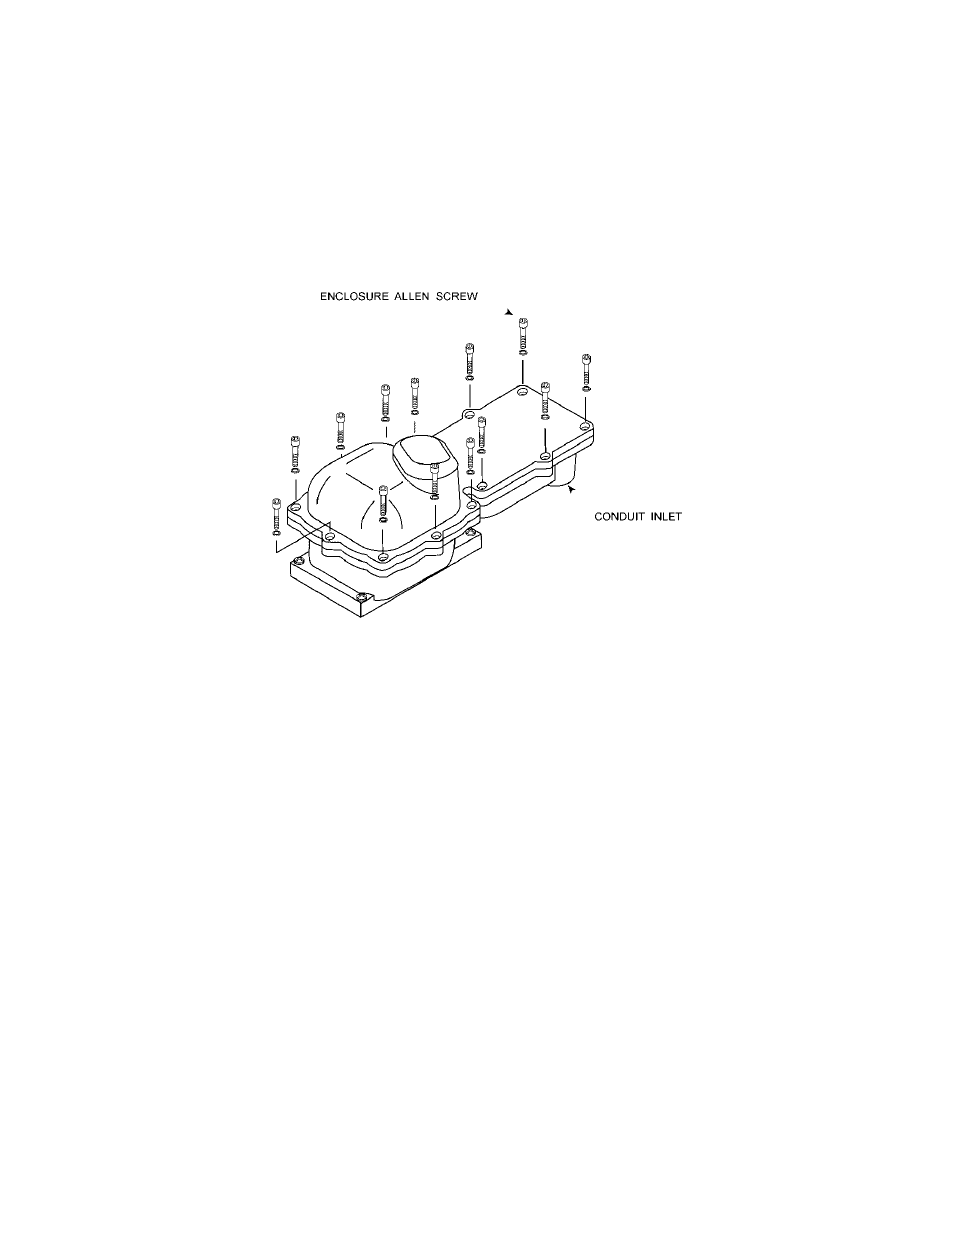
7. Torque the 13 Socket Head Cap Screws to 100in-lb (11.3 N-m). Use a crisscross pattern
to tighten the bolts to ensure a proper seal around the entire perimeter.
Figure 2
8. Check the cover lies flat with no air gaps. Re-torque the cover bolts if needed. DO NOT
exceed a maximum of 125in-lb (14.1N-m) torque.
9. When wiring is completed and cover is properly replaced, the ECA is now ready for
operation. Remove Lock-out-Tag-out protection and restore power. See 4.4 for Electrical
Wiring.
10