Wireless lan – Sony WG-C10 User Manual
Page 2
Windows
Wireless LAN
Step2: Connecting for the first time
Notes
• When this unit (WG-C10) connects to a computer by wireless
LAN, the computer’s internet connection is disconnected.
• To connect to the internet, see the Help Guide.
• If this unit’s security has already been set, you need to enter
your password when connecting to your computer for the first
time. In this case, you do not have to set in Step3 and Step4.
1 Turn on the power of this unit.
Green, blinking
2 Connect your computer to the wireless LAN.
Windows XP/Windows Vista
Right-click
on the task tray at the bottom right of the
screen.
Click [Available Networks/Connect to a network].
Select WG-C10-xxxxxx* and click [Connect].
Windows 7/Windows 8
Click
on the task tray at the bottom right of the screen.
Select WG-C10-xxxxxx* and click [Connect].
* “xxxxxx” is the last 6 digits of the Mac address.
Check the MAC address in “Identifying the Parts” in this Quick
Start Guide.
3 Confirm the connection.
Notes
• When using Windows 7 or Windows 8, a warning message may
appear when connecting. You can proceed.
• Depending on the operating environment, it may take time for
this unit to connect to the computer.
Step3 Security set-up
Check that the proxy setting of the Web browser is not set. If it is
set, cancel it and do the following setting.
1 Type the address into the address bar of
Windows Internet Explorer.
http://192.168.40.1:8080/
2 The security setting screen is displayed.
Select [WPA2] on the screen.
3 Enter a personal password of at least 8
numbers or letters.
4 Reenter your password to confirm it and
select [OK].
5 The wireless LAN connection is turned off
when the password is set.
Go to the next setting in Step4.
Step4 Reconnecting to the wireless LAN
1 Connect this unit.
Windows XP/Windows Vista
Right-click
on the task tray at the bottom right of the
screen.
Click [Available Networks/Connect to a network].
Select WG-C10-xxxxxx* and click [Connect].
Windows 7/Windows 8
Click
on the task tray at the bottom right of the screen.
Select WG-C10-xxxxxx* and click [Connect].
* “xxxxxx” is the last 6 digits of the Mac address.
Check the MAC address in “Identifying the Parts” in this Quick
Start Guide.
2 Enter your password.
Enter the password you set in Step3 as required.
This unit is now connected.
From next time, you do not need to enter the password when
connecting to a device set up for this unit.
If an authentication error occurs:
The password may be wrong.
If you forgot your password:
Press and hold down the RESET (reset) switch for about 10
seconds to return to the factory default condition. Then set
the password again from Step3.
Windows
Wireless LAN
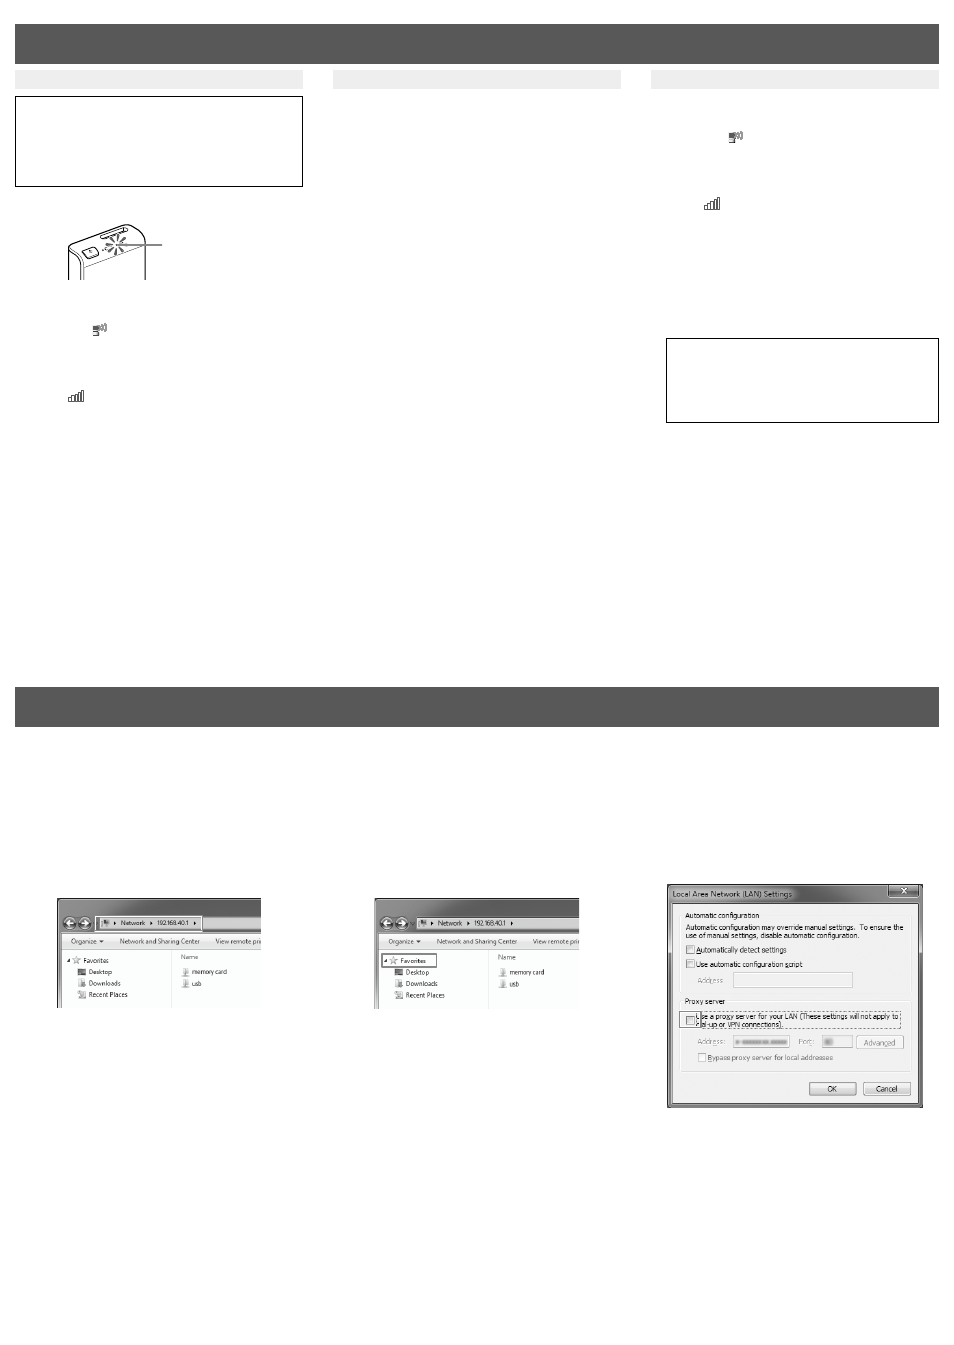
Access
When connecting to a memory card
1 Insert the memory card into this unit.
2 Connect this unit to your computer by
wireless LAN.
3 Enter the address into the address bar of
Explorer.
\\192.168.40.1
The shared folder “memory card” is displayed. You can now
read and write the files in the memory card.
Cancelling the proxy settings
Click [Tool]
[Internet Options] [Connect]
[LAN Settings] in the menu bar of Windows
Internet Explorer.
Uncheck [Use a Proxy Server for your LAN] of
the proxy server on the LAN setting screen.
Tips
• Remember the settings before unchecking.
Restoring the proxy settings
• Check [Use a Proxy Server for your LAN] of the proxy server on
the LAN setting screen and undo the settings associated with it.
Notes
• If you changed the language from English to Japanese on the setting screen in Step3, type “¥” instead of “\”.
Tips
• “Favorites” and “shortcut” are useful.
How to mark “\\192.168.40.1” as a Favorites: Right click “Favorite” and select “Add current location to Favorites”.
When connecting to a USB device
1 Connect this unit to the USB device.
2 Connect this unit to your computer by
wireless LAN.
3 Enter the address into the address bar of
Explorer.
\\192.168.40.1
The shared folder “usb” is displayed. You can now read and
write the files in the USB device.