Sony HT-CT500 User Manual
Page 91
91
US
Ad
v
a
nce
d
Se
ttings
x After pairing
Sound transmission is established between the
paired subwoofer and S-AIR sub unit(s) only.
To perform pairing
1
Place the S-AIR sub unit that you want
to pair near the subwoofer.
2
Match the IDs of the subwoofer and the
S-AIR sub unit.
• To set the ID of the subwoofer, see “To set
the ID of the subwoofer” (page 87).
• To set the ID of the S-AIR sub unit, refer
to the operating instructions of the S-AIR
sub unit.
3
Press GUI MENU.
“GUI MENU” appears in the front panel
display of the subwoofer and the GUI menu
appears on the TV screen.
4
Press
X/x
repeatedly to select
[Settings], then press
or
c
.
The settings menu appears.
5
Press
X/x
repeatedly to select [S-AIR],
then press
.
The S-AIR menu appears.
• When the S-AIR transmitter (not supplied)
is not inserted into the subwoofer, [S-AIR]
cannot be selected.
6
Press
X/x
repeatedly to select [Pairing
Start], then press
.
The message, [Put the S-AIR sub unit near
the S-AIR main unit, and turn on power.
Start pairing], appears on the TV screen.
The subwoofer is ready to start pairing.
7
Press
C/c
to select [Yes], then press
.
The subwoofer starts pairing and the
message, [Pairing. Do the pairing operation
with the S-AIR sub unit.] appears.
8
Start pairing of the S-AIR sub unit.
Refer to the operating instructions of the
S-AIR sub unit.
• Perform pairing within five minutes in
step 6. If you do not, pairing is recognized
as failed, and the screen changes
accordingly. In this case, see “If pairing
fails” (page 92).
• When sound transmission is established,
the message, [Pairing complete. To
perform pairing to an other S-AIR sub
unit, select “Continue”.] appears.
9
Press
C/c
to select [Finish] or
[Continue], then press
.
• [Finish]:
finishes pairing.
• [Continue]:
Continues to perform
pairing to another S-AIR
sub unit.
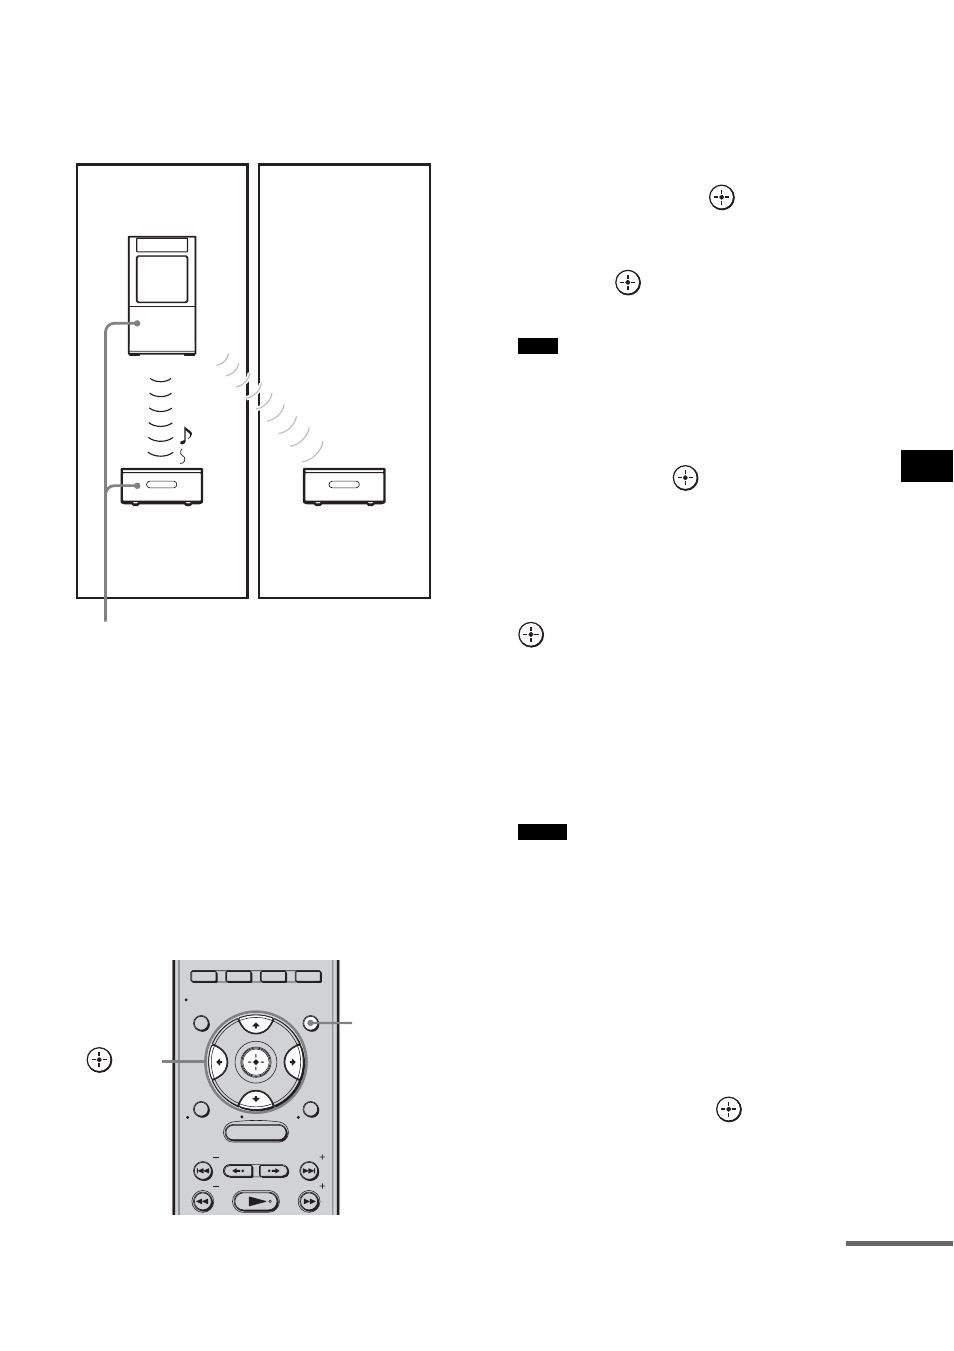
This subwoofer
ID A
ID A
S-AIR sub unit
ID A
S-AIR sub unit
Your room
Neighbor
Pairing
No transmission
MENU
YELLOW
BLUE
RED
GREEN
GUI MENU
TOOLS/
OPTIONS
RETURN/
EXIT
PRESET
ADVANCE
REPLAY
TUNING
PRESET
TUNING
HOME
DISPLAY
GUI
MENU
C, X, x, c,
Note
Notes
continued