Stage 3: connecting the camera and your computer – Sony DSC-P200 User Manual
Page 56
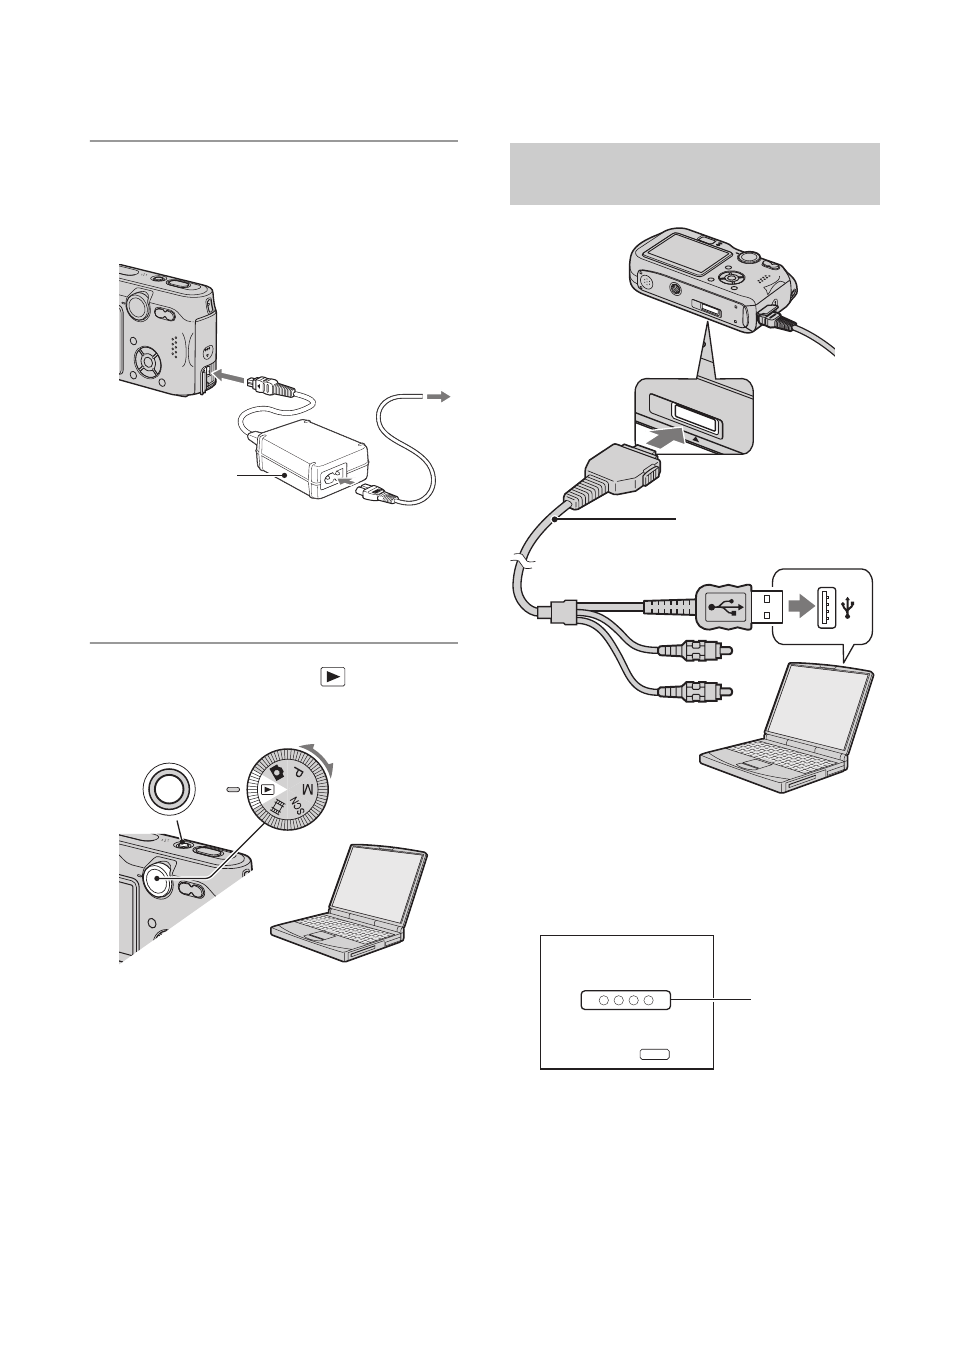
56
2
Connect the camera to a wall
outlet (wall socket) with the AC
Adaptor.
• When you copy images to your computer
using the battery pack, copying may fail or
image data may be corrupted if the battery
shuts off too soon.
3
Set the mode dial to
, then turn
on the camera and the computer.
• With Windows XP, the AutoPlay wizard
appears on the desktop.
“USB Mode Normal” appears on the screen
of the camera.
When a USB connection is established for
the first time, your computer automatically
runs a program to recognize the camera.
Wait for a while.
* During communication, the access indicators
turn red. Do not operate the computer until the
indicators turn white.
• If “USB Mode Normal” does not appear, set
[USB Connect] to [Normal] (page 51).
To a wall outlet
(wall socket)
AC Adaptor
POWER
Stage 3: Connecting the camera
and your computer
To the multi connector
Cable for multi-use
terminal
To a USB connector
USB Mode
MENU
Switch on
Normal
Access
indicators*