Stage 1: preparing the camera, Stage 2: connecting the camera to the printer – Sony DSC-T2 User Manual
Page 102
102
Printing images directly using a PictBridge
compliant printer
Even if you do not have a computer, you
can print images shot using the camera by
connecting the camera directly to a
PictBridge compliant printer.
• “PictBridge” is based on the CIPA standard.
(CIPA: Camera & Imaging Products
Association)
• You cannot print movies.
• If the
indicator flashes on the screen of the
camera (error notification), check the connected
printer.
Prepare the camera to connect it to the
printer with the USB cable. When [USB
Connect] is set to [Auto], the camera will
automatically recognize certain printers
when connected. Skip 1, if this is the case.
• It is recommended to use a fully charged battery
pack to prevent the power from turning off
partway through printing.
1
Touch [HOME] to display the
HOME screen.
2
Touch
(Settings), and touch
[
Main settings].
3
Touch [Main Settings 2] and
touch [USB Connect].
4
Touch [PictBridge].
The USB mode is set.
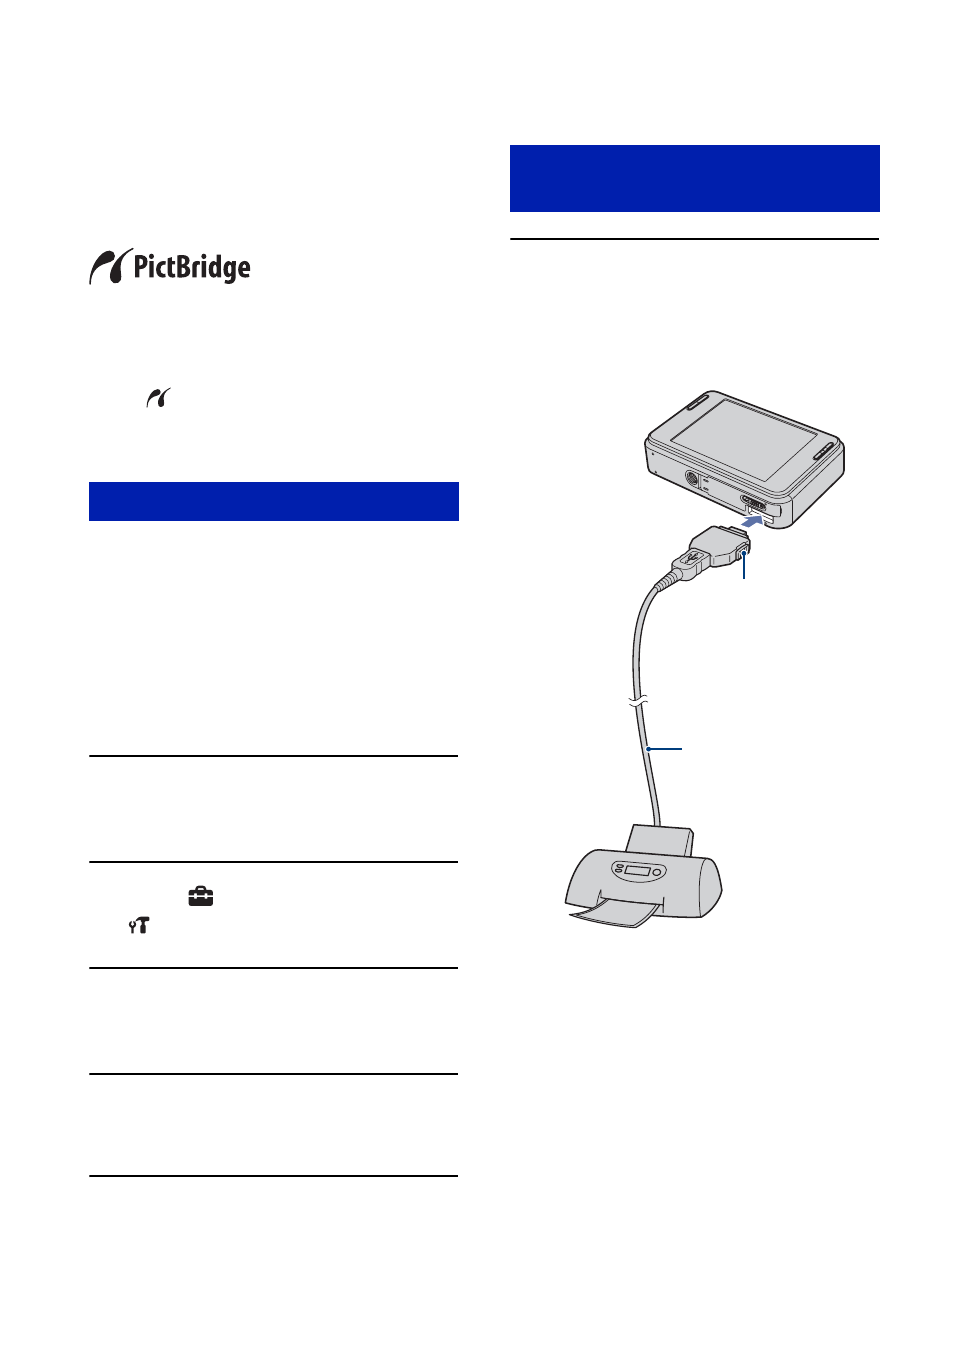
1
Connect the USB adaptor for
Multi connector to the USB cable
and connect the camera to the
printer.
Stage 1: Preparing the camera
Stage 2: Connecting the camera
to the printer
1
To the
USB jack
2
To the Multi
connector
USB cable
USB adaptor for
Multi connector