In single-image mode, In index (nine-image) mode, In single-image mode in index (nine-image) mode – Sony MVC-CD400 User Manual
Page 92
model name1[MVC-CD400/CD250]
[3-075-356-12(1)]
92
filename[C:\MVC-CD400Nouhinn\3075356121\307535612MVCCD400U2\11adv.fm]
masterpage:Left
•
If you mark an image shot in TIFF mode with a
print mark, only the uncompressed image is
printed, and the JPEG image recorded at the
same time is not printed.
•
If you mark an image with a print mark, the
disc remaining space will decrease. If you
unmark the print mark, the disc remaining
space will also decrease.
•
If the disc remaining space is not sufficient, you
may not be able to mark an image with a print
mark.
•
Make sure to finalize the disc before having
images printed at a shop (page 44).
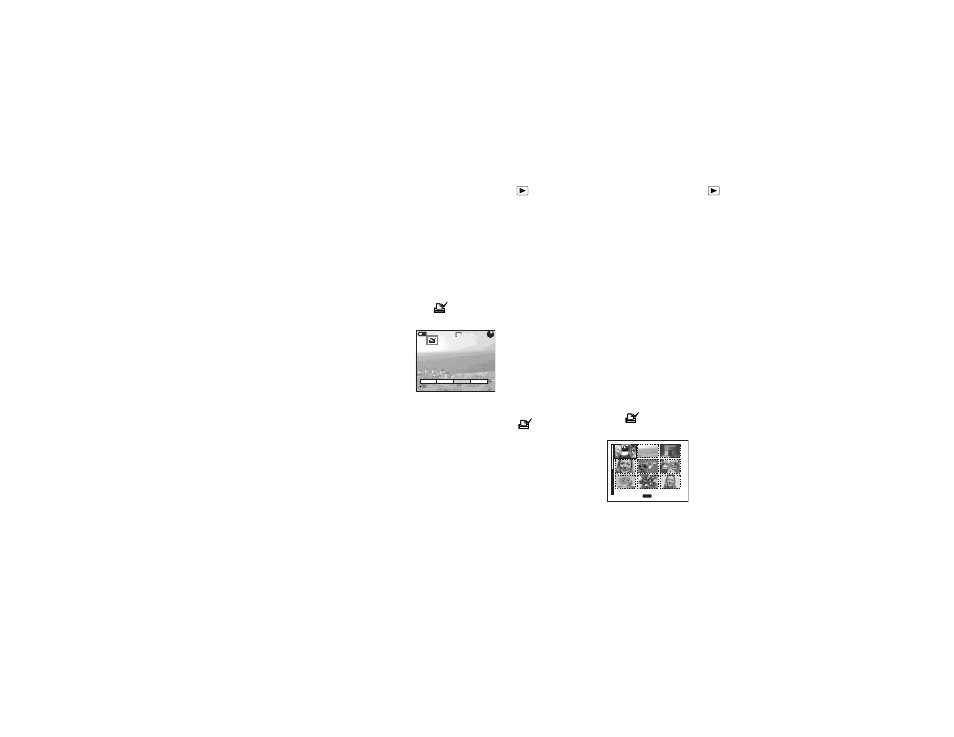
In single-image mode
a
Set the mode dial to
.
b
Display the image you want to
print with
b
/
B
.
c
Press MENU.
The menu appears.
d
Select [PRINT] with
b
/
B
, then
press
z
.
The
(print) mark is marked on the
displayed image.
To unmark the print mark
Press z again in step 4. The
(print)
mark disappears.
In index (nine-image) mode
a
Set the mode dial to
, then
press the zoom W button once
to display the index (nine-
image) screen.
b
Press MENU.
The menu appears.
c
Select [PRINT] with
b
/
B
, then
press
z
.
d
Select [SELECT] with
b
/
B
,
then press
z
.
•
When marking print marks, you cannot
select [ALL].
e
Select the image you want to
print with
v
/
V
/
b
/
B
, then press
z
.
The
(print) mark appears on the
selected image.
f
Repeat step
5
to print other
images.
5/5
640
OK
DELETE PROTECT
60min
SLIDE
TO NEXT
MENU
•
SET