Sony MVC-CD400 User Manual
Page 78
model name1[MVC-CD400/CD250]
[3-075-356-12(1)]
78
filename[C:\MVC-CD400Nouhinn\3075356121\307535612MVCCD400U2\09adv.fm]
masterpage:Left
Before operation
Set [MOVING IMAGE] to [CLIP
MOTION] in the SET UP settings (pages 62
and 116).
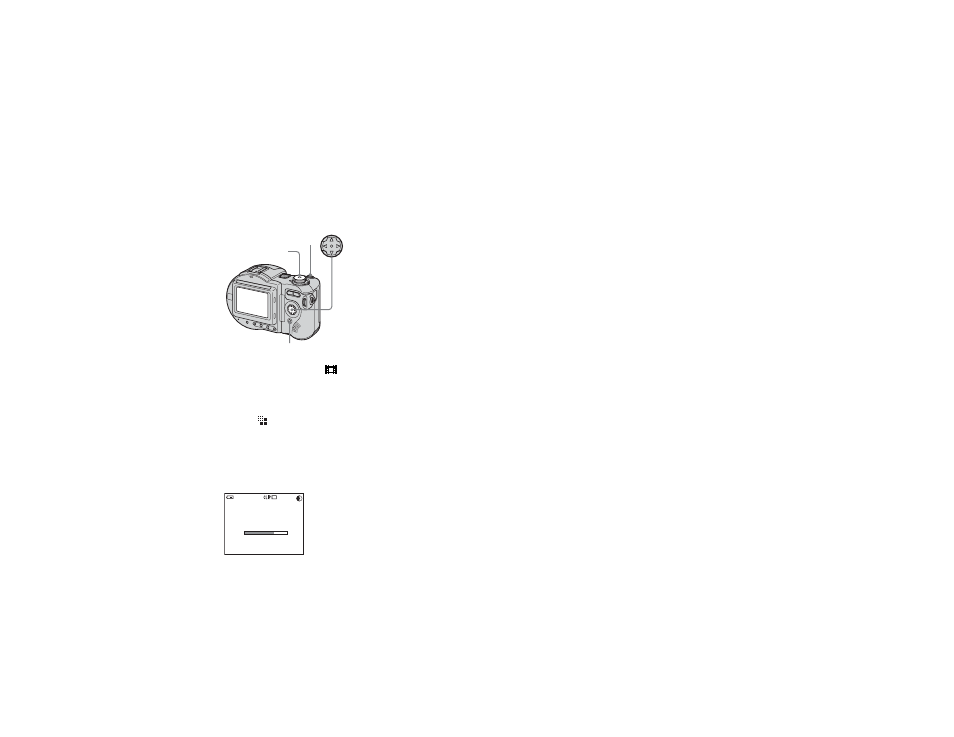
a
Set the mode dial to
.
b
Press MENU.
The menu appears.
c
Select
(IMAGE SIZE) with
b
/
B
, then select the desired
mode with
v
/
V
.
d
Shoot the image for the first
frame.
e
Shoot the image for the next
frame.
Press the shutter button once to shoot
the next frame, then repeat this
operation until you have shot the
desired number of frames.
f
Press
z
.
All the frame images are recorded on
the disc.
•
Before carrying out step 6, the images are
saved temporarily in the camera memory. These
images are not recorded on the disc yet.
•
The date and time are not superimposed onto
Clip Motion images.
•
When viewing an image recorded in Clip
Motion on the index screen, the image may
appear different from the actual image.
•
GIF files not created on this camera may not be
displayed correctly.
To delete some or all of the
frame images while making a
Clip Motion recording
1
Press b (7) in step 4 or 5.
The shot frame images are played back
in turn and stop at the last image.
2
Press MENU, and select [DELETE
LAST], or [DELETE ALL] with b/B,
then press z.
3
Select [OK] with v/V, then press z.
When [DELETE LAST] is selected in
step
2
, each time you repeat steps
1
through
3
, the last frame you shot is
deleted.
Mode dial
Control button
Shutter
MENU
1/10
160
160
160
60min
MAKING “CLIP MOTION”