Basic still image shooting (using auto, Adjustment mode) – Sony MVC-CD400 User Manual
Page 24
model name1[MVC-CD400/CD250]
[3-075-356-12(1)]
24
filename[C:\MVC-CD400Nouhinn\3075356121\307535612MVCCD400U2\04bas.fm]
masterpage:Left1:2
Number of images
2)
that can be
saved on a disc
(Units: images)
2)
When [MODE] (REC MODE) is set to
[NORMAL].
For the number of images that can be saved in
other modes, see page 110.
•
Image size is the size when viewing the
images on a personal computer. Images
viewed on the LCD screen of the camera all
appear the same size.
•
The actual number of images may differ
depending on the shooting conditions.
•
The image size value (e.g., 2272×1704)
indicates the number of pixels.
Quality
FINE
STANDARD
Image size
2272×1704
(MVC-CD400)
66
119
2272 (3:2)
(MVC-CD400)
66
119
1600×1200
131
235
1600 (3:2)
(MVC-CD250)
131
235
1280Ч960
195
347
640Ч480
658
1291
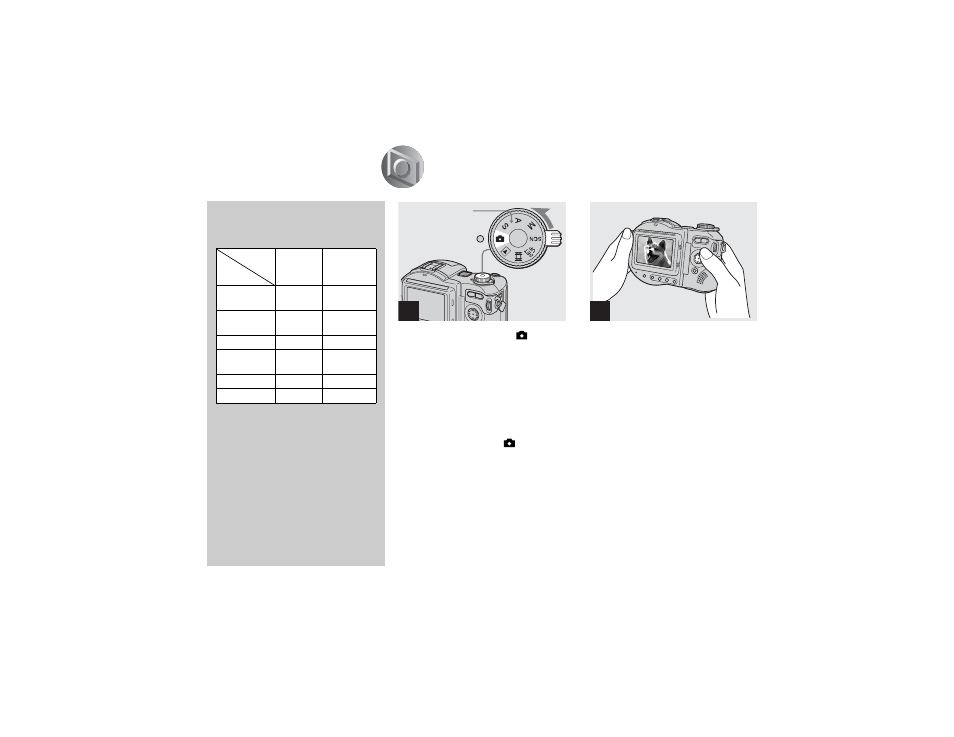
Basic still image shooting (using auto
adjustment mode)
,
Set the mode dial to
, and
turn on the power.
Remove the lens cap.
•
Still images are recorded in JPEG format.
•
When you turn on the power or use the zoom
(page 27), the lens portion moves
(MVC-CD400 only). Do not touch the lens
portion while it is operating.
•
When the mode dial is set to
, the exposure
and focus are adjusted automatically.
,
Hold the camera steadily with
both hands and position the
subject in the center of the
focus frame.
The lens portion moves when you turn on
the power (MVC-CD400 only)
•
You can choose either Multipoint AF or Focus
range select mode (MVC-CD400), or Multi-
point AF mode or Center AF (MVC-CD250) as
the AF mode (page 66).
1
Mode dial
2