Using 3d photography, See “using 3d photography, E5) fo – Nikon S6300 User Manual
Page 119
E
5
Refere
nce S
e
ct
io
n
Using 3D Photography
The camera captures one image for each eye to simulate a three-dimensional
image on a 3D-compatible TV or monitor.
* The icon of the last scene selected is displayed. The default setting is x (scene auto
selector).
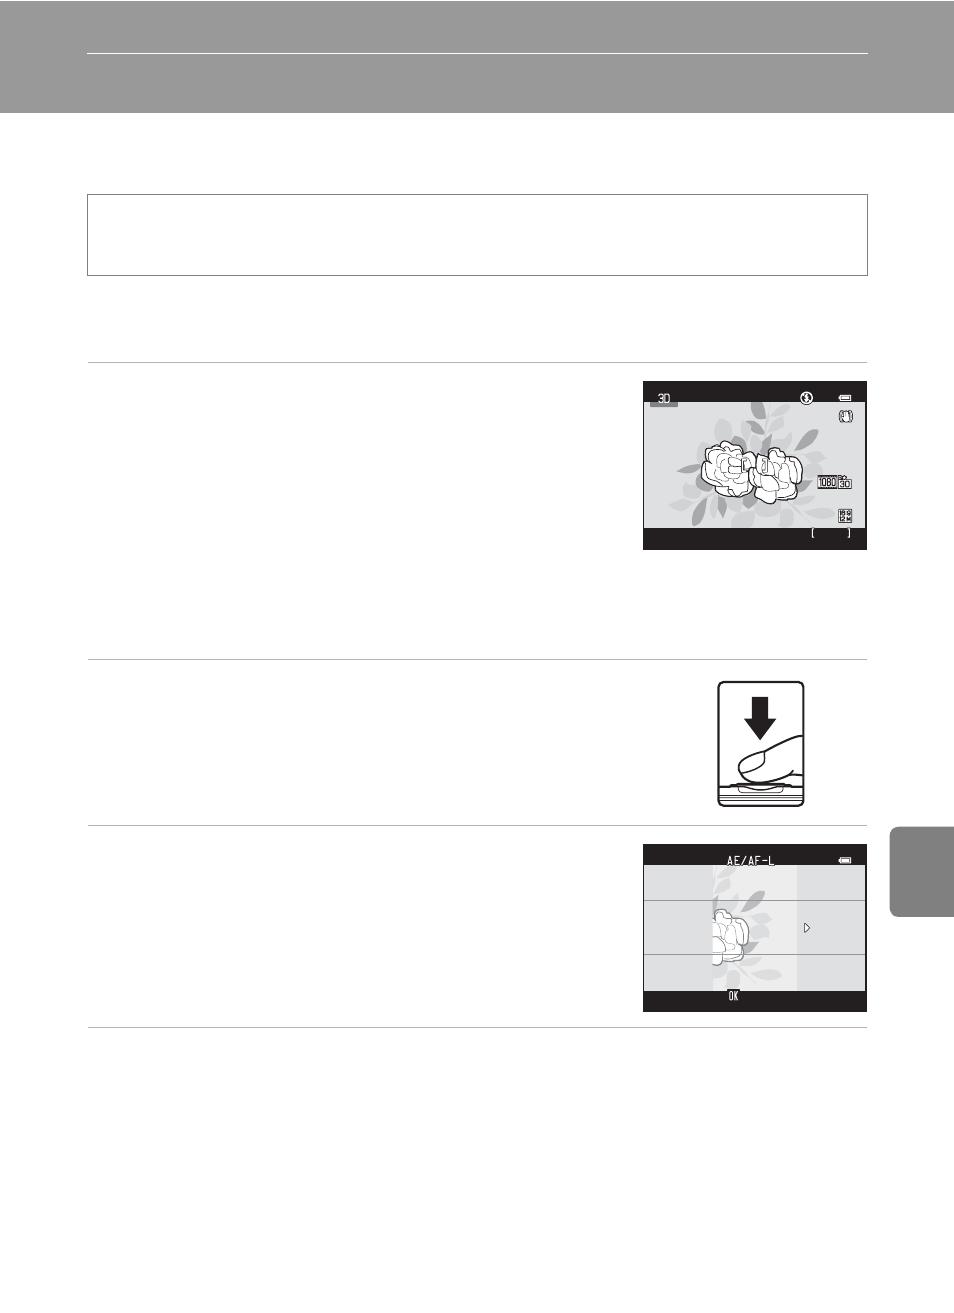
1
Frame the subject.
• The focus area can be moved from the center of the
frame to a different position. To move the focus area,
before taking the first picture, press the
k button, and
then rotate the multi selector or press
H, I, J, or K.
To change settings for any of the following functions,
first press the
k button to cancel focus-area selection,
then change the settings as desired.
- Macro mode
- Exposure compensation
2
Press the shutter-release button to take the
first picture.
• The focus, exposure, and white balance are locked after
the first shot, and R is displayed on the
monitor.
3
Move the camera horizontally to the right
until the translucent guide is aligned with the
subject.
• To cancel shooting, press the
k button.
4
Wait for the camera to automatically take the second picture.
• The camera automatically captures the second image when it detects that the subject
is aligned with the guide.
• Shooting is canceled if the subject is not aligned with the guide within approximately
ten seconds.
Enter shooting mode
M A (shooting mode) button M x (second icon from the top*)
M K M s (3D photography)
1 1 4 0
1 1 4 0
2 9 m 0 s
2 9 m 0 s
Cancel
Cancel