Creating a dpof print order: print set – Nikon L1 User Manual
Page 48
38
C
onnec
ting t
o
Televisions
, C
omput
ers
, and P
rint
ers
4
Start Print
Start Print
Start Print
006 PRINTS
006 PRINTS
006 PRINTS
Back
Back
Back
Confi rm selection (to return to step 1 and
change selection, press MENU button).
5
Printing
Printing
002/006
002/006
Printing
002/006
Cancel
Cancel
Cancel
Start printing. PictBridge menu is dis-
played when printing is complete.
*
* Press center of multi selector again to cancel before printing is complete.
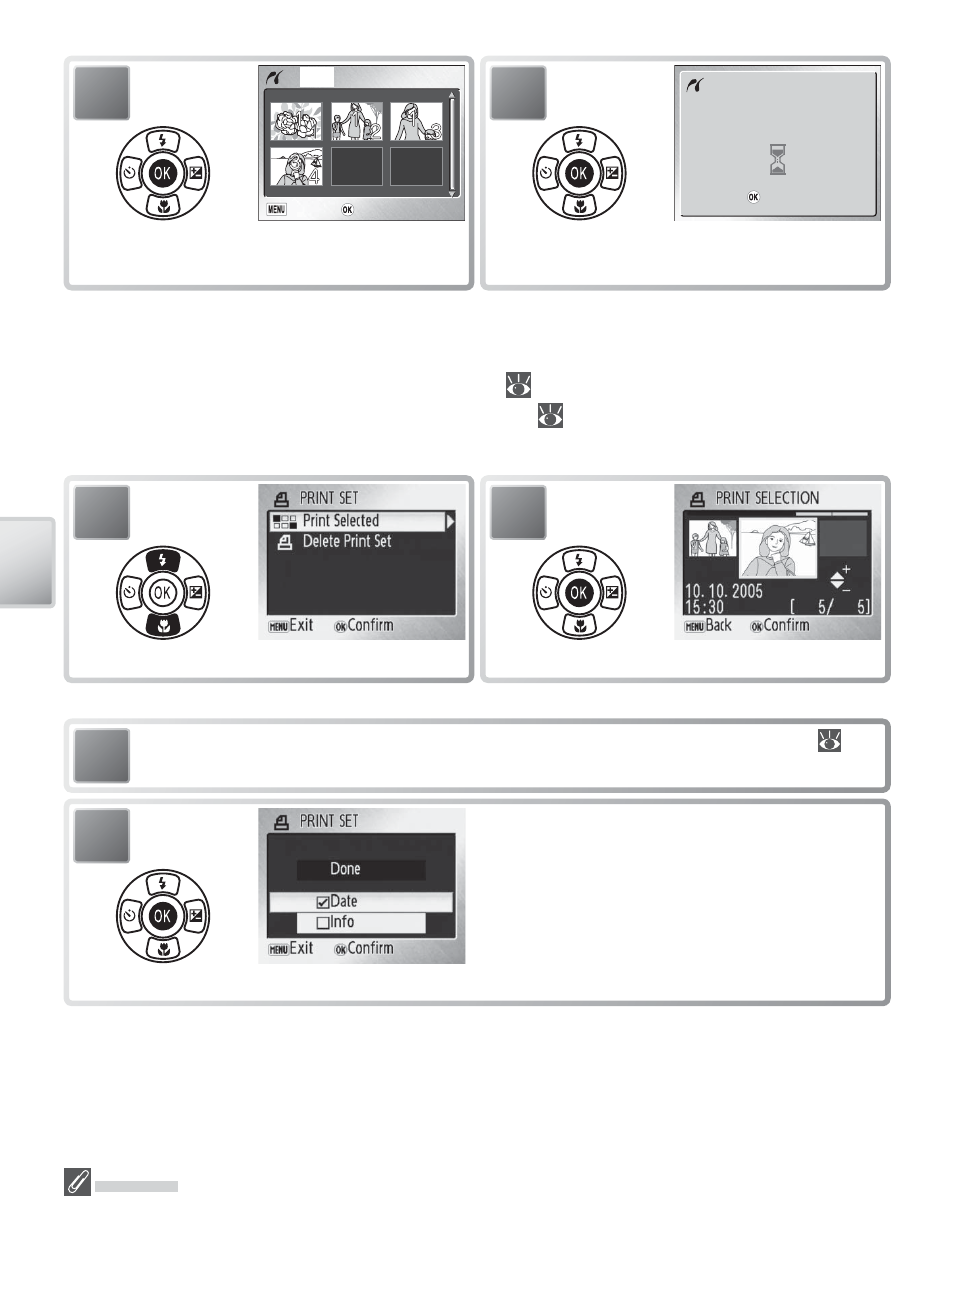
Creating a DPOF Print Order: Print Set
The Print Set option in the playback menu (
54) is used to create digital “print or-
ders” for printing on DPOF-compatible devices (
66). Selecting Print Set displays
the menu shown in Step 1.
1
Highlight Print Selected.
2
Display selection dialog.
Select pictures as described in Steps 1–4 of “Printing Selected Pictures” (
37–
38).
3
4
Press multi selector up or down to highlight
option, press center to select.
• Date: Print date of recording on all pictures
in print order.
• Info: Print shutter speed and aperture on
all pictures in print order.
• Done: Complete print order and exit.
* To delete current print order, highlight Delete Print Set and press center of multi selector.
Print Set
Date and Info are reset each time the menu shown Step 4 is displayed. Info is not printed
when the camera is connected directly to the printer.