Common system setup functions, Model select, Model type – Spektrum SPMR9900 DX9 User Manual
Page 13: Model name
13
SPEKTRUM DX9 • TRANSMITTER INSTRUCTION MANUAL
EN
COMMON SYSTEM SETUP FUNCTIONS
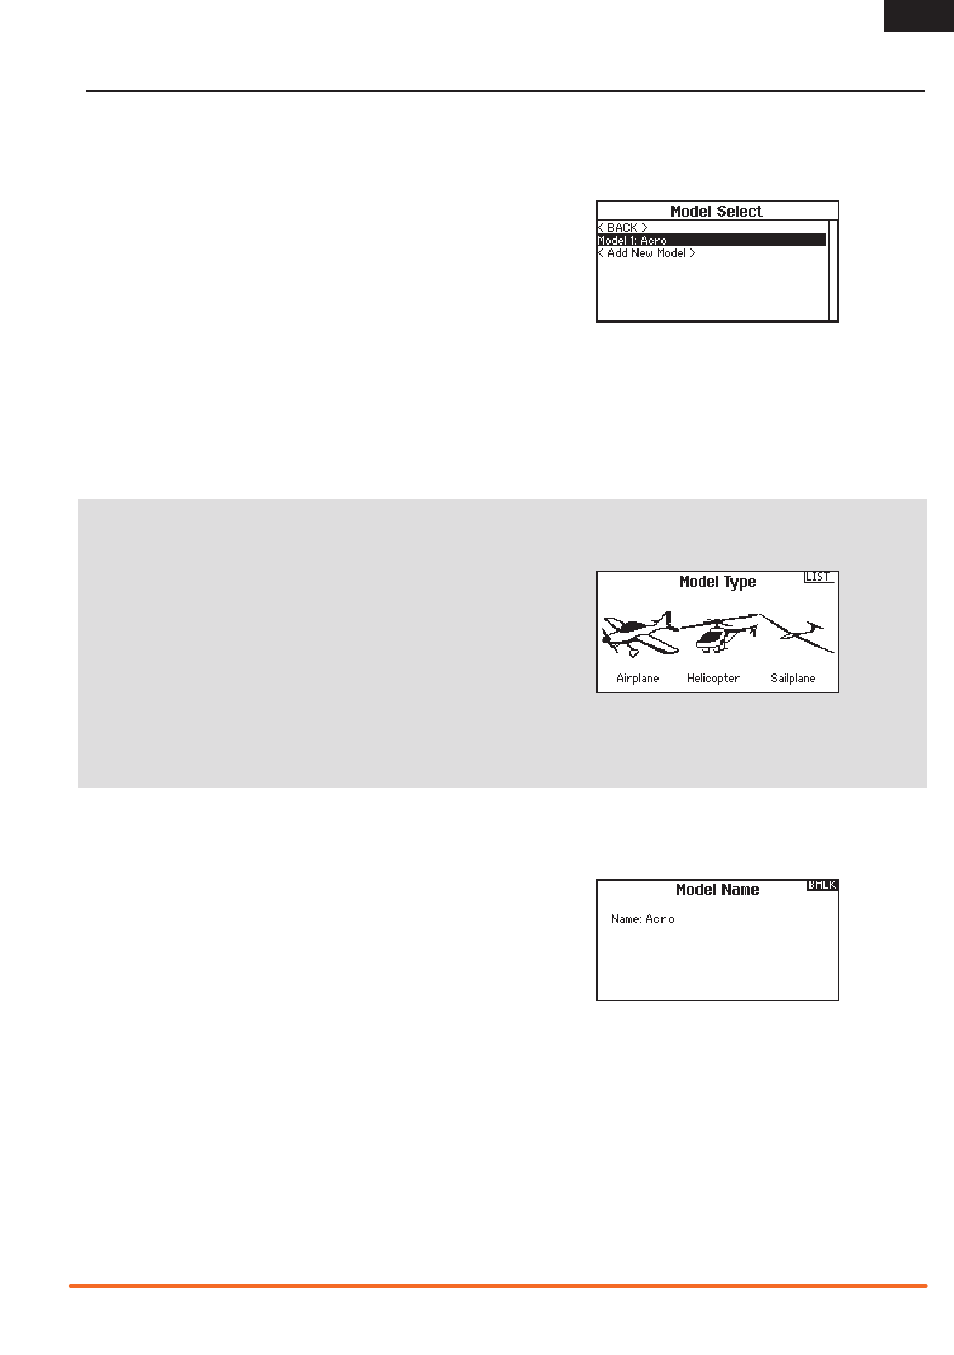
Model Select
Model Select enables you to access any of the 250 internal model
memory locations in the Model Select list.
1. Scroll to the desired model memory in the Model Select list.
2. When the desired model memory is highlighted, press the
scroll wheel once to select the model. The transmitter returns
to the System Setup List.
3. Add a new model by rolling to the bottom of the list. You will
then be prompted with the Create New Model screen, with
the option to create a new model or cancel. If you select
Cancel the system will return to the Model Select function. If
you select Create, the new model will be created and now be
available in the model select list.
Direct Model Access
Press the Clear and Back buttons from the Main Screen or a
telemetry screen to access Model Select.
Model Type
Select from Airplane, Helicopter or Sailplane model types.
IMPORTANT: When you select a new model type, you will delete
any programming data in the current model memory. Always
confirm the desired model memory before changing model types.
It will be necessary to re-bind after resetting the model type.
To change the model type:
1. Scroll to the desired model type and press the scroll wheel.
The Confirm Model Type screen appears.
2. Select Yes and press the scroll wheel to confirm the model
type. All data will be reset. Selecting No will exit the Confirm
Model Type screen and return to the Model Type screen.
Model Name
Model Name enables you to assign a custom name to the current
model memory. Model names can include up to 20 characters
including spaces.
To add letters to a Model Name:
1. Scroll to the desired letter position and press the scroll wheel
once. A flashing box appears.
2. Scroll left or right until the desired character appears. Press
the scroll wheel once to save the character.
3. Scroll to the next desired letter position. Repeat Steps 1 and 2
until the Model Name is complete.
4. Select BACK to return to the System Setup list.
To erase a character:
1. Press
CLEAR while the character is selected.
2. Press
CLEAR a second time to erase all characters to the right
of the cursor.