Ridetech 13027199 User Manual
Page 5
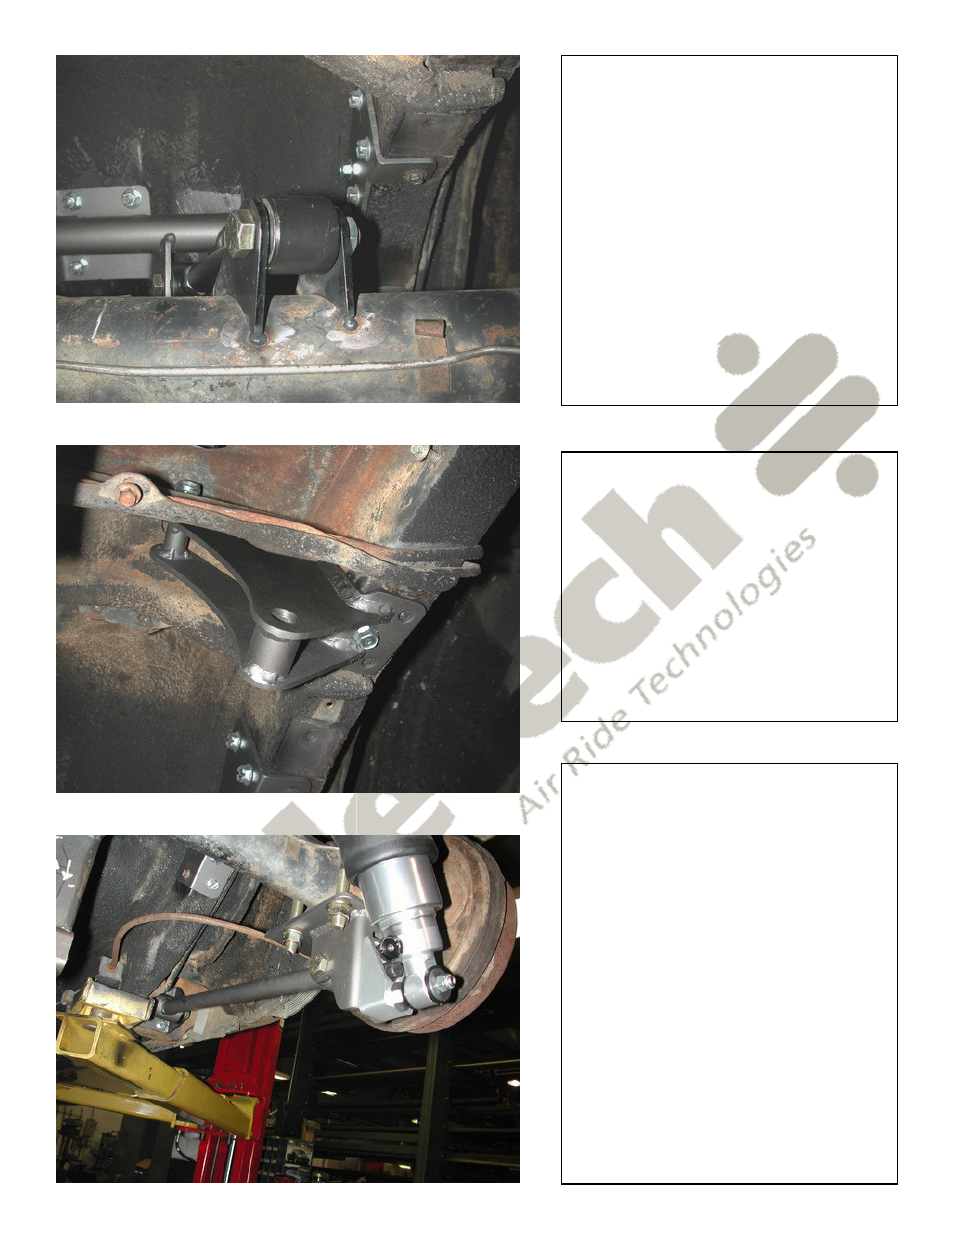
15. Attach the upper Shockwave
mount to the factory upper shock
mount using a ½” x 2 ¾” bolt, Nyloc
nut, and flat washers. Swing the
bracket out to the frame rail to mark
and drill 5 holes in the frame with a
5/16” bit. Fasten with 3/8” x 1” thread
forming bolts and flat washers.
16. Apply thread sealant to a 90
degree air fitting and screw it into the
top of the Shockwave. These
pictures show the 9000 series
Shockwave, but this kit will use the
7000 series.
17. Screw the lower shock stud into
the billet mount. Slide the
Shockwave over the stud with a large
washer on each side of the bushing.
Secure the unit with the Nyloc nut
supplied with the kit.
Note: Position the valve adjustment
knob so that it can be accessed
easily. Approximately 3 clicks will be
a good starting point but will vary to
driver preference.
14. Once pinion angle, axle center
and ride height are double-checked
the tabs can be tack-welded to the
axle. Then remove the bar (to avoid
frying the bushings) and weld the
tabs solid. Weld 1” at a time and skip
around to avoid warping the axle.
Reattach the bar to the axle.