Pypes Performance Exhaust SGI10 User Manual
Sgi10
SGI10
Aluminized Steel catalytic converter back exhaust system for
1994-96 Chevy Impala
SGI10: 2-1/2” w/ x-pipe
Thanks again for purchasing your new 409 stainless steel Pypes Per-
formance Exhaust header/cross-member back system. Please be sure
to confirm all the components in the kit were received in your shipment
before beginning installation. These kits will include (1) X-pipe kit, (2)
Mufflers (if purchased), (2) tailpipes, (2) resonator delete tailpipes, (2)
muffler hangers, (2) tailpipe hangers, (8) clamps, and (1) bonus pack. If
you purchased a kit including mufflers you will see the following notation
after the system number: (S) Street Pro, (R) Race Pro, and (V) Violator.
If you find any component missing, please contact our office at 800-421-
3890 for replacement. Installation of this kit will require some simple
hand tools; box wrenches, deep sockets w/ ratchet, extension, a saws-all
and some penetrating lubricant. For a quicker and tighter installation,
air tools are recommended. Fully welding the system is always recom-
mended when possible. Technical assistance is available both online at
www.pypesexhaust.com or 800-421-3890. Also, our online Installation
Gallery is a great assistant during your installation, visit www.pypesex-
haust.com/pictures.html .
Pypes Performance Exhaust
2880 Bergey Road Unit O Hatfield, PA 19440
800-421-3890 (voice) 215-712-9968 (fax)
www.pypesexhaust.com
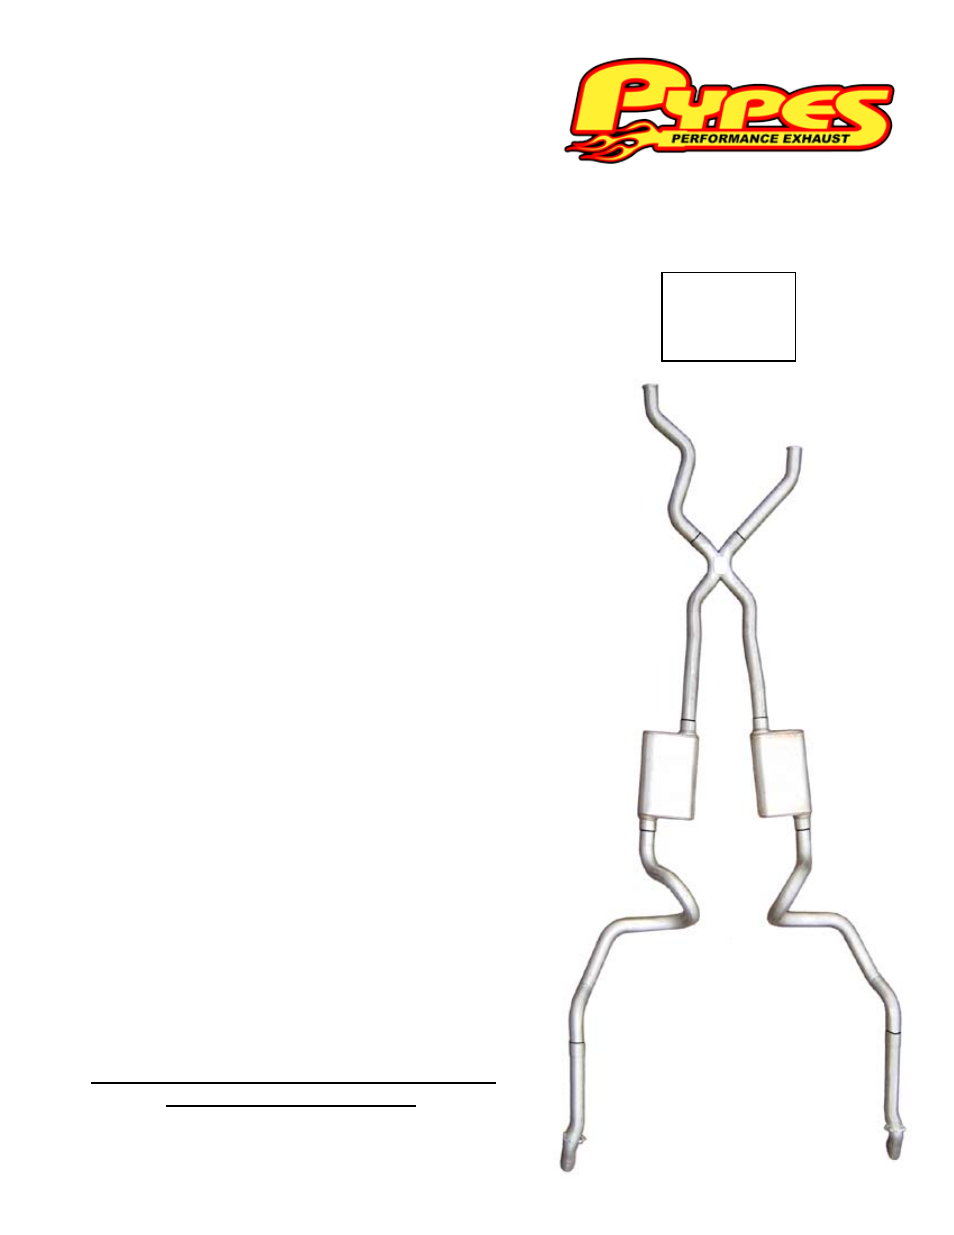
(A) X-pipe Assembly
(B) Mufflers
(C) Tailpipes
(D) Resonator Delete
Tailpipes
(A)
(B)
(C)
(C)
(D)
(D)
1. Begin by placing the vehicle on a lift or four jack stands at maxi-
mum height to aid in an easier installation. To help ease the installation,
pre-fit all the components into a complete system on your garage floor,
using the diagram provided.
2. Remove the existing exhaust system from catalytic converters
back. Save your factory flanges.
3. Now, install your new components. Begin by test installing your
new tailpipes. The new resonator delete pipes will get mounted in the fac-
tory hanger located near the rear bumper. Place the tailpipe section over
the axle and slide them into the resonator delete pipes. The muffler hang-
ers will get mounted to the rear seat pans just in front of the rear. If you so
choose, custom hangers may be fabricated, let your creativity shine.
4. Now, install the mufflers. The inlet should be closest to the drive
shaft and the outlet should be towards the rockers of the car. The clamp at-
tached to the hanger at the backside of the muffler will be the only connec-
tion clamp used.
5. Next, install the x-pipe. You must re-use your factory flanges
which will connect the front legs of the x-pipe to you catalytic converters.
Trimming of the front legs may be required to make sure the “X” is centered
under the drive shaft. Also, the center plate in the “X” has an arrow stamp
which must point forward. Now, slide the rear legs of the x-pipe into the
mufflers.
6. Finish the system by making all your final adjustments to position
the mufflers and piping. Now tighten all the clamps or for the best fit weld
all the slip joints. The aluminized steel can be welded with your standard
mig welder.
Now it’s time to fire up that muscle car and enjoy your
new Pypes Performance Exhaust.