Merit Medical PD Percutaneous Kit IFU User Manual
Page 3
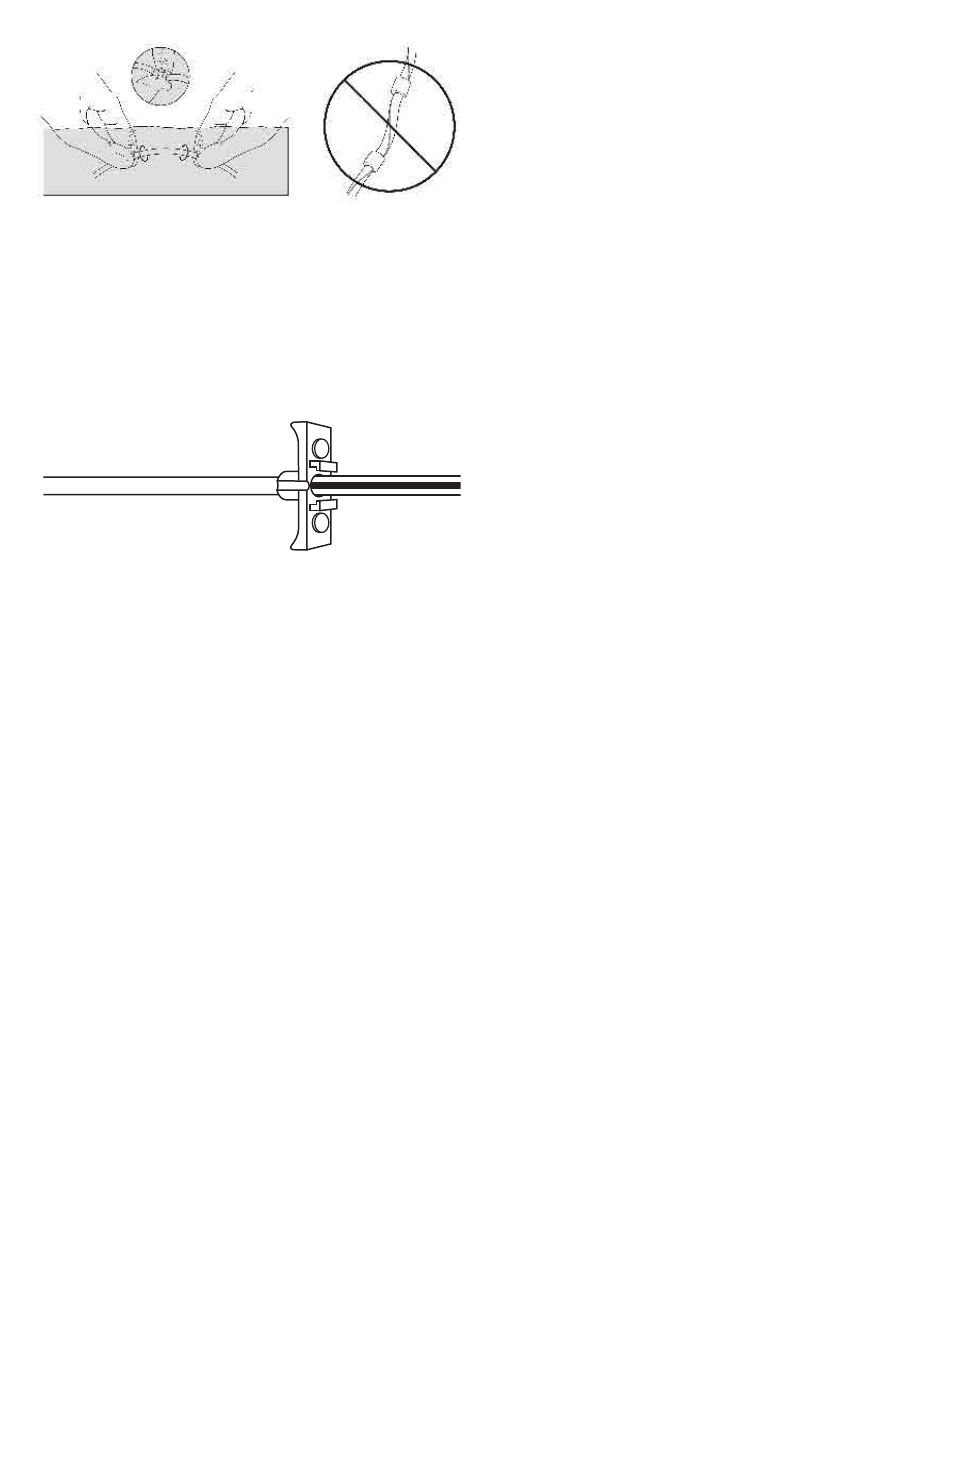
Figure 6 Figure 7
Note: Use the radiopaque stripe as a guide to avoid twist-
ing the catheter. (Figure 7) For optimal catheter placement,
radiopaque stripe should be oriented directly anterior or
directly posterior in the patient.
Implanting the Catheter
Technique #1 – Over-the-Wire using a Peelable
Introducer Sheath
Figure 8
21.
A. Maintaining the position of the distal end of the guide
wire, if placing a coiled catheter, straighten catheter coil
in order to load the catheter over the proximal end of
the wire.
B. Continue to advance the catheter over the guide wire
and through the peelable sheath introducer (Figure 8).
Under fluoroscopic guidance, manipulate the guide
wire and catheter in tandem until the distal end of the
wire is in appropriate position.
C. Once optimal catheter positioning is achieved, continue
to “Implanting the Rectus Cuff.”
Technique #2 – Implantation Stylette Technique
Note: A Merit catheter straightening stylette (sold sepa-
rately non-sterile) can be used in place of the guide wire
included in the kit.
Caution: Extreme care should be taken when using the
stylette with or without fluoroscopy.
Warning: Organ perforation may occur if fluoroscopic
guidance is not utilized.
22.
A. Remove the guide wire and internal sheath dilator
simultaneously, once optimal peritoneal placement is
achieved.
B. Lubricate the facility-sterilized catheter stylette with
sterile gel or saline.
C. Insert the stylette into the catheter.
D. Lubricate the distal part of the catheter with sterile gel
or saline.
E. Insert catheter, with stylette, carefully into the peelable
sheath.
F. Under fluoroscopic guidance, advance the catheter
through the sheath, periodically retracting the stylette.
Note: Keep the tip of the stylette within the abdomen to
help the catheter move through the rectus muscle.
Caution: Make sure the catheter is not doubled on itself,
kinked, or twisted (Figure 7).
Implanting the Rectus Cuff
23. Grasp the tabs of the peelable sheath and crack and
peel the sheath to the level of the anterior rectus
sheath, approximately 5 cm.
24. Place the Cuff Implantor between the two cuffs of the
catheter and advance to the distal (deep) cuff.
25. While bracing the cuff with the Cuff Implantor, advance
the distal cuff with the Cuff Implantor and peeled part
the sheath into the rectus fascia.
26. Holding the distal cuff with the Cuff Implantor in the
rectus muscle, peel the remaining sheath with assis-
tance from the procedural assistant.
27. Once the peelable sheath is completely removed, con-
tinue to advance the Cuff Implantor until the distal cuff
is passed through the opening of the anterior rectus
sheath. The bracket on the Cuff implantor will keep the
Cuff Implantor from passing through the anterior rectus
sheath.
28. Retract the Cuff Implantor tool parallel with the cathe-
ter, without dislocating or moving the distal cuff.
Removing Tools and Tunneling the Catheter
29. Digitally and visually verify that the distal cuff is just
below anterior rectus sheath.
Note: To improve visualization of the cuff, it is helpful to
retract incision site tissue.
30. Remove the guide wire or stylette.
31. Slide the proximal end of the catheter over the barbed
end of the Faller Trocar, onto the indented section of
the Trocar past the barb.
32. Secure the catheter with a suture by tying the suture
around the catheter to ensure holding strength during
the tunneling process.
33. Insert the sharp end of the Faller Trocar into the initial
implantation site, as indicated by the Implantation
Stencil markings, aiming the sharp tip toward the
planned exit-site as indicated by the Implantation
Stencil markings.
34. Advance the sharp tip of the trocar along the planned
track.
Cautions: The Fallar Trocar is very sharp and can create
sever hematomas or lacerations in the patient or injure the
user if not used correctly by qualified medical personnel.
Warning: Do not twist the catheter.
35. When the trocar tip is close to the exit-site, make a stab
incision not to exceed 5.0 mm with a #11 blade at the
exit-site.
36. Advance the Faller Trocar through the exit-site incision.
Note: Do not twist or kink the catheter.
37. Pull the catheter through the tunnel, and out through
the exit-site and assure the subcutaneous cuff is opti-
mally located.
38. Cut the catheter off of the Faller Trocar at the end of the
barbed tip of the trocar.