Running empinfo on nonstop – HP Integrity NonStop J-Series User Manual
Page 309
3.
Select SERVLETS for the Server Class and click Set.
The Host (in server.xml) tab is enabled and populated with localhost. Click Set, which enables
the Deployment tab on the NSJSP Manager screen.
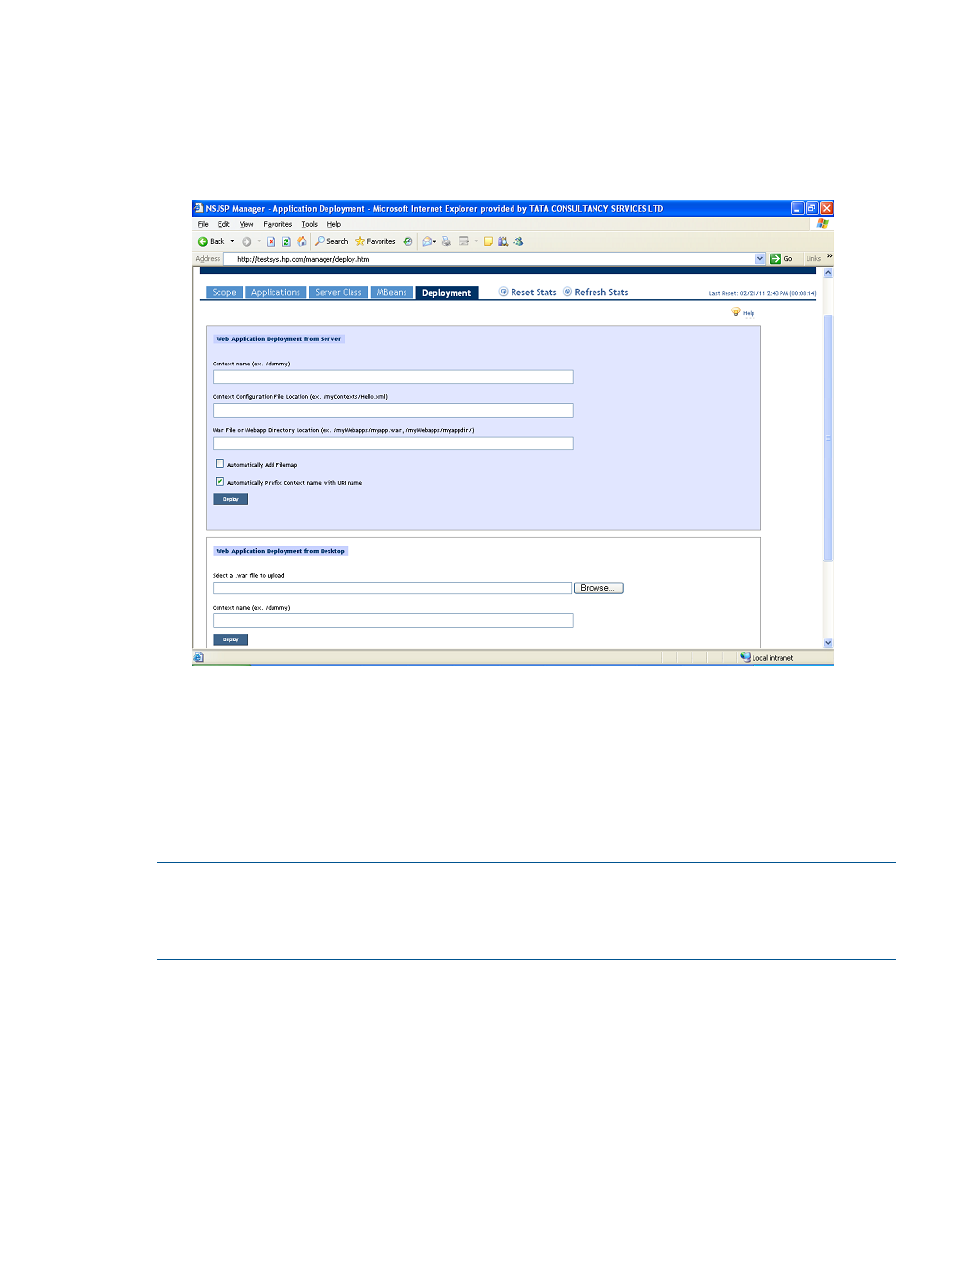
shows the Deployment tab of NSJSP Manager.
Figure 140 NSJSP Manager Screen - Deployment tab
4.
In the Deployment tab, complete the following steps in the Web Application Deployment from
Desktop section:
1.
In the Select a .war file to upload field, click Browse... and locate the EmpInfo.war file
on the Windows system.
2.
(Optional) In the Context name field, enter a name for the application context.
3.
Click Deploy.
EmpInfo is deployed on NSJSP and is listed under Applications tab of the NSJSP Manager screen.
NOTE:
HP recommends that you use the NSJSP manager for deployment. Deployment using the
FTP or any other mechanism is not recommended. For more information on using the NSJSP
manager, see the NonStop Servlets for JavaServer Pages (NSJSP) 6.1 System Administrator’s
Guide.
Running EmpInfo on NonStop
To run EmpInfo on your NonStop system, click the /<servlet directory>/EmpInfo path under
Applications in the NSJSP Manager screen.
When you access the above-mentioned URL, the Welcome to Employee Management Service
screen appears.
shows the Welcome to Employee Management Service screen.
Integrating MyFaces into Spring 309