Check the resolution settings, Check the image-adjustment settings – HP LaserJet Enterprise flow M830 Multifunction Printer series User Manual
Page 180
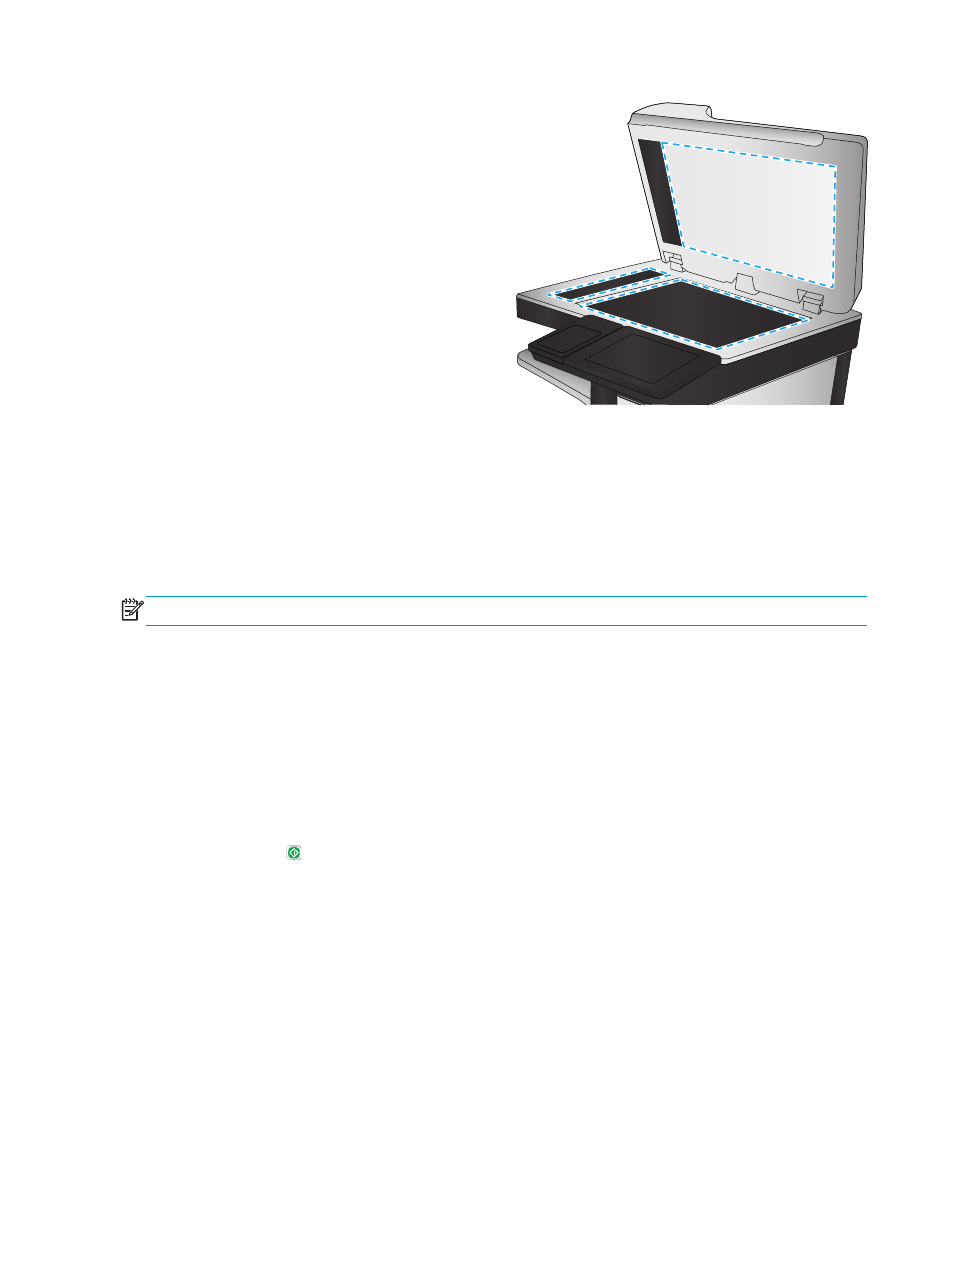
3.
Clean the scanner glass, the document feeder
strips, and the white plastic backing with a soft
cloth or sponge that has been moistened with
nonabrasive glass cleaner.
CAUTION:
Do not use abrasives, acetone,
benzene, ammonia, ethyl alcohol, or carbon
tetrachloride on any part of the product; these
can damage the product. Do not place liquids
directly on the glass or platen. They might seep
and damage the product.
NOTE:
If you are having trouble with streaks on
copies when you are using the document feeder,
be sure to clean the small strip of glass on the
left side of the scanner.
4.
Dry the glass and white plastic parts with a
chamois or a cellulose sponge to prevent
spotting.
5.
Connect the power cable to an outlet, and then
press the power button to turn the product on.
Check the resolution settings
NOTE:
Setting the resolution to a high value increases the file size and the scan time.
1.
From the Home screen on the product control panel, scroll to and touch the
Administration
button.
2.
Open the
Scan/Digital Send Settings
menu.
3.
Select the category of scan and send settings that you want to configure.
4.
Open the
Default Job Options
menu.
5.
Touch the
Resolution
button.
6.
Select one of the predefined options. Touch the
Save
button.
7.
Touch the Start button.
Check the image-adjustment settings
Adjust these additional settings to improve scan quality.
1.
From the Home screen on the product control panel, scroll to and touch the
Administration
button.
2.
Open the
Scan/Digital Send Settings
menu.
3.
Select the category of scan and send settings that you want to configure.
4.
Open the
Default Job Options
menu.
5.
Touch the
Image Adjustment
button.
170 Chapter 9 Solve problems
ENWW