Canon imagePROGRAF iPF510 User Manual
Page 555
Network Setting
Conguring the IP Address Using the Printer Control
Panel
This topic describes how to congure the printer’s IP address on the Control Panel.
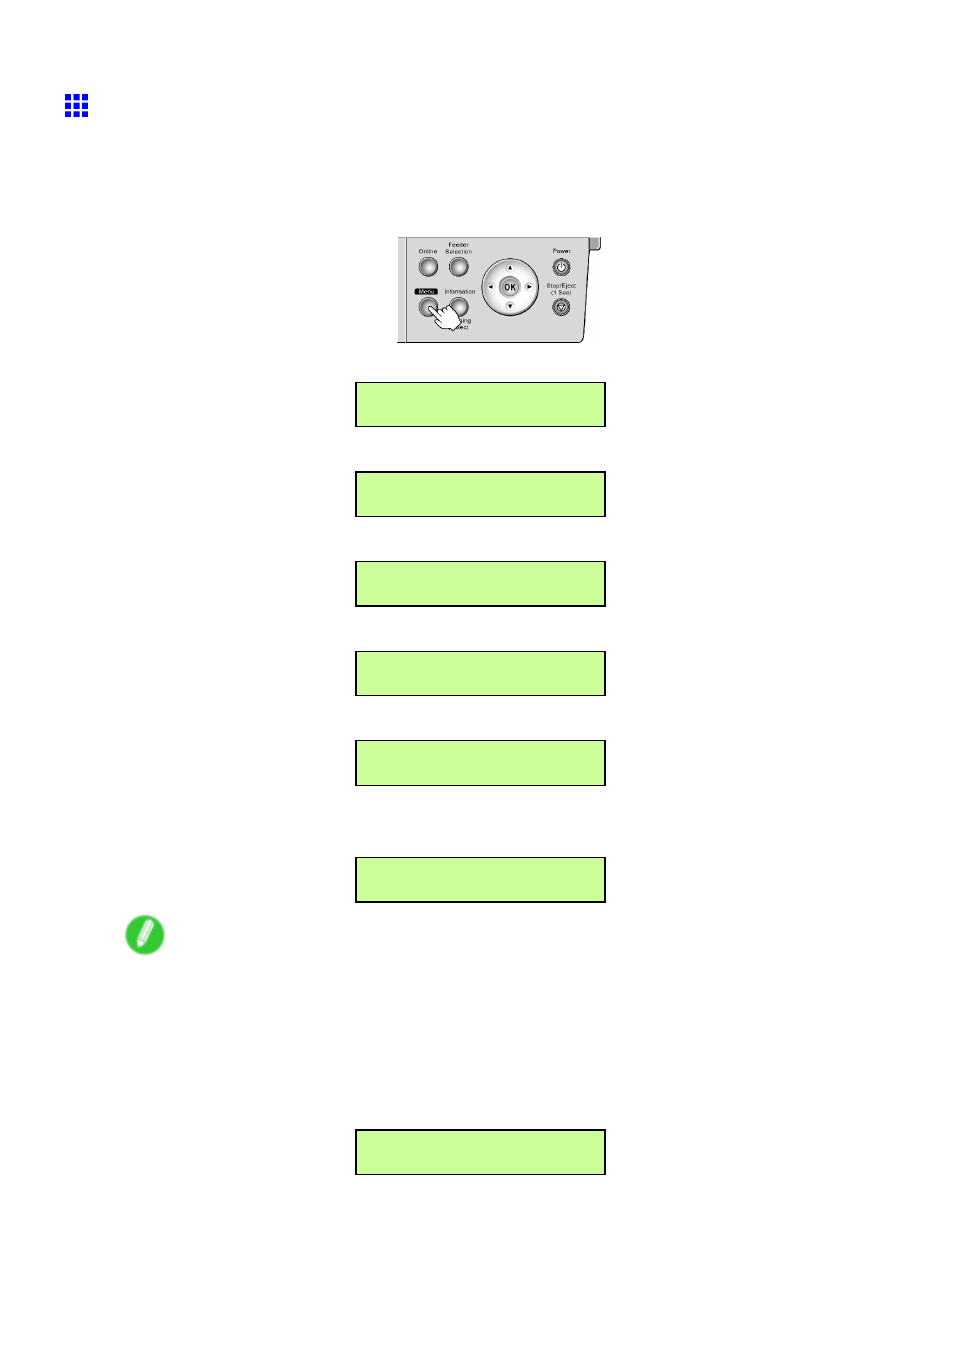
1.
Press the Menu button to display MAIN MENU.
2.
Press ◄ or ► to select Interface Setup, and then press ▼.
MAIN MENU
Interface Setup ↓
3.
Press ◄ or ► to select TCP/IP, and then press ▼.
Interface Setup
TCP/IP ↓
4.
Press ◄ or ► to select IP Setting, and then press ▼.
TCP/IP
IP Setting ↓
5.
Press ◄ or ► to select IP Address, and then press ▼.
IP Setting
IP Address ↓
6.
Press ◄ or ► to move the cursor (_) to each eld for entering IP address numbers.
IP Address
=0.0.0.0
7.
Press the OK button to prepare to enter the number.
8.
Press ◄ or ► to select the number, and then press the OK button.
IP Address
=xxx.0.0.0
Note
•
Pressing the ◄ button decreases the number by 1. The minimum value is “0,” after which “255” is
displayed.
•
Pressing the ► button increases the number by 1. The maximum value is “255,” after which “0” is
displayed.
•
Hold down ◄ or ► to increase or decrease the value continuously.
9.
Repeat steps 6-8 to enter the IP address assigned to the printer.
IP Address
=xxx.xxx.xxx.xxx
Network Setting 541