12 before you install, 13 install the printer driver, D on – Brother HL-3140CW User Manual
Page 30: Macintosh, Wireless network, Finish
30
Macintosh
Wireless Network
Install the Printer Driver for Macintosh
(HL-3140CW / HL-3150CDW / HL-3170CDW)
12
Before you install
a
Make sure your machine is connected to an AC
power source and your Macintosh is ON. You
must be logged on with Administrator rights.
13
Install the printer driver
a
Put the CD-ROM into your CD-ROM drive, and
then double-click the BROTHER icon on your
desktop.
b
Double-click the Start Here OSX icon. If
prompted, select your model.
c
Choose Wireless Network Connection, and
then click Next.
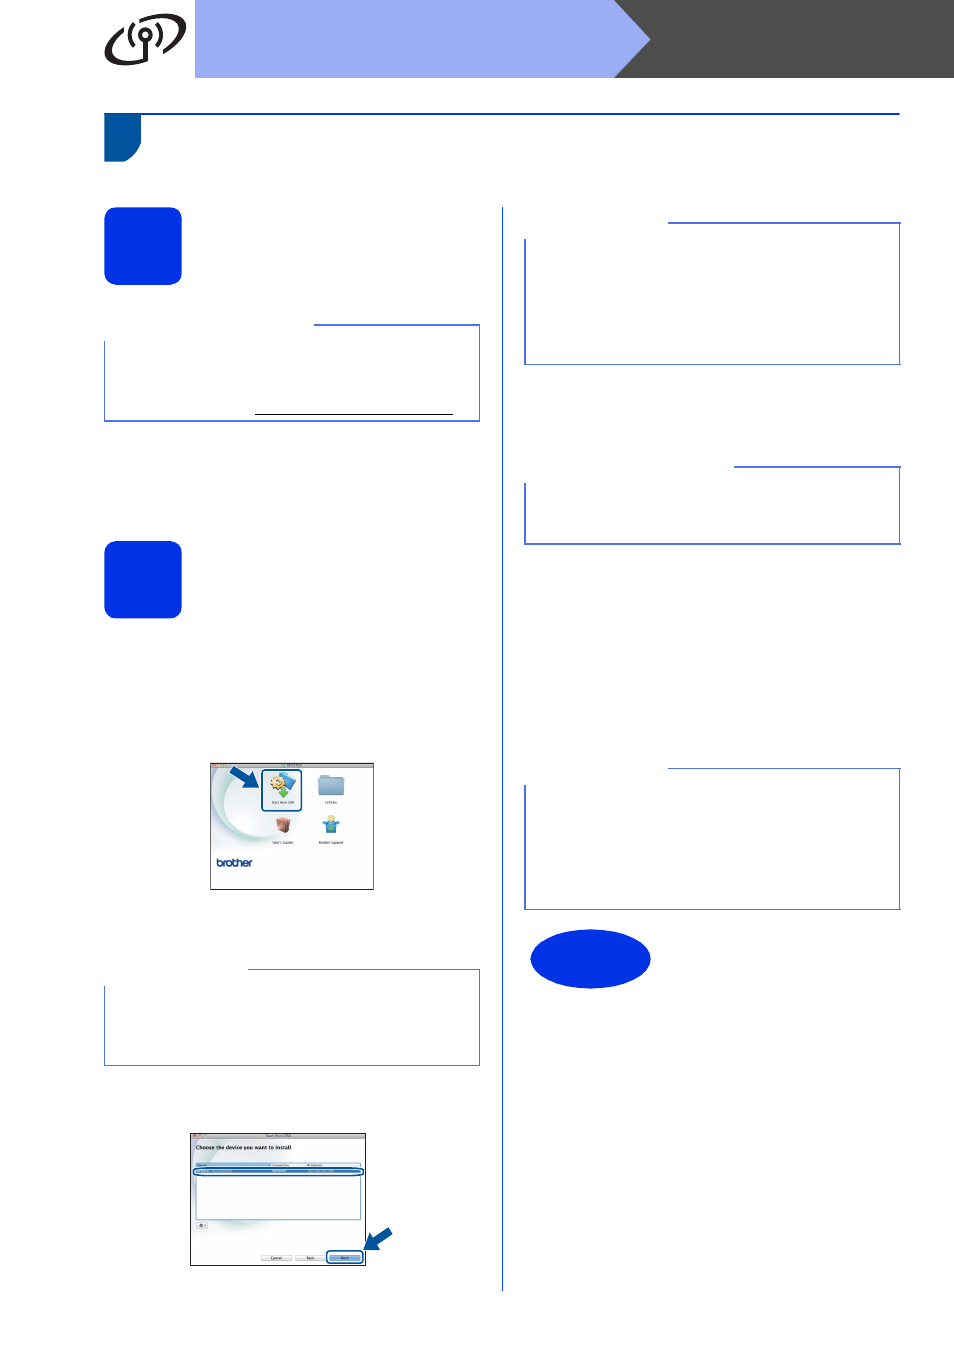
d
Choose your machine from the list, and then
click Next.
e
The installation screens appear one after
another. If prompted, follow any on-screen
instructions.
f
When the Add Printer screen appears, click
Add Printer.
g
Choose your machine from the list, click Add,
and then click Next.
(OS X v10.8.x)
Select HL-XXXX CUPS driver from the Use
pop-up menu. (Where XXXX is your model
name.)
IMPORTANT
For users of Mac OS X v10.6.7 or lower: upgrade
to Mac OS X v10.6.8, 10.7.x, 10.8.x. (For the
latest drivers and information for the Mac OS X
you are using, visit
NOTE
If your wireless settings fail, the Wireless Device
Setup Wizard screen appears. Follow the
on-screen instructions to complete the wireless
configuration.
NOTE
• If there is more than one of the same model
connected on your network, the IP Address will
be displayed to help you identify the machine.
• You can find your machine’s IP Address by
printing out the Printer Settings Page (see Print
the Printer Settings Page on page 31).
IMPORTANT
DO NOT cancel any of the screens during the
installation. It may take a few minutes for the
installation to complete.
NOTE
• For HL-3170CDW: to add the PS driver
(BR-Script3 printer driver), select it from the
Print Using (Use) pop-up menu.
• When the Brother Support screen appears,
make your selection and follow the on-screen
instructions.
Finish
The installation is now
complete.