Configuring network scanning (windows®), Configuring network scanning (windows, 13 configuring network scanning (windows – Brother MFC 7360N User Manual
Page 204
Network Scanning
196
13
Configuring Network Scanning (Windows
®
)
13
If you are using a different machine than the one that was originally registered to your PC during the
installation of MFL-Pro Suite software (see the Quick Setup Guide), follow the steps below.
a
(Windows
®
2000)
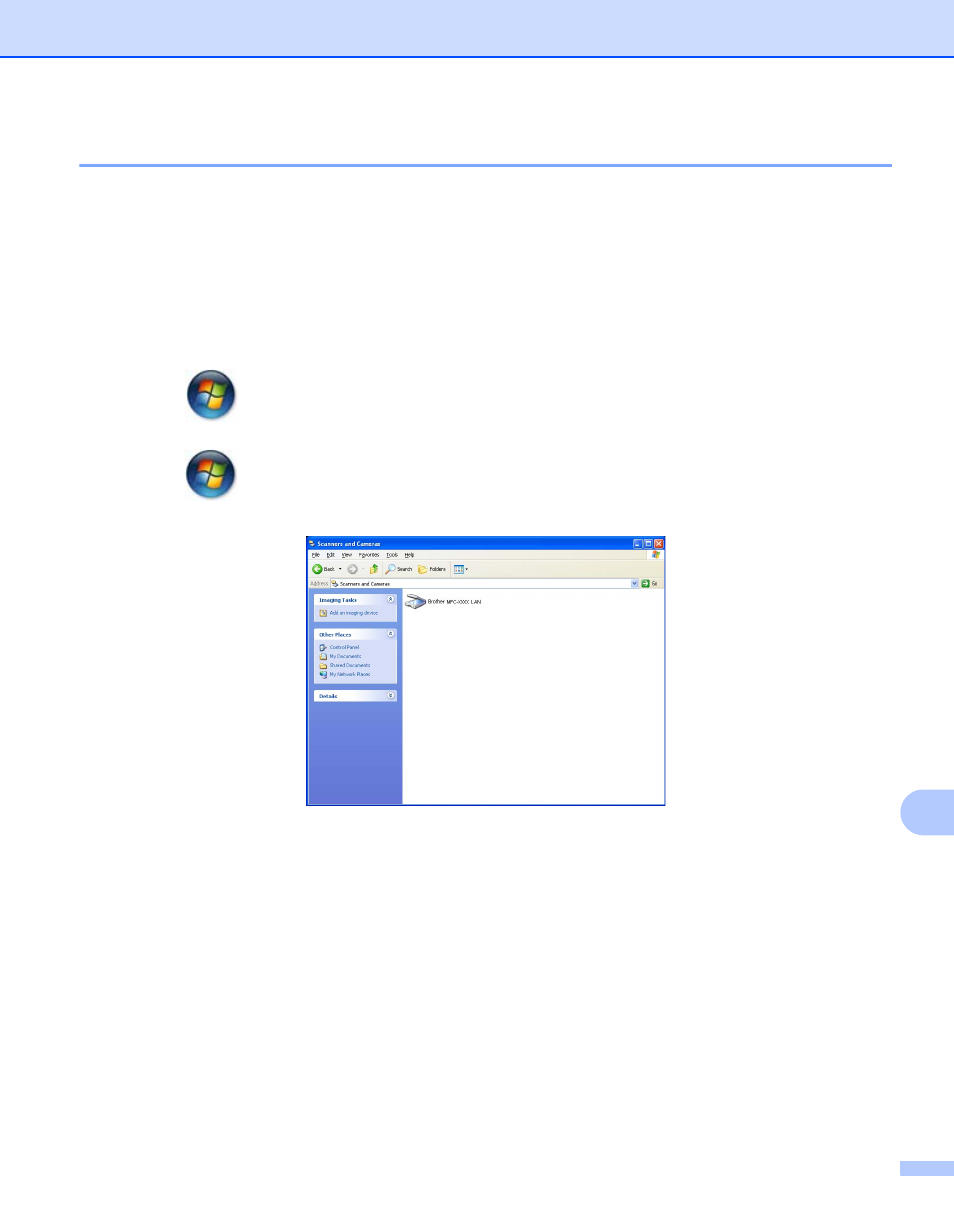
Click the Start button, Settings, Control Panel, then Scanners and Cameras.
(Windows
®
XP)
Click the Start button, Control Panel, Printers and Other Hardware, then Scanners and Cameras (or
Control Panel, Scanners and Cameras).
(Windows Vista
®
)
Click the
button, Control Panel, Hardware and Sound, then Scanners and Cameras.
(Windows
®
7)
Click the
button, All Programs, Brother, MFC-XXXX LAN, Scanner Settings, then Scanners
and Cameras.
b
Do one of the following:
(Windows
®
2000) Select your Brother machine from the list and click Properties.
(Windows
®
XP) Right-click the Scanner Device icon and choose Properties.
The Network Scanner Properties dialog box appears.
(Windows Vista
®
and Windows
®
7) Click the Properties button.