Badger Meter ORION AMR/AMI Hardware Solutions for Gas Utilities User Manual
Page 15
Prior to beginning the installation procedure, ensure that the following items are available:
• Remote Installation Bracket
• Two #8-32 x 5/8” stainless steel screws with lock nuts (supplied)
• Screwdriver, drill and either a #16 or 3/16” drill bit
Remote Installation Bracket
To install the Remote Installation Bracket, follow these steps
1 Determine where on the vertical surface of the AMR Adapter the Bracket is to be installed Some Adapters have holes
predrilled but holes may need to be drilled in a more desirable location, especially so the wiring can be routed easily
to the pulse-output terminals The two mounting holes are 3/4 inch apart and require either a #16 or 3/16 inch drill bit
to be used Plan to allow enough wire between the endpoint and the connection to the pulse output terminals so the
endpoint can be removed from the bracket and the IR communications port on the bottom of the endpoint can be
accessed for programming
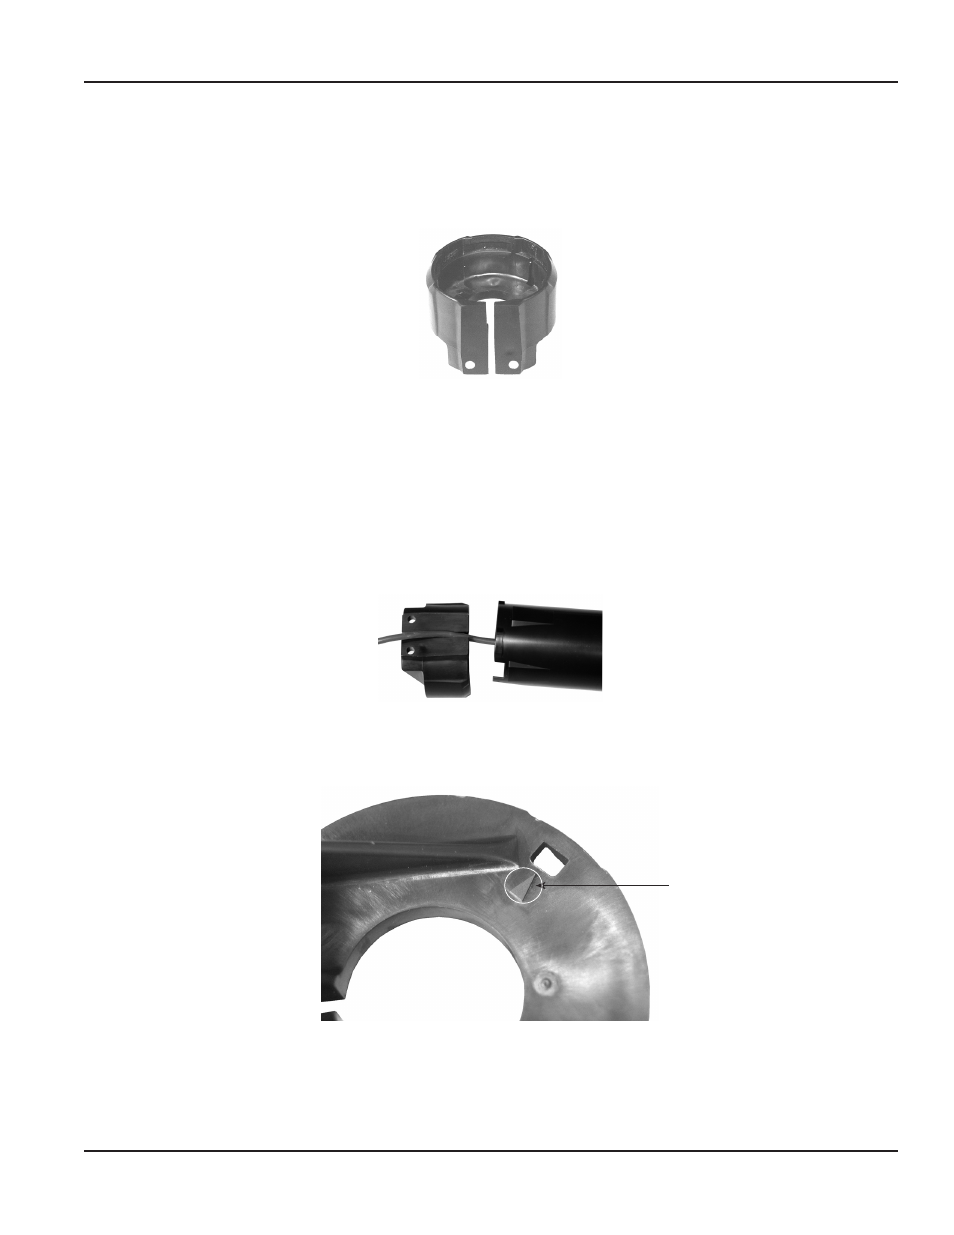
2 Place the endpoint cable harness through the slit in the bracket
Cable Harness Threading
3 Locate the small triangle aligned with the small hole on the bottom of the installation bracket This triangle is used to
properly align the endpoint to the installation bracket
Aligning Triangle
Triangle
Installation Manual
Page 15
July 2013