Thermo Fisher Scientific Alpha COND 190 (In the process of updating the brand guideline & product image) User Manual
Page 14
11
6 CONDUCTIVITY CALIBRATION
IMPORTANT: When Calibration mode is entered, controller automatically goes into
a “HOLD” mode where the 4-20 mA output freezes and relays are de-activated (if it
was in an activated condition). Upon return to measurement mode, both 4-20mA
output and relay activities resume, depending on settings.
The
α
lpha CON 190 controller includes 8 conductivity measurement ranges. One-
point slope calibration is possible, in each range.
Choose fresh standard solutions, whose value is reasonably close to the
measurement value.
Before calibration, make sure electrode is clean. Use iso-propyl alcohol followed by
thorough rinsing in distilled water to clean electrode.
Important: To achieve a successful conductivity calibration, two conditions must
be satisfied:
1.
Difference between measured value of standard solution, and actual
value of standard solution, must be within ± 40 %.
(e.g. if value of standard solution is 1413 uS/cm, then allowable
measured values by controller must be within 1978.2 uS/cm {+ 40%}
and 847.8 uS/cm {- 40%}; and
2.
the lowest possible value must be at least 10% of full scale
(e.g. if range of 0 to 200.0 uS/cm selected, min. measured value at
calibration, must be at least 20.0 uS/cm).
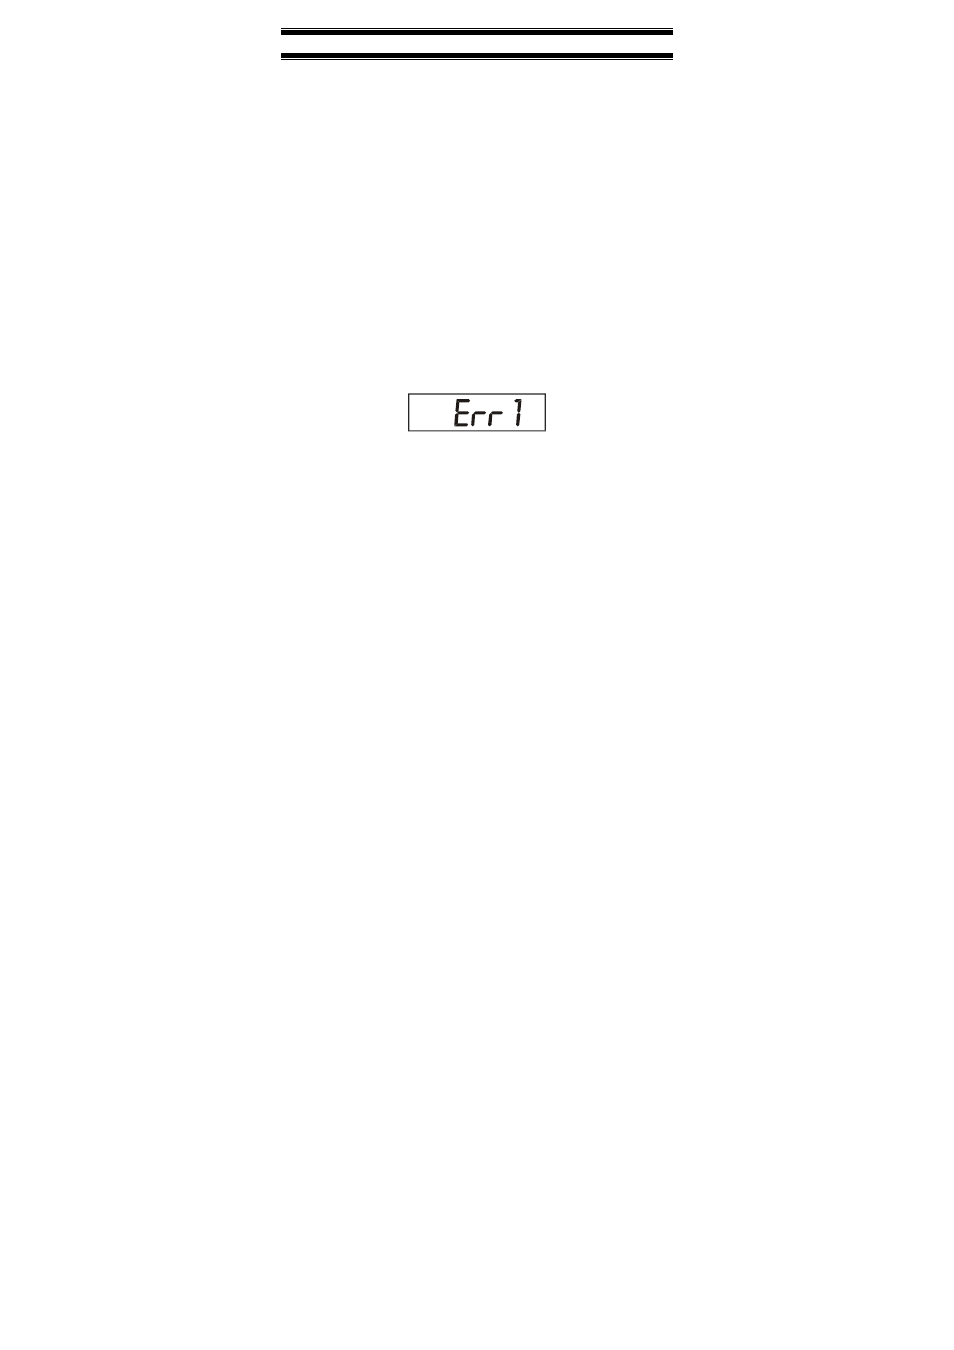
If any or both conditions are not satisfied, controller will display ERR 1 (blinking).
1.
Press CAL / ENTER key to directly access the Calibration mode when the
unit is in conductivity measurement mode. Controller displays the value of
the standard solution.
NOTE: Instead of pressing the CAL/ENTER key, you can also enter the Calibration
mode using the password code procedure as explained in Section 5.
2.
Use electrode to agitate standard solution to obtain a homogeneous solution
and to dislodge any bubbles. Allow electrode time to stabilize with solution
temperature.
3.
Use ▲/ ▼keys to adjust displayed readings to the value of the standard
solution. Press ENTER.
4.
If any of the two conditions mentioned above is not satisfied, controller will
display ERR1, blinking.