5 winging down toolbars 4.6 winging up toolbars, 1 opener shank operation standard toolbars – Seed Hawk TOOLBAR 2014 User Manual
Page 18
SEED HAWK
®
2014 TOOLBAR OPERATOR’S MANUAL
SEED HAWK
®
2014 TOOLBAR OPERATOR’S MANUAL
28
4.5 Winging Down Toolbars
4.6 Winging Up Toolbars
Ensure your unrestricted case drain YELLOW banded hose(s) are
connected to the tractor circuit which is plumbed directly to the res-
ervoir first. If the control box has a 7-plex wing down switch, use the follow-
ing two steps to lower the wings safely.
Ensure control box is powered up with 12 V.
IMPORTANT! Engage opener circuit to raise openers (failure to do so will
result in damage to the implement)
Ensure that the master switch on the Viper
switchbox is in the OFF position to maintain the openers in the upright position
while lowering the implement.
1. Engage the lever in the tractor cab that the GREEN banded hoses are con-
nected to (which lowers your main wings), press and hold the
WING DOWN
switch until all wings are on the ground.
Ensure the case drain(s) gauge on hydraulic block never exceeds 100
psi, excessive amounts of pressure will damage the gauge.
2. Release switch and leave the lever (that your GREEN banded hoses are
hooked to) in working position “NOT FLOAT”.
NOTE: When winging down
thw 66’ and 40' Toolbar, the
user can leave the wing down
switch engaged until the
wings are fully lowered. Refer
to Section 4.4 pertaining to
the control system being
used.
Ensure that the ball valves on the back of the opener hydraulic block
are locked. On SCT
®
TOOLBARS, the ball valves are located on the
main bridle.
1. Ensure all opener shanks are up.
2. Reverse the lever direction in the tractor cab that the GREEN banded hos-
es are connected to, this will allow the wings to fold up into transport position.
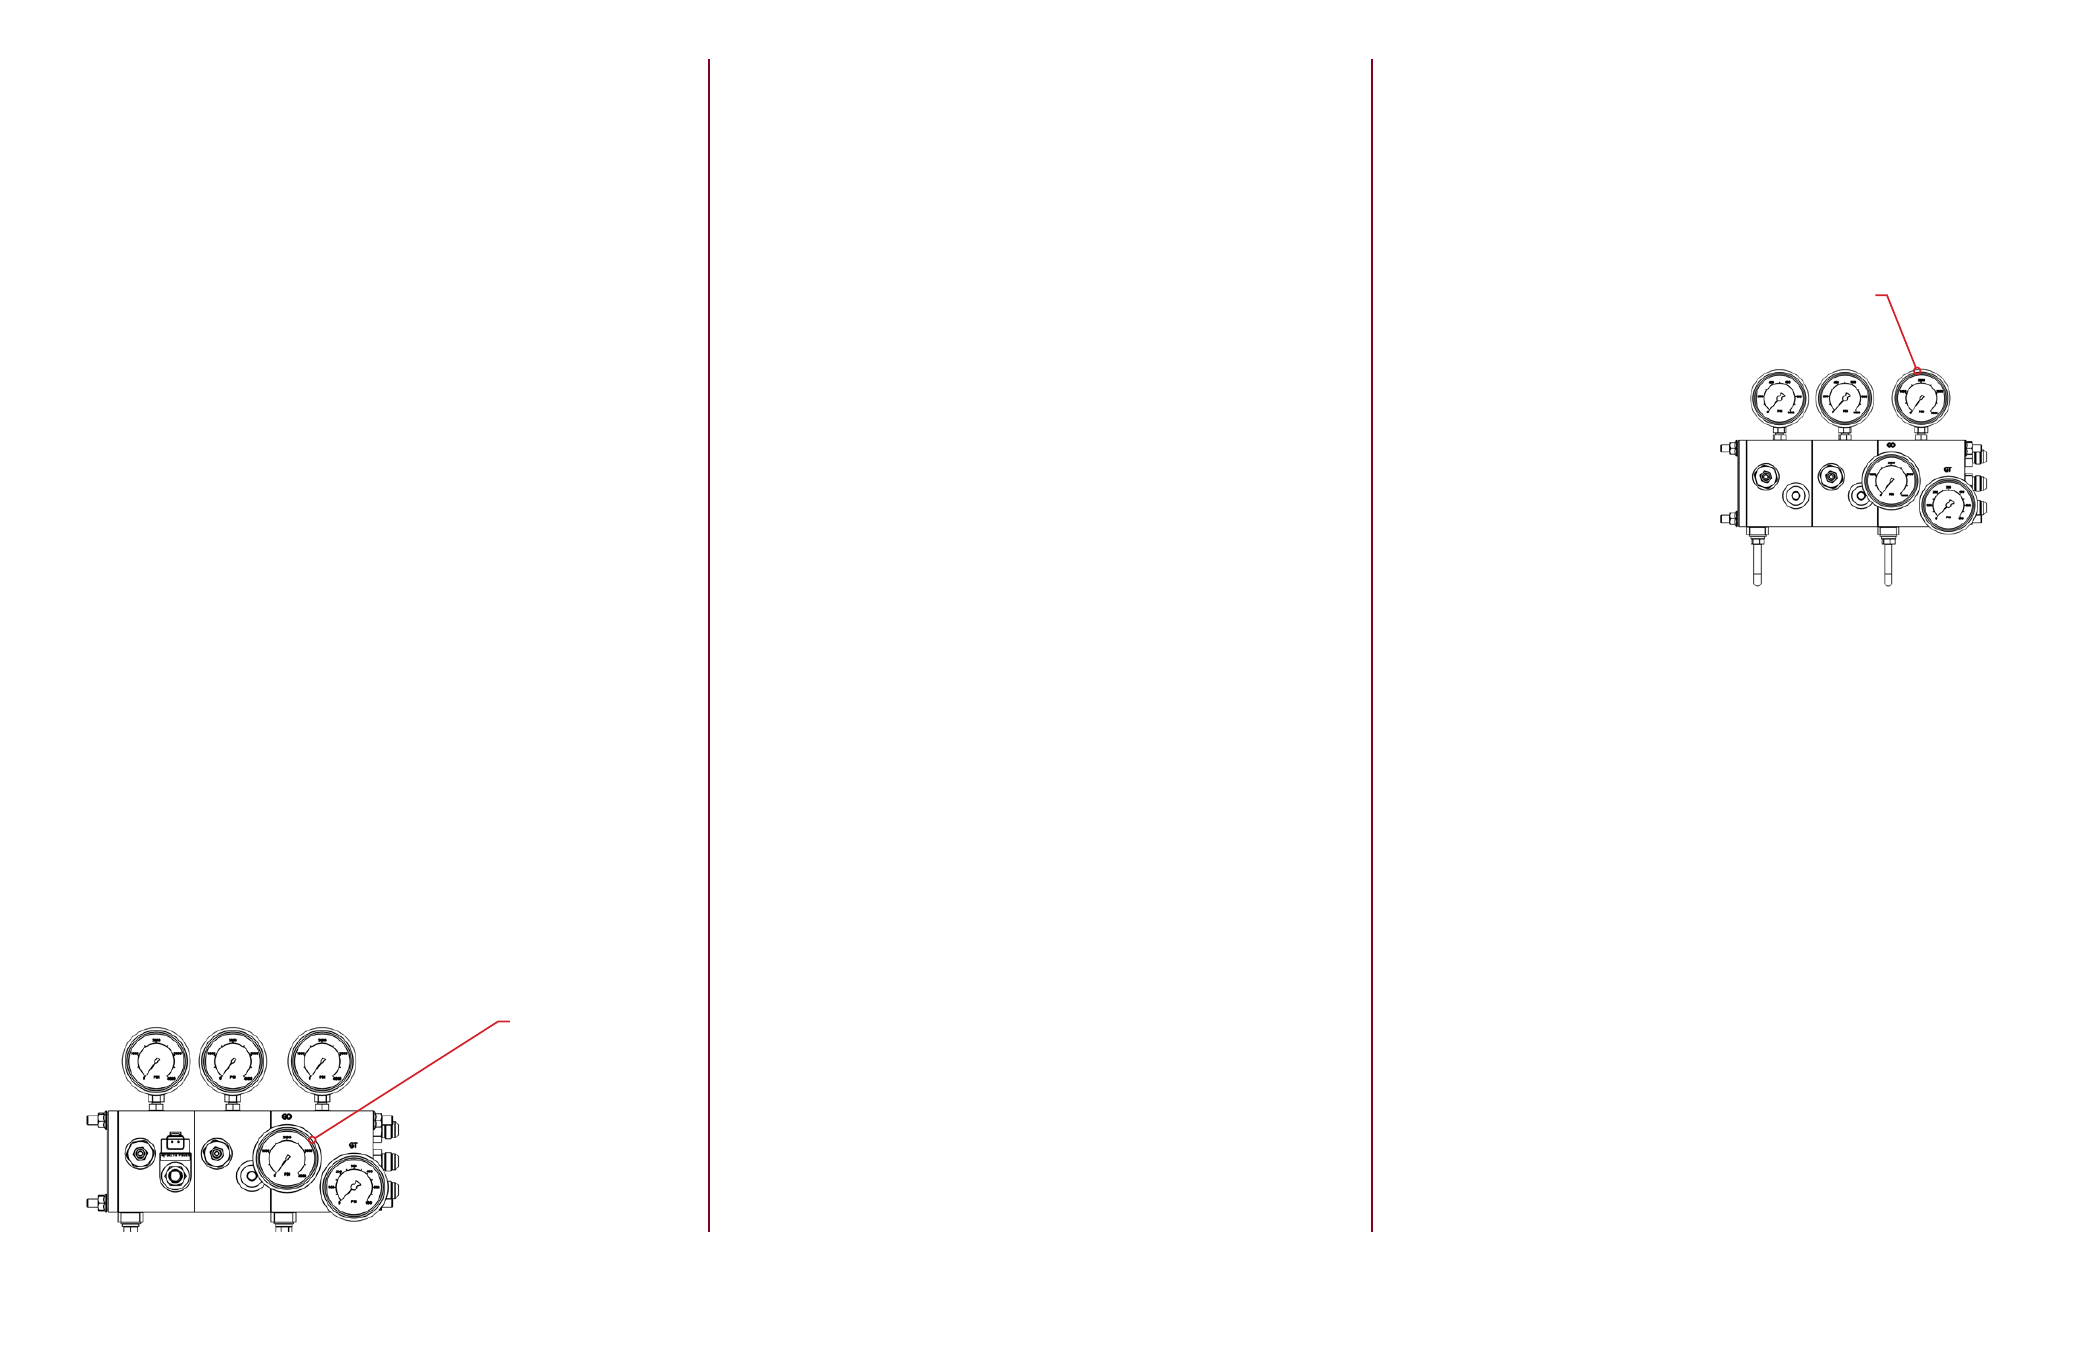
This gauge displays
hydraulic system pres-
sure while winging up
3. When winging down the toolbar, release the switch once the wings are over
center, allowing the wings to lower under their own weight.
29
4.6.1 Opener Shank Operation
Standard Toolbars
1. Ensure that there is power going to the Seed Hawk switch control box, and
that the ball valves on the back of opener hydraulic manifold are open.
2. Engage the tractor hydraulics lever that the RED band hose (opener circuit)
is connected to.
4. Moving in a forward direction, turn
on the
PWM DOWN PRESSURE
switch, then turn on the
SHANK/
LIQUID PUMP switch on. This will
engage the opener shanks.
Full Tractor Pressure
3. Lock the tractor hydraulics lever
that the GREEN banded hoses (wing
circuit) are connected to. The full
tractor pressure is shown on the top
right (4000 psi gauge) of the hydraulic
manifold block.
Refer to Section 4.4 pertaining to the control system being used.
5. Turing the min-max DOWN PRESSURE dial allows the user to increase or
decrease the desired packing pressure to achieve proper packing and penetra-
tion forces to seed.
When the proper amount of packing pressure is applied to the shank, the chain
that connects the seed and fertilizer knives will be pulled taught. Once the chain
is tight, take note of the packing pressure gauge reading. In optimal conditions,
an additional 200 psi of packing pressure is recommended. In wet conditions re-
duce the pressure accordingly to avoid over-compaction of soil, especially with
canola and other small seeds. Maximum Packing Pressure is 1500 psi.
6. Turn off the SHANK/LIQUID PUMP switch to disengage the opener
shanks.