SaltDogg 1471456SSH Municipal-Sized Hydraulic Hopper Spreader User Manual
Page 2
2
TM
General Safety Precautions
WARNING
Observe the following Safety Precautions before,
during and after operating this spreader. By follow-
ing these precautions and common sense, possible
injury to persons and potential damage to this
machine may be avoided.
1. Read this entire Owner’s Manual before operat-
ing this spreader.
2. Read all safety decals on the spreader before
operating the spreader.
3. Check to make sure all safety guards are securely
mounted into place before operating your spreader.
4. Verify that all personnel are clear of the spreader
spray area before starting or operating this
spreader.
5. Keep all loose clothing, hair, jewelry and limbs
clear of the spreader before starting or operating
this spreader.
6. Do not over-load your vehicle beyond payload
limits.
7. Do not perform any service operation on the
spreader while it is running.
8. Do not climb on or into the spreader during
operation.
9. Do not ride on the spreader while the vehicle is
in motion.
10. Make sure the spreader is securely fastened to
the vehicle.
11. Do not operate a spreader that is in need of
maintenance or repair.
General Installation Instructions
Dump Body Mounting
1. Remove the tailgate from the vehicle if
applicable.
2. Lift the spreader using the (4) lifting loops in the
corners of the hopper.
WARNING
The lifting device must be adequately rated to lift
a payload equal to or greater than the spreader
weight. See page 1 for spreader weights. Empty the
spreader before lifting.
3. Center the spreader in the vehicle. Spreader sills
must overhang 20” beyond the back end of the vehicle.
4. If the dump body is not flat, it is suggested that
the spreader be placed on two 1" x 6" hardwood
boards. This will evenly distribute the weight of
the loaded spreader on the entire cross channels.
5. The spreader may be secured to the vehicle by
using Tie-Down Kit Buyers part #3010548 (sold
separately).
6. Periodically check that the spreader mounting
hardware is securely tightened.
Chassis Mounting
1. Hardwood wear strips usually 1" x 3" (not fur-
nished) must be fitted to the truck chassis.
2. The spreader should be positioned on the
wooden wear strips so hopper sills must overhang
20” beyond the back end of the vehicle.
3. In addition a distance of approximately 4"-6"
must be left between the truck cab and the front of
the hopper. This will help facilitate any future ser-
vicing of the conveyor chain.
4. Qualified installer must fabricate suitable angles to
attach hopper cross members to track’s frame.
DO NOT weld mounting angles to the truck frame.
Doing so can cause fatigue cracking of the truck frame.
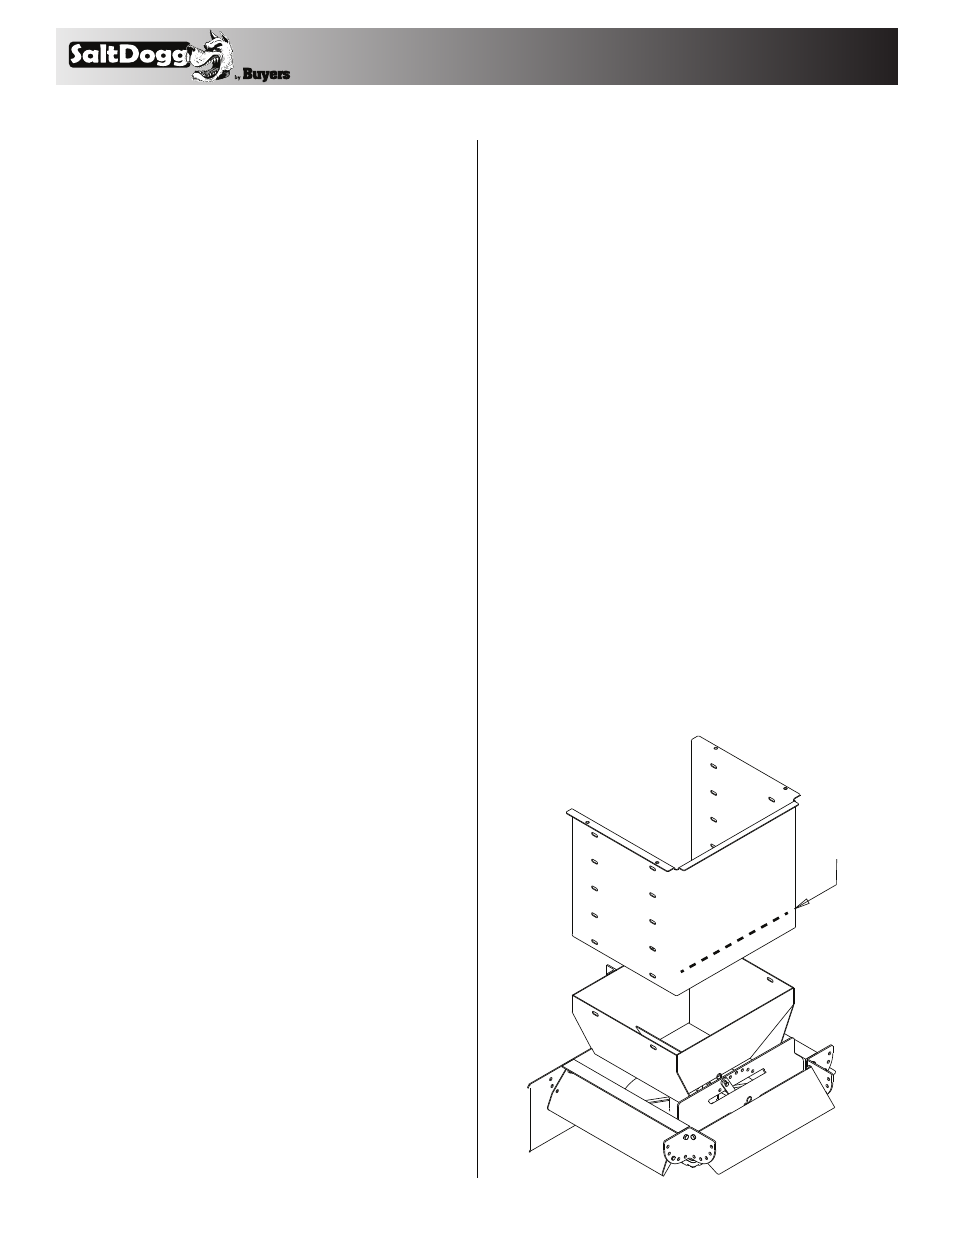
CUT 5"
FROM
BOTTOM