Steelcraft Automotive 80130 REAR BUMPER GUARD User Manual
Installation instructions
PARTS LIST:
1 Rear Bumper Guard
PROCEDURE:
1. REMOVE CONTENTS FROM BOX. VERIFY ALL PARTS ARE PRESENT. READ
INSTRUCTIONS CAREFULLY BEFORE STARTING INSTALLATION.
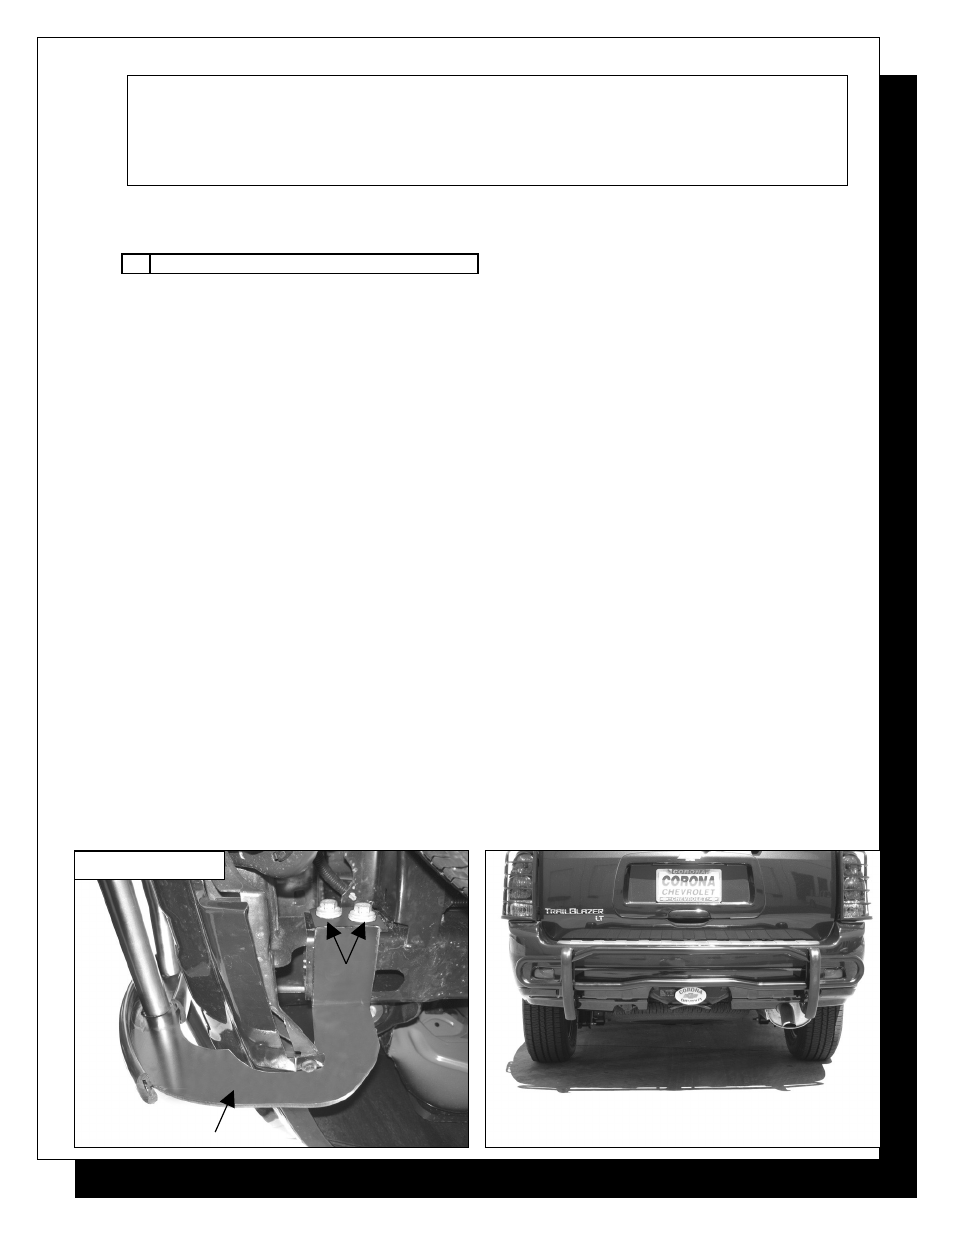
2. Remove the two factory bolts at the end of driver and passenger frame rails.
3. With help position Rear Bumper Guard on the inner side of frame rails. Align holes on the
Rear Bumper Guard with holes on the frame. NOTE: If Mounting Brackets don’t fit
properly, they can be adjusted by either pulling them outwards or inwards to fit flush with
frame rails.
4. Mount Rear Bumper Guard to vehicle using the factory bolts removed in step 2.
5. Adjust Rear Bumper Guard properly, and then tighten all hardware at this time.
6. Do periodic inspections to the installation to make sure that all hardware is secure and
tight.
To protect your investment, wax this product after installing. Regular waxing is recommended
to add a protective layer over the finish. Do not use any type of polish or wax that may contain
abrasives that could damage the finish.
For stainless steel: Aluminum polish may be used to polish small scratches and scuffs on the
finish. Mild soap may be used also to clean the Sidebar.
For gloss black finishes: Mild soap may be used to clean the Sidebar
.
Page 1 of 1
9/24/07
(AM)
INSTALLATION INSTRUCTIONS
REAR BUMPER GUARD
07-On TRAILBLAZER
PART #
Driver side shown
Factory
Bolts
Installation Complete