Quick start guide for tempo-x esata 8, Installation preparation, Hardware installation steps – Sonnet Technologies Tempo-X eSATA 8 8-Port Serial ATA PCI-X Host Adapter Card User Manual
Page 2
2
Installation Preparation
Prior to installing the Tempo-X eSATA 8 into your system and connecting any
drive enclosures, you should familiarize yourself with the parts to be installed.
We also strongly recommend that you read the sections in your computer’s
user manual that address hard drive and PCI card installation.
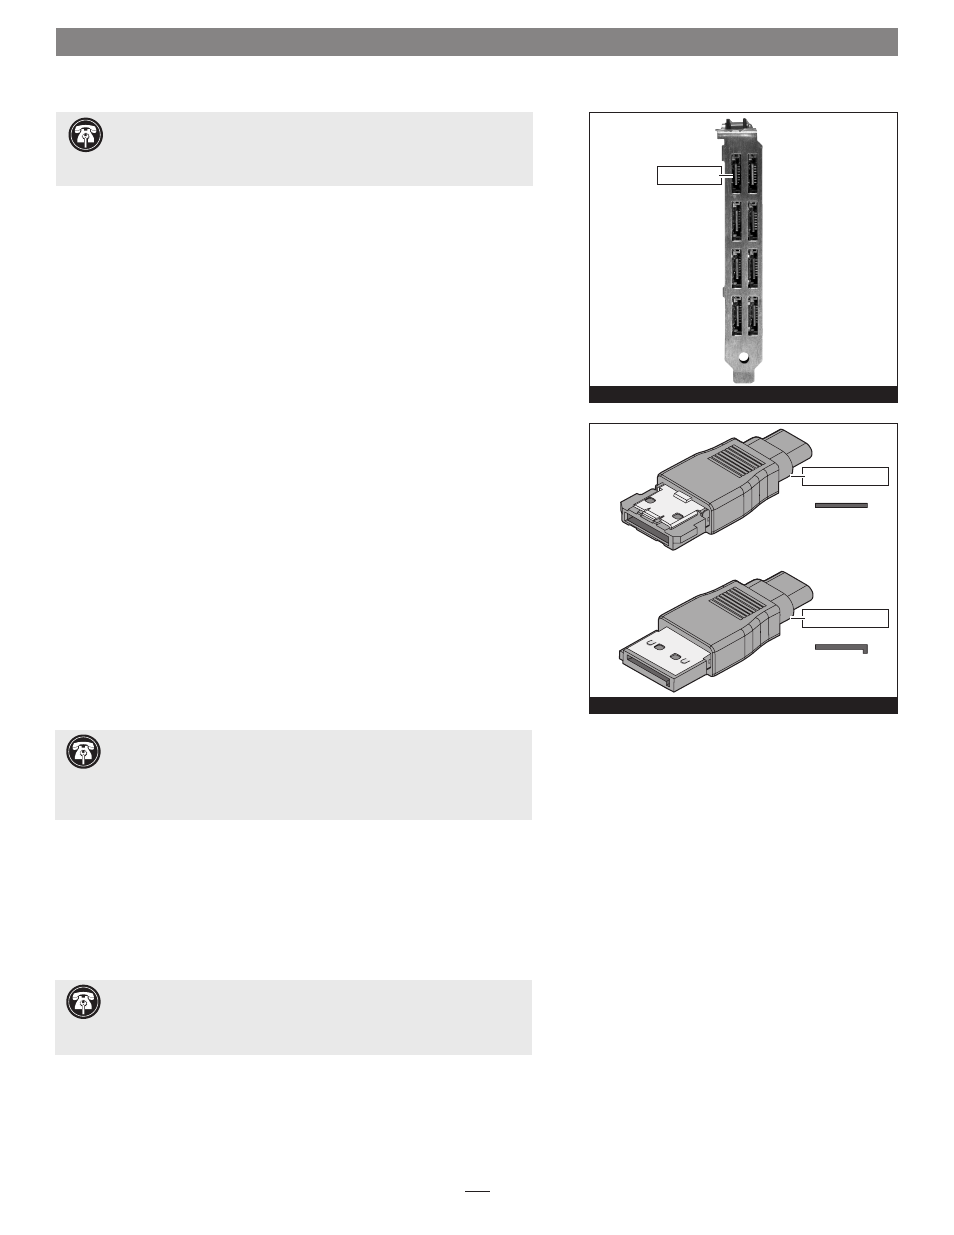
1. Figure 1 shows the Tempo-X card’s eSATA ports; depending on the drive
enclosure(s) used, you will need to use data cables with eSATA connectors
on both ends, or cables with an eSATA connector on one end and SATA
I connector on the other end (all enclosures and cables sold separately).
Note: SATA I connectors are used on SATA hard drives.
2. Figure 2 shows both eSATA and SATA I connectors.
Hardware Installation Steps
This section covers the installation of the Tempo-X eSATA 8 into your system
and connection of one or more hard drives.
1. Shut down the computer.
2. Open your computer to access its expansion card area (PCI slots); refer to
your computer’s user manual for specific information.
3. Locate an available PCI-X or PCI slot inside your computer and remove its
access cover, if present, from the rear of the computer.
4. Remove the Tempo-X card from its packaging.
5. Install the Tempo-X card into the slot; make sure the card is firmly
seated.
6. Secure the Tempo-X card firmly in place with the previously removed
mounting screw if necessary, and then close the computer; be very careful
not to pinch the cables.
7. Connect the external Serial ATA data cable(s) between the Tempo-X card
and the drives or drive enclosures;
make sure all cables are connected
securely to the Tempo-X card and the drives or enclosures.
8. If you are a Mac user, skip to page 4. If you are a Windows user, go to
the next page.
Figure 2
Support Note:
Technical knowledge may be required to gain access to
the drive expansion bays in certain computers. We recommend you
first consult your computer’s user manual. If you feel you are unable to install
the computer hardware, contact a qualified technician.
Figure 1
Quick Start Guide for Tempo-X eSATA 8
eSATA ports
Support Note for Power Mac G5 Users:
Due to its size, the
Tempo-X eSATA 8 card may not be installed in slot 4 (closest to the drive
bays), and may only be installed in slot 2 or 3. Users should be aware that when
certain standard 33 MHz PCI adapter cards are installed along with the Tempo-X
card in slots 2 and 3, the Tempo-X card’s performance may be adversely affected.
Support Note:
Sonnet strongly recommends you use high quality exter-
nal SATA cables to connect your drive enclosures to Tempo-X eSATA 8.
Low quality cables do not offer the proper shielding and durability high quality
cables afford, and may allow data to be corrupted.
eSATA connector
SATA I connector