Initial setting up of the split2, Setting the time and date – SKC Limited SPLIT2 User Manual
Page 9
9
INITIAL SETTING UP OF THE SPLIT2
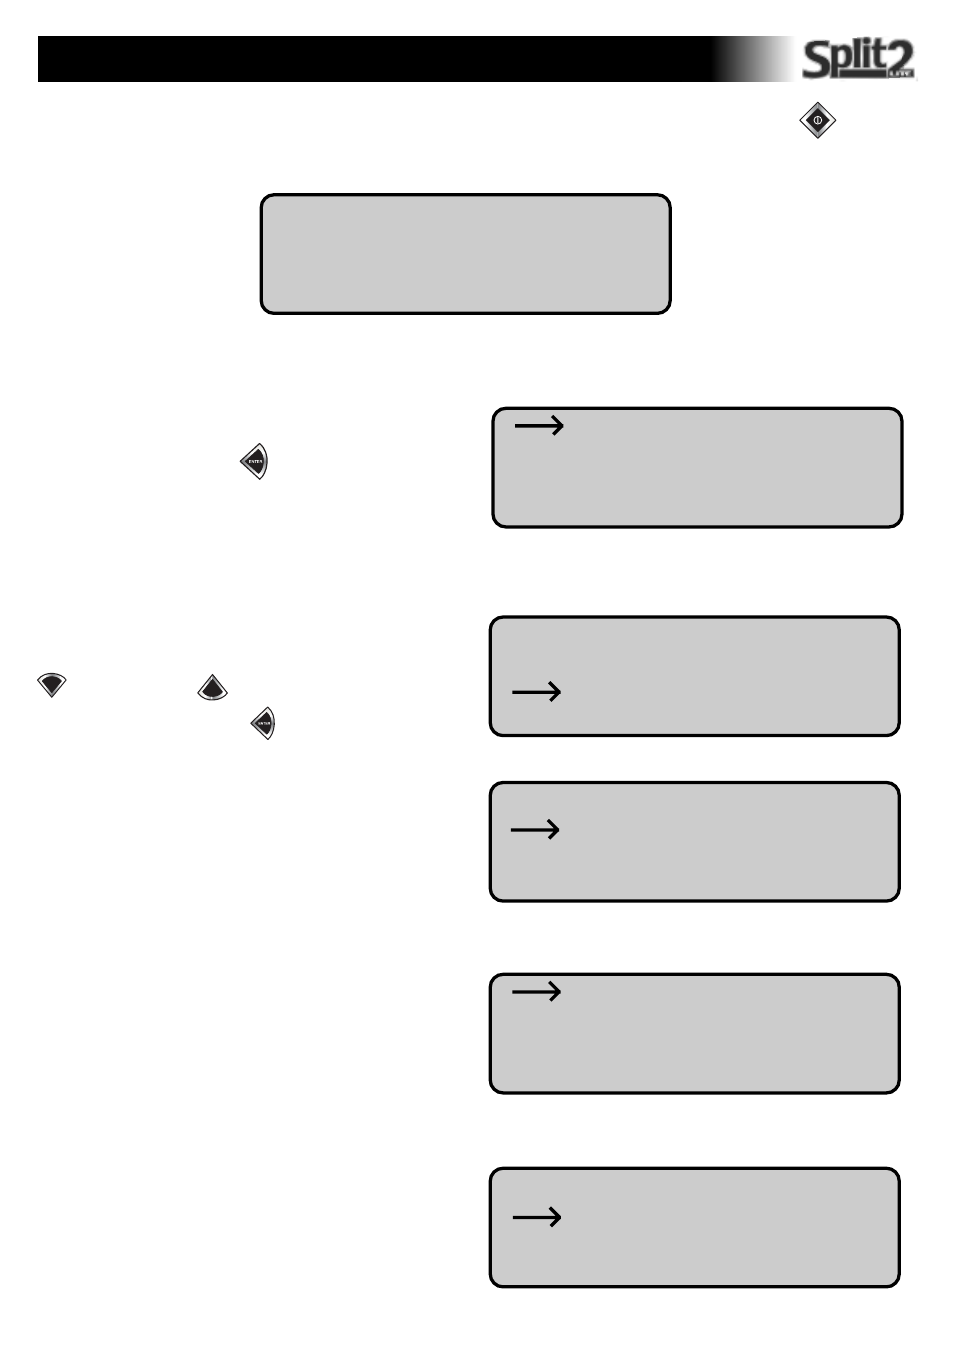
Attach the sensor. Activate the keypad using the manual on/off switch on the side. Switch the unit on using the I/O
button. The
LCD will show the screen below and a ‘beep’ heard. (To turn the instrument off please hit the I/O button again)
** SPLIT2 **
Real-Time
Dust Monitor
SKC Ltd V3.2 2/03
It is recommended that you allow at least 10 minutes for the electronics to settle down to ensure a stable base line
Run
Review Data
Special Functions
Auto-Zero
After stabilizing press ENTER
to access the main menu
Run
Review Data
Special Functions
Auto-Zero
System Options
Date/Time
Set Alarm
Cancel
Scroll arrow to Date/Time option and press the ENTER button
View Date/Time
Set Date/Time
Cancel
Press the ENTER button to view date and time. If OK press the
ENTER button to return to the previous menu
View Date/Time
Set Date/Time
Cancel
Setting the TIME and DATE:
If the Date/Time is incorrect select Set Date/Time and press
ENTER
This only has to be done once. The SPLIT2 has a lithium battery
back up for the clock
Go to the Special Functions option by pressing either the DOWN
button or the UP
button until the arrow is opposite
Special Functions. Press ENTER
button