Initial setting up of the split2 – SKC Limited SPLIT2 User Manual
Page 10
10
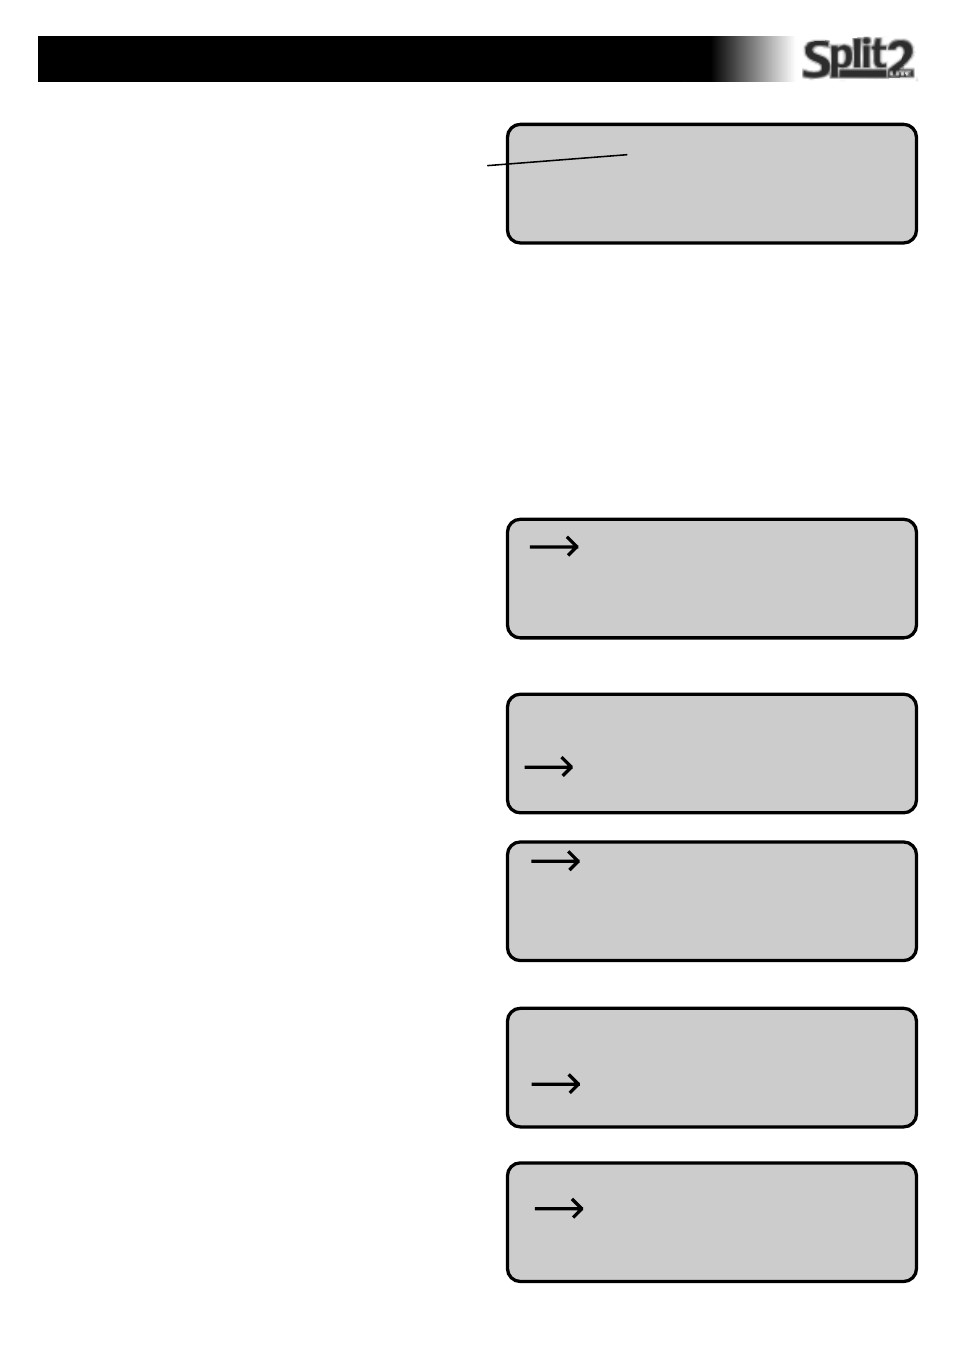
Time:
0 :
Date:
_ _
Day:
The following screen will appear with a cursor
(line) under the 0 character
Cursor
The TIME is configured as a 24 hour clock in hours/minutes/seconds. The date is configured as day/month/year. The day is by accepted
abbreviation e.g MON
To set all parameters on this screen the following procedure applies:
To increase the value of the selected digit... Press the UP button.
To decrease the value of the selected digit .... Press the DOWN button.
To confirm the digit and select the next field.... Press the ENTER button
Set Date/Time
Cancel
Clearing the memory
Scroll arrow to Erase Memory option and press the ENTER
button
Scroll arrow to System Options and press the ENTER button
Scroll arrow to Yes option and press the ENTER button.
If the data is to be kept, scroll arrow to NO .
The screen will now return to the Main Menu.
Go to the Special Functions option by pressing either the
DOWN button or the UP button until the arrow is opposite
Special Functions. Press ENTER button
System Options
Date/Time
Set Alarm
Cancel
Extended Options
Sample Rate
Erase Memory
Cancel
Run
Review Data
Special Functions
Auto Zero
No
Yes
Erase Memory?
*DATA WILL BE LOST!*
INITIAL SETTING UP OF THE SPLIT2
When all the data is correct press ENTER and a screen appears
with the following options.
Press ENTER again with the arrow opposite the Set Time/Date
option to confirm the new data OR...
select the Cancel option to return to the Date/Time screen
without saving the changes, so you can re-enter the data.