7 pc calibration – Acer P1166 User Manual
Page 73
Confidential
4-7
P1166 / P1266 / P1266i / P1166P / P1266P
(the unidentified color levels on both left and right
sides should not over 8 color levels.)
- Gray level should not have abnormal color or heavy
lines.
- The PC mode functionally sure be workable include
support format with frequency and auto detected
functional will be workable
4-7 PC calibration
Procedure - Test equipment: video generator
- Once main board is changed, PC calibration
should be done as well.
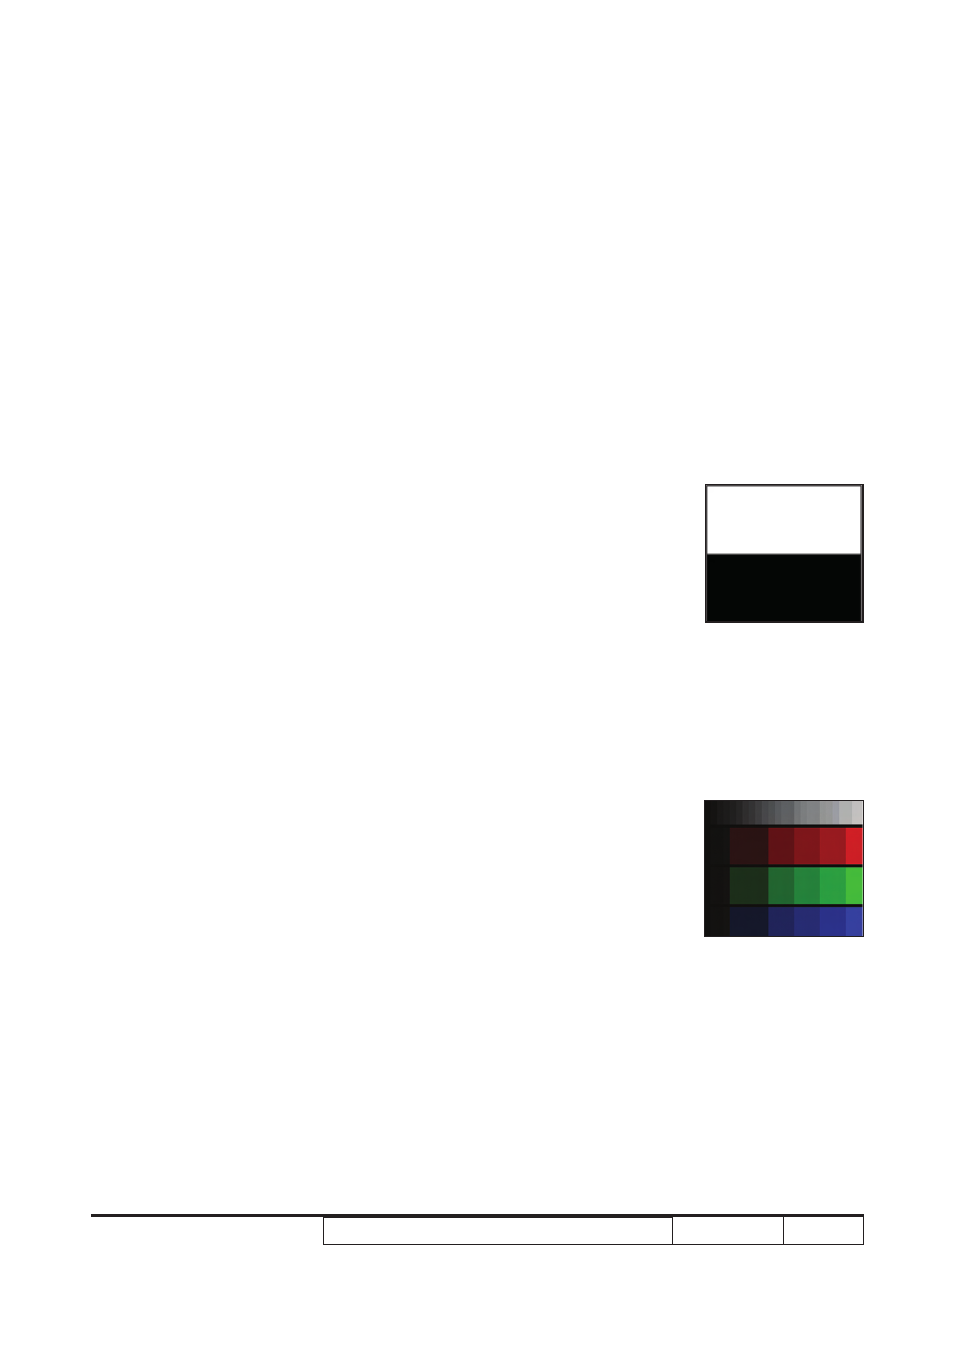
(1) Test signal analog: 1024 x 768@60Hz
(2) Test pattern: White(up) Black(down)
- Note
(1) Calibration pattern should be in fill screen
mode.
(2) Please refer to 4-2 and 4-3 to get into
Service Mode and OSD Reset.
(3) Choose and access PC Calibration for correction
in service mode. Choose “menu“ to leave the
service mode after all.
Check pattern - Test signal: analog 1024 x 768@60Hz
- Test pattern: In focus II or 64 gray RGBW
* After finishing ADC adjustment, check 64 gray
RGBW pattern.
Inspection item - Color sturations
Criteria - There should not have any lack of RGBW.
The color should appear normal and sort in
right order.
- Color levels should be sufficient and normal.
(the unidentified color levels on both left and
right sides should not over 8 color levels.)
- Gray level should not have abnormal color or
heavy lines.
In focus II
/64 gray RGBW
White/Black