General Tools and Instruments RCV100 User Manual
Page 9
9
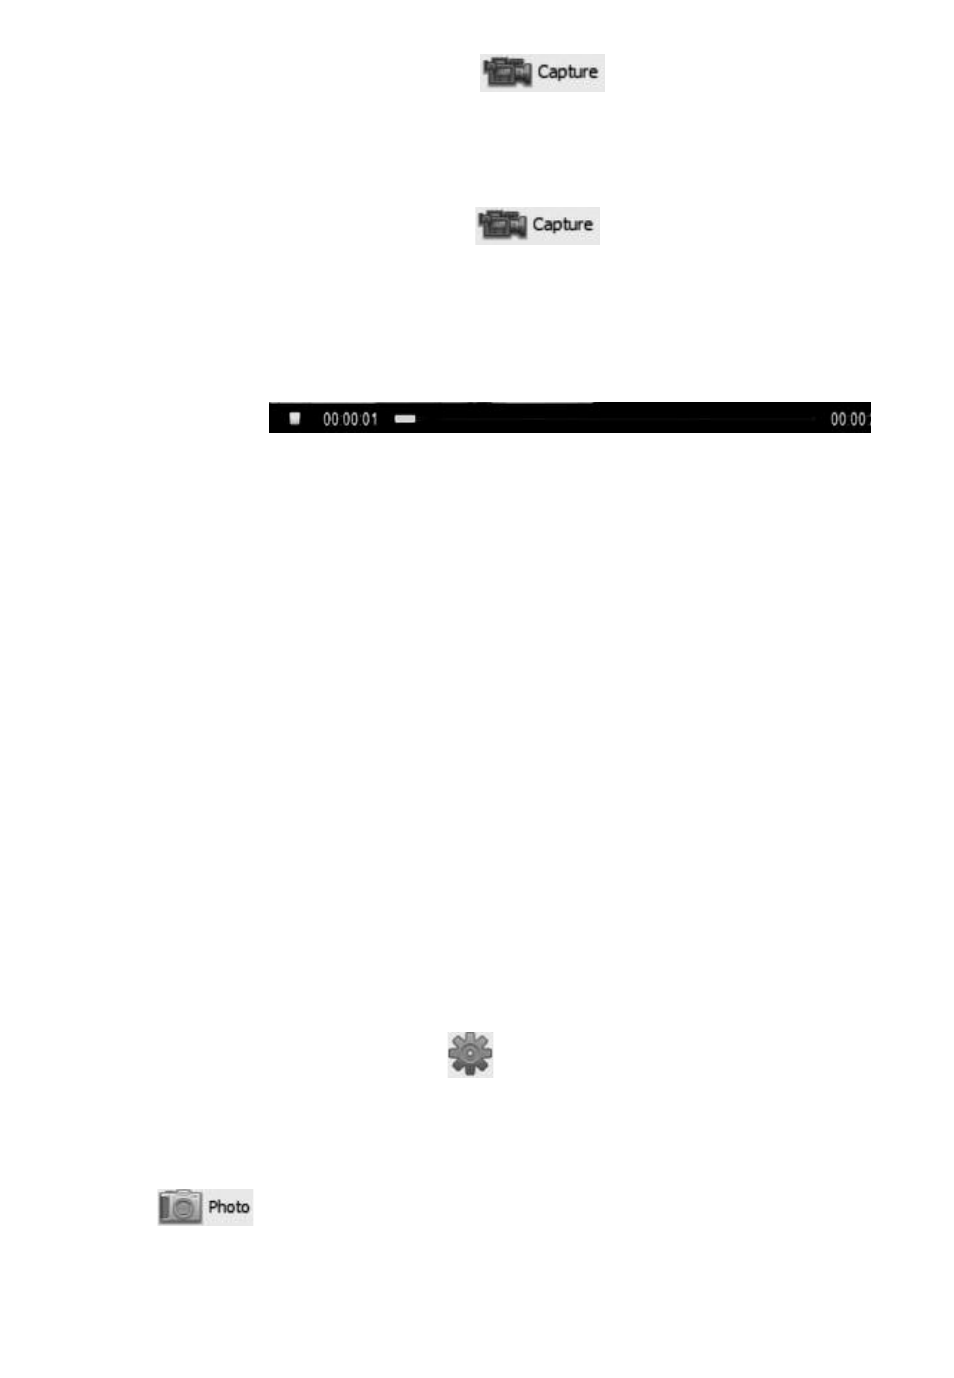
To start capturing video, click the icon on the toolbar.
When you do so, note that on the right side of the status bar the word
“Connected” changes to “Capturing…” and that a stopwatch begins
running at its right.
To stop capturing video, click the icon again. Note that
this stops the stopwatch on the status bar and creates a thumbnail of
the video just captured in the Preview Pane.
To play back a captured video, click its thumbnail in the Preview
Pane. The video will play from start to finish in the main window over a
video control bar
that indicates both its total duration (at the right) and the current time
position (at the left). Use the play, pause and stop icons to control
playback.
To preview, save, delete, or change the name or storage location
of a captured video, or display its properties, right-click the video’s
thumbnail in the Videos tab of the Preview Pane and left-click the
desired action.
By default, all videos and photos captured by the RCV100 are stored in
a folder called ScopeView that the application creates in your
MyDocuments folder. To change the default storage location of
videos and/or photos, left-click the Settings tab of the main menu. On
the screen that appears, you can also change the default format and
size of photos and the size and type of compression applied to videos.
The Settings tab also lets you change the default language of
ScopeView from English to Mandarin Chinese.
(All of the functions accessible through the Settings tab on the main
menu are also available from the tab on the toolbar. Similarly, the
Tool tab on the main menu provides access to the Connect, Photo,
Capture and Set Timer functions accessible from the toolbar.
To take a picture of what your Seeker’s probe is currently viewing,
click the icon on the toolbar. Note that doing so creates a
thumbnail of the picture (often called a screen capture or vidcap)
under the Photos tab of the Preview Pane.