Serial number, Operating instructions – SPP Pumps Auto Prime Q Series - QI200 User Manual
Page 6
Manual No/Rev
W72-008E / 9
Operators Instructions for
AUTOPRIME Q Range Pump Unit
Our policy is one of continuous improvement and we reserve the right to alter specifications at any time
Page 6 of 18
Under no circumstances should straps
be passed over the top of the canopy or
around the doors.
For security purposes, U shaped hoops are
welded to the chassis behind each wheel.
These may be used as additional points for
strapping down the unit for transport.
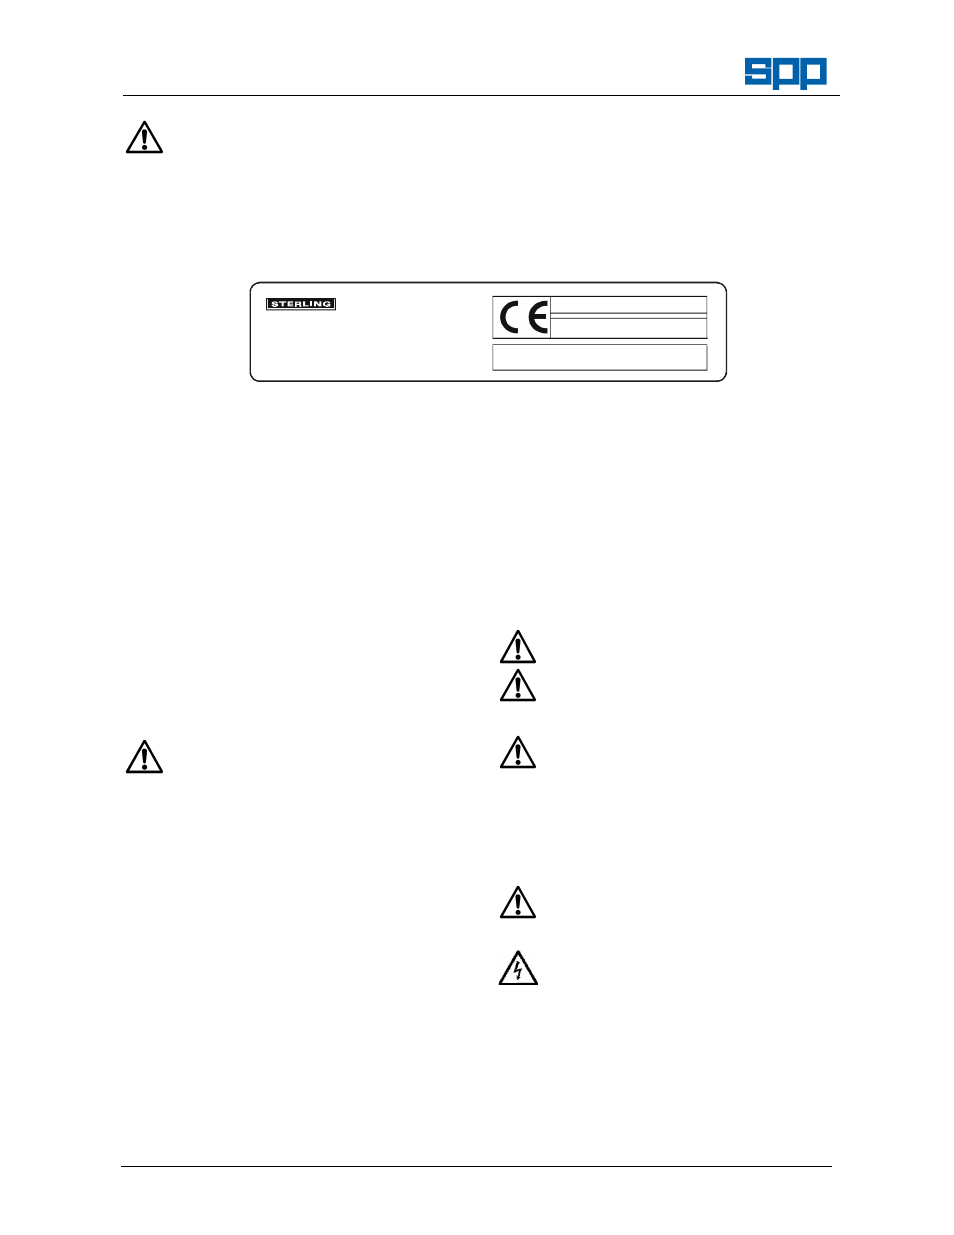
4. SERIAL NUMBER
The serial number plate is fitted, either to the
chassis and/or on the pump bearing housing,
or on later units inside the control panel door.
This serial number must be quoted in any
enquiry for spares or service.
Sterling Fluid Systems
Reading
RG31 7SP ENGLAND
Tel: 0118 932 3123 Fax: 0118 932 3302
Type
Nett
Serial No.
kg
100-18/TR1/HST
475
9712345/1A
5. OPERATING INSTRUCTIONS
5.1 Before Starting
Where instructions in this section are followed
by (LH) or (RH) this indicates either the left
hand or right hand side of the unit looking from
the pump (towbar) end.
5.1.1
Read this the safety and operating
instructions on the pump and in this
handbook carefully.
5.1.2
Position the pump set where it can
be levelled for before use and apply
hand brake to prevent movement.
5.1.3
Unclamp the jockey wheel and lower
it to level the pump set. Clamp in
position.
5.1.4
Unclamp the rear prop stand (RH),
lower into position and lock so that
the pump set is prevented from
movement in operation.
5.1.5
Suction and delivery connection
flanges are double drilled thus
allowing each quick release hose
connection to be rotated to most
orientations. Undo the retaining nuts
and
rotate
the
quick
release
connections to suit the application.
5.1.6
Connect suction and delivery hoses
making sure that there are no sharp
bends in the lines. Where the hoses
pass over sharp edges or abrasive
surfaces ensure that they are
protected by suitable means to
prevent chafing. Ensure that the
suction hose end is fully submerged.
5.1.7
Select and fit a suitable strainer for
the job in hand. Note that most ‘off
the shelf’ strainers are for general
purpose use. As such they may not
protect the pump against oversize
solids.
For
applications
where
stones, etc. may be drawn in, then a
strainer with holes slightly smaller
than the pump solids handling
capacity must be employed. Refer to
the Technical Data section for
details on specific pumps.
5.1.8
Check for sufficient fuel - tank gauge
(LH).
5.1.9
Check
for
sufficient
engine
lubricating oil - dipstick (LH).
5.1.10
Check for sufficient engine coolant –
Ensure the engine is cold, remove
the radiator filler cap (LH) or the filler
cap in the top hose. The correct
level is when coolant is just visible at
the base of the filler neck. If an
expansion bottle is fitted check the
level is between the Max and Min
level marks on the bottle.
5.1.11
Check that oil is present in the pump
seal reservoir (RH over the non
return valve housing).
5.1.12
Ensure that the batteries are
charged and ready for use (RH).
5.1.13
Check the air filter monitor (LH
below engine air cleaner). If reading
is >12" remove filter and clean.
5.1.14
Check coalescer oil level - dipstick
(RH).
Ensure
dipstick
is fully
tightened.