Driver won’t run, Operation – PASCO SF-9324 Mechanical Wave Driver User Manual
Page 2
®
SF-9324
012-03177H
Mechanical Wave Driver
2
You can attach a wire or string to the Mechanical Wave Driver using one of the included connectors (String Holder with Plug or
Slotted String Holder with Plug.) Of course, you can design your own connector: one method is to solder a piece of stiff wire to a
banana plug connector and then bend the wire as needed.
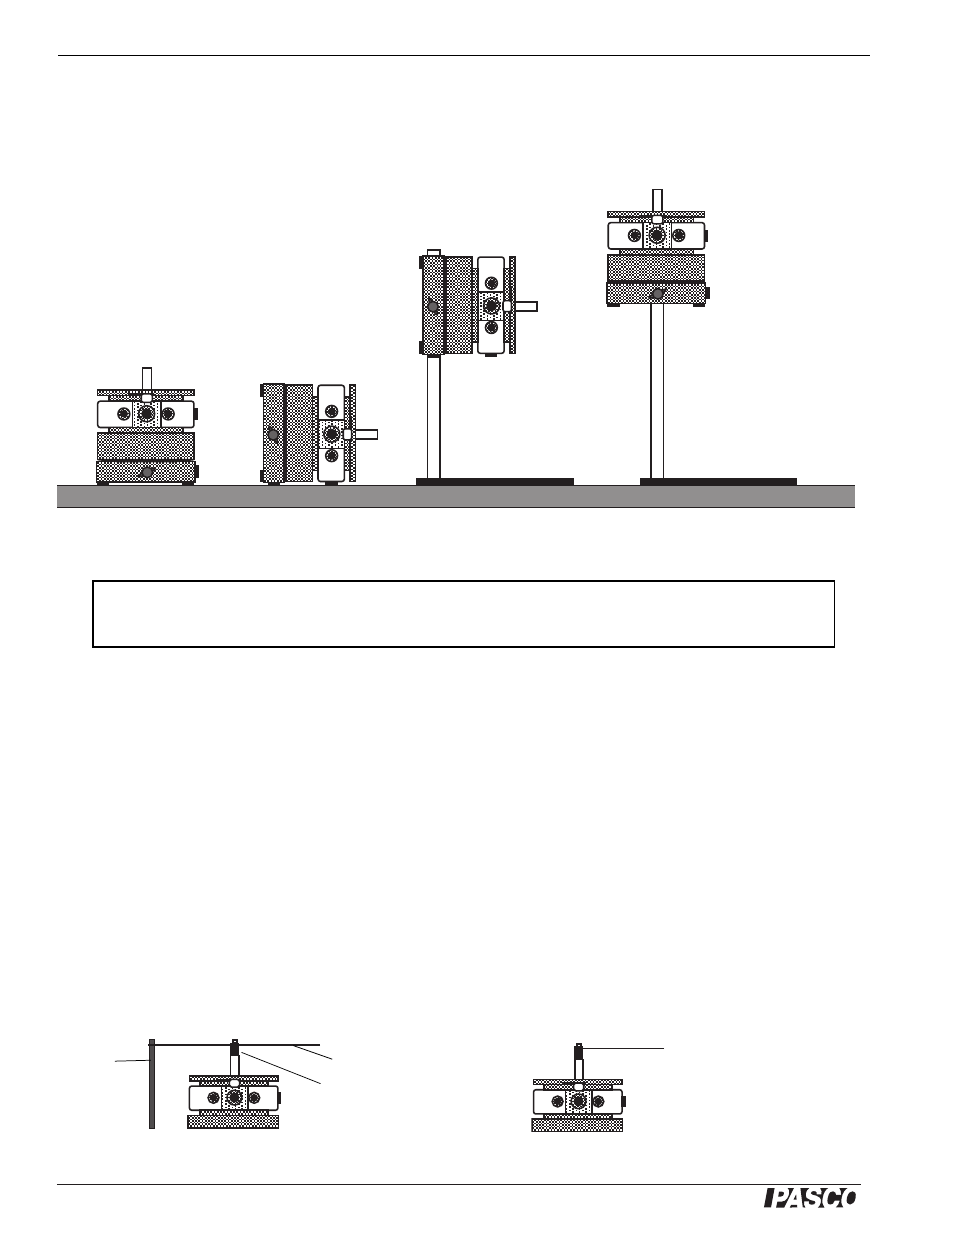
The Mechanical Wave Driver is designed to sit upright or on its side (rest it on the side with the rubber feet). It can also be mounted
on a rod up to 12 mm (1/2”) in diameter in either a vertical or horizontal position. See Figure 1.
Driver Won’t Run?
If at any time the Mechanical Wave Driver fails to work, follow these steps:
1. Check the fuse. If the fuse is “blown”, replace it with a similarly rated fuse: 1.0 A, 250 V. When replacing the fuse, be sure that
the fuse holder is fully tightened.
2. If the fuse is not “blown”, check that the fuse holder is fully tightened. If it is not screwed in all the way, power may not be
able to get to the unit even if the fuse is good.
Operation
1. Lock the drive arm by sliding the drive arm locking tab to the Lock position. (This protects the speaker as you connect the
drive arm to a string or to other apparatus.)
2. Connect the drive arm to the string or experimental apparatus.
•
NOTE: Avoid putting a sideways force on the drive arm. If you are driving a wire or string that has tension, attach the end of
the wire or string to a support rod as shown in Figure 2..
Figure 1: Mounting the Mechanical Wave Driver
IMPORTANT: When connecting the drive arm to other apparatus, or when storing the Mechanical Wave Driver,
always lock the drive arm first by sliding the drive arm locking tab at the top of the driver to the Lock position.
Figure 2: Mechanical
Wave Driver
CORRECT
INCORRECT
Support
rod
String or
wire
Connector
DO NOT ATTACH A
STRING OR WIRE
DIRECTLY TO THE
DRIVE ARM!